DIY: Update Your Old Christmas Decor

updatechristmas

Happy December!  It’s that time of year again where the red Rubbermaid boxes with green lids come out of hiding and my house explodes in Christmas décor.  I love, LOVE, L*O*V*E this time of year!

Question: Do you have Christmas décor items that you put back in the box year after year without using them in your holiday decorating?  Stuff that you LOVED way back when, but now no longer fits with your Christmas design style or colors?  I decided to update a couple of items that I haven’t used in the past few years and I couldn’t be more pleased!

First, I have this wooden holly swag that my friend gave me many years ago (thanks, Renee!).  It’s super cute, right?

Green Red Wood Holly Swag

I have decorated with it and loved it for more than a decade, but my Christmas décor colors have changed over the years and it no longer matches my style,  plus the raffia was all snarled up.  For my DIY, I removed all of the raffia then painted all of the pieces with flat black spray paint,

Black painted wood holly cutouts

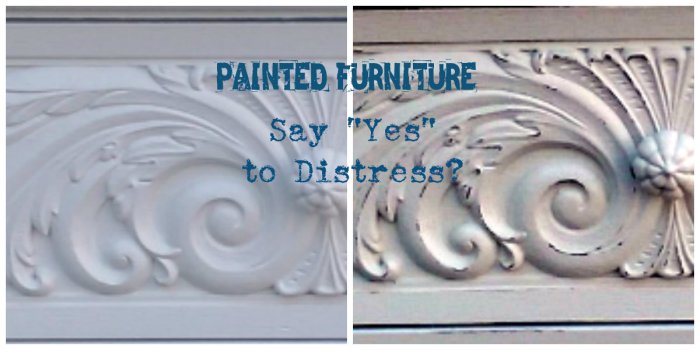
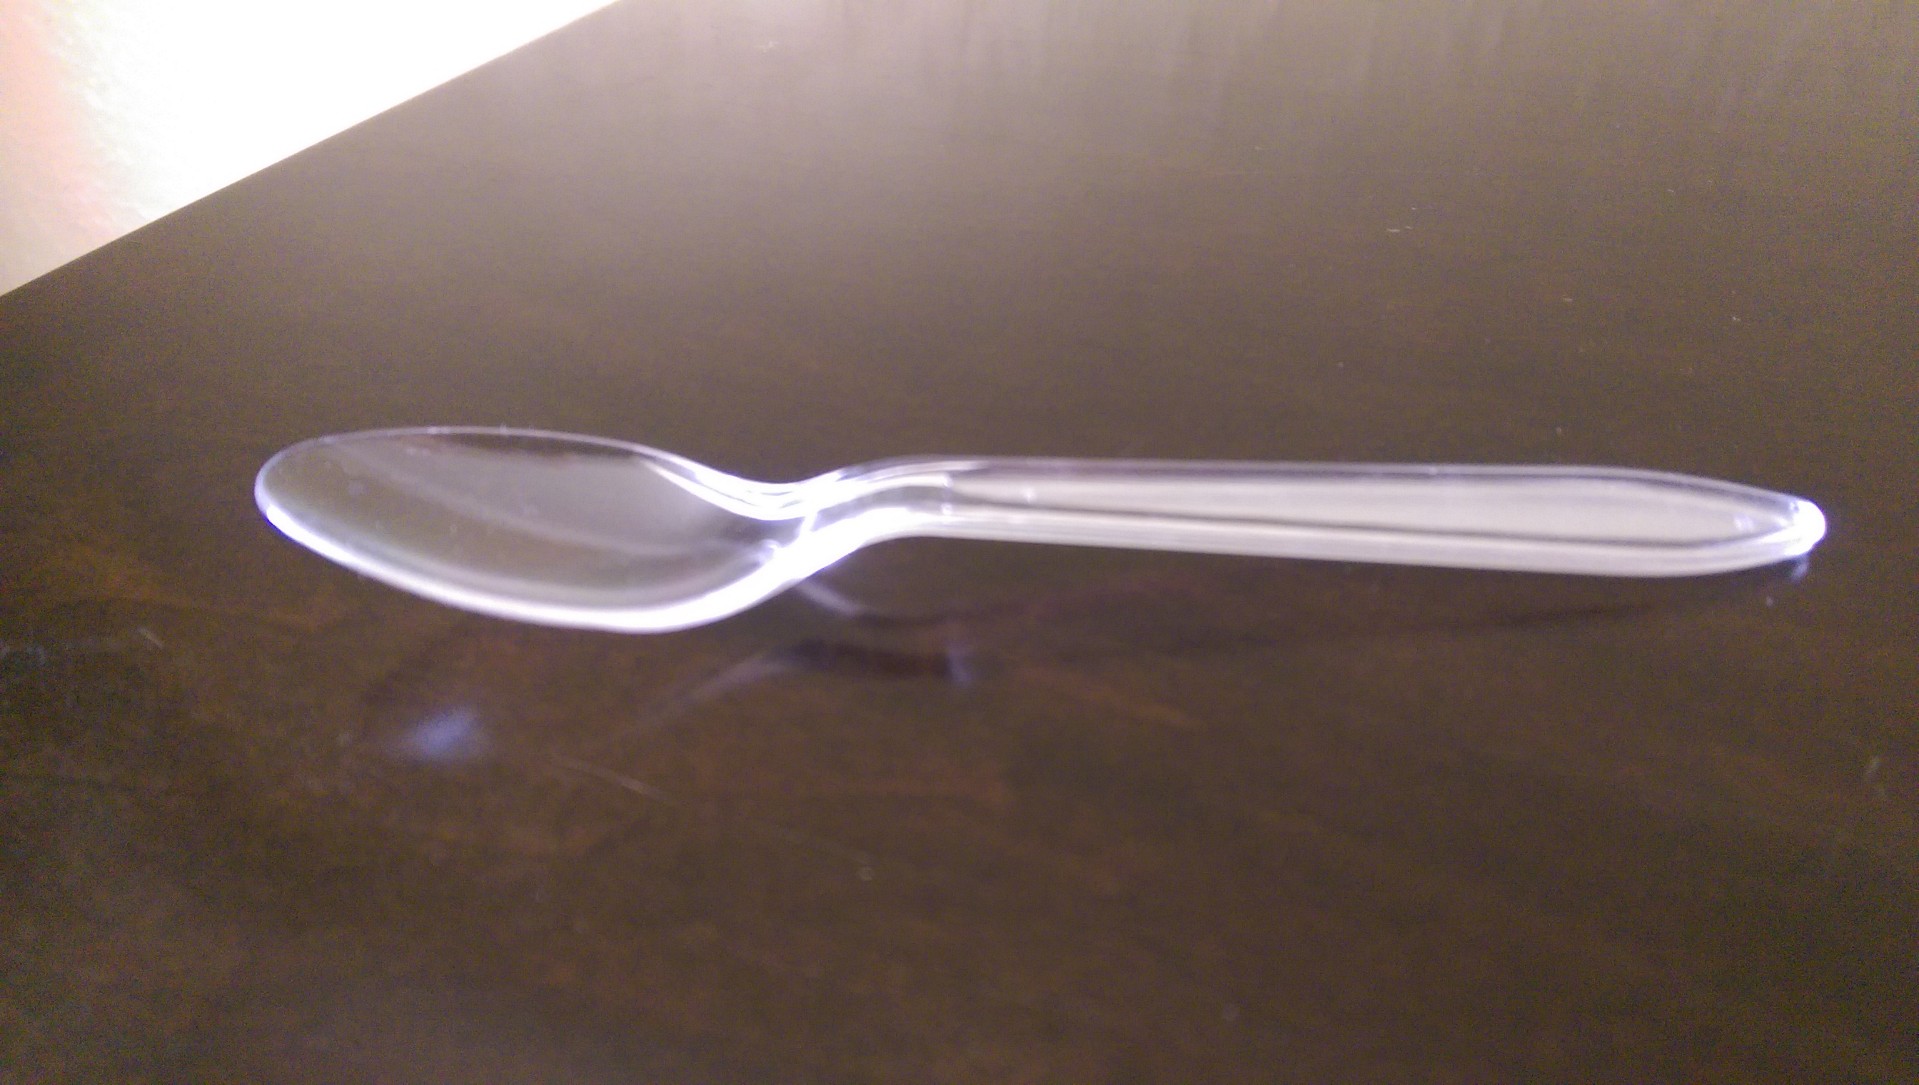
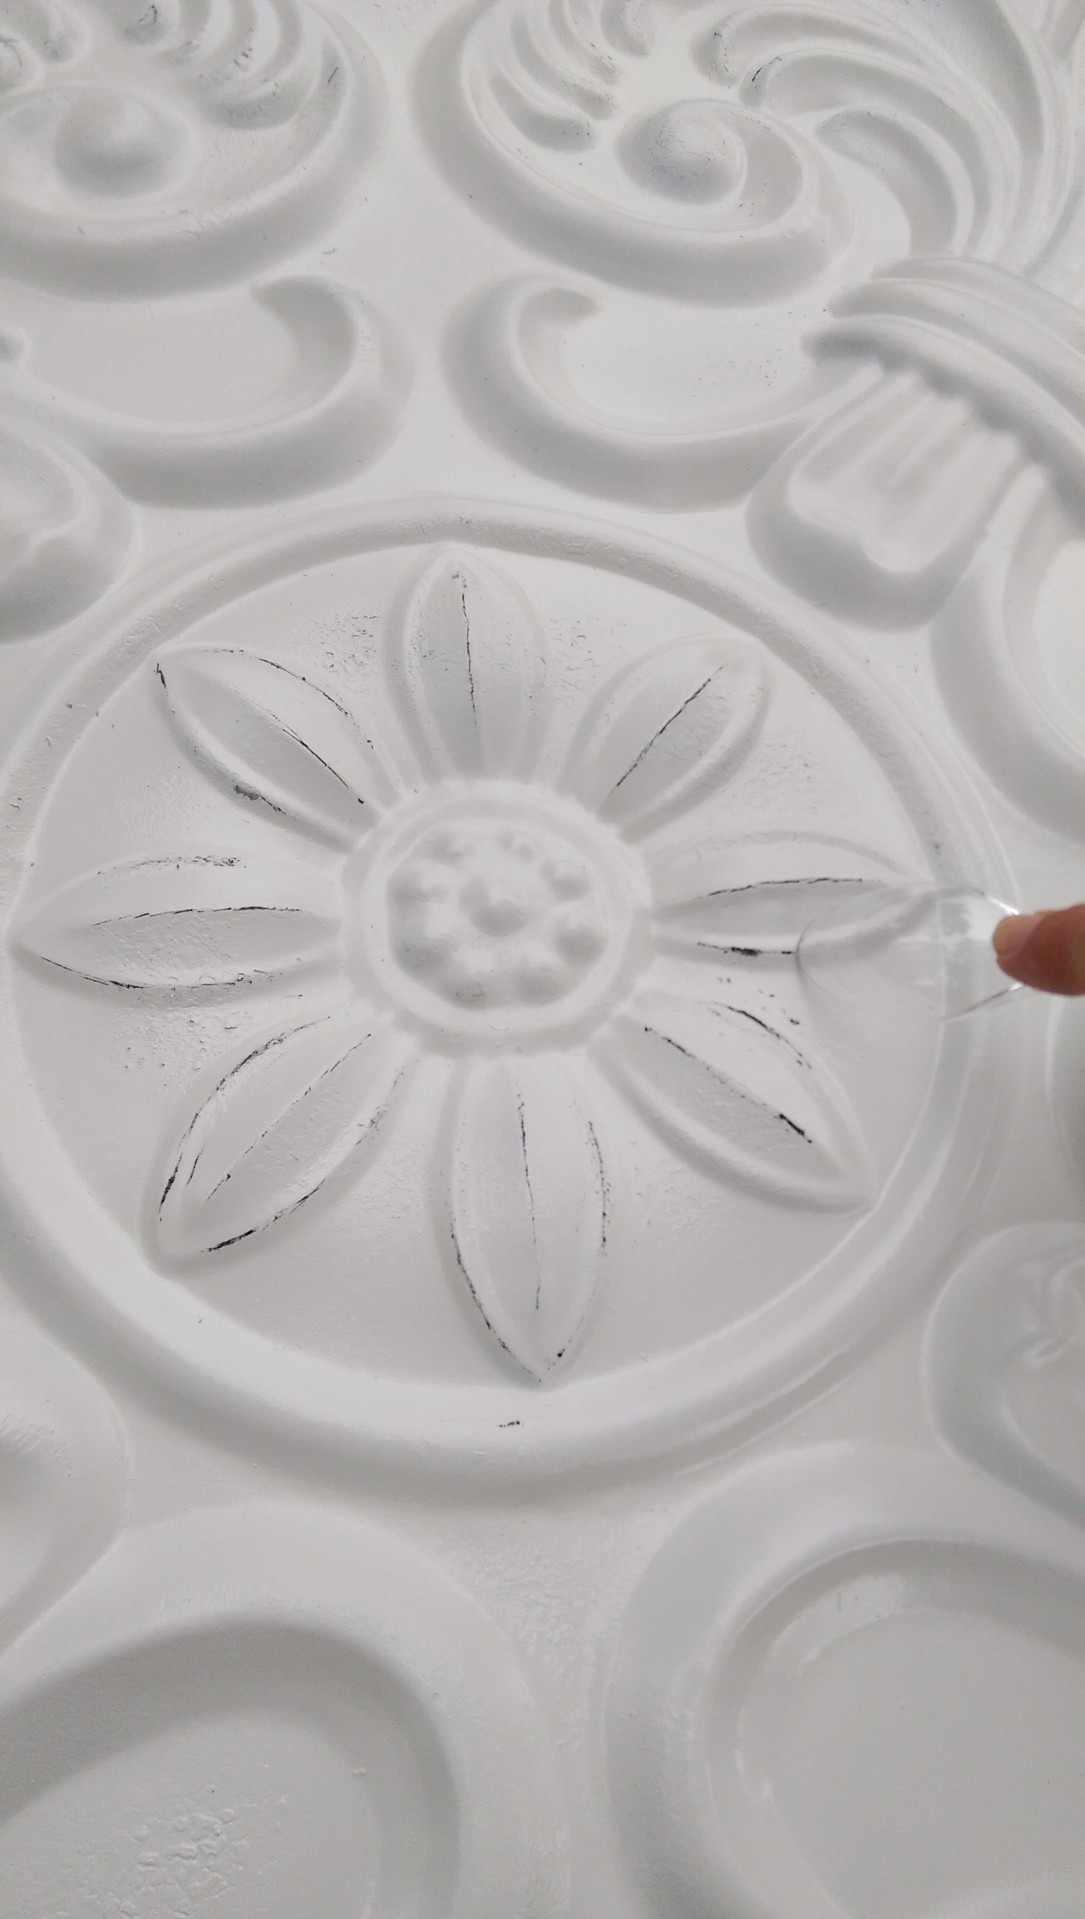
then painted the round “berries” white and the leaves a light greige color.   I did this to both sides to make the finished project look good from all angles.  After the paint dried I grabbed an old spoon and scraped the edges to reveal the black paint beneath for a distressed look.

distressing paint with a spoon handle

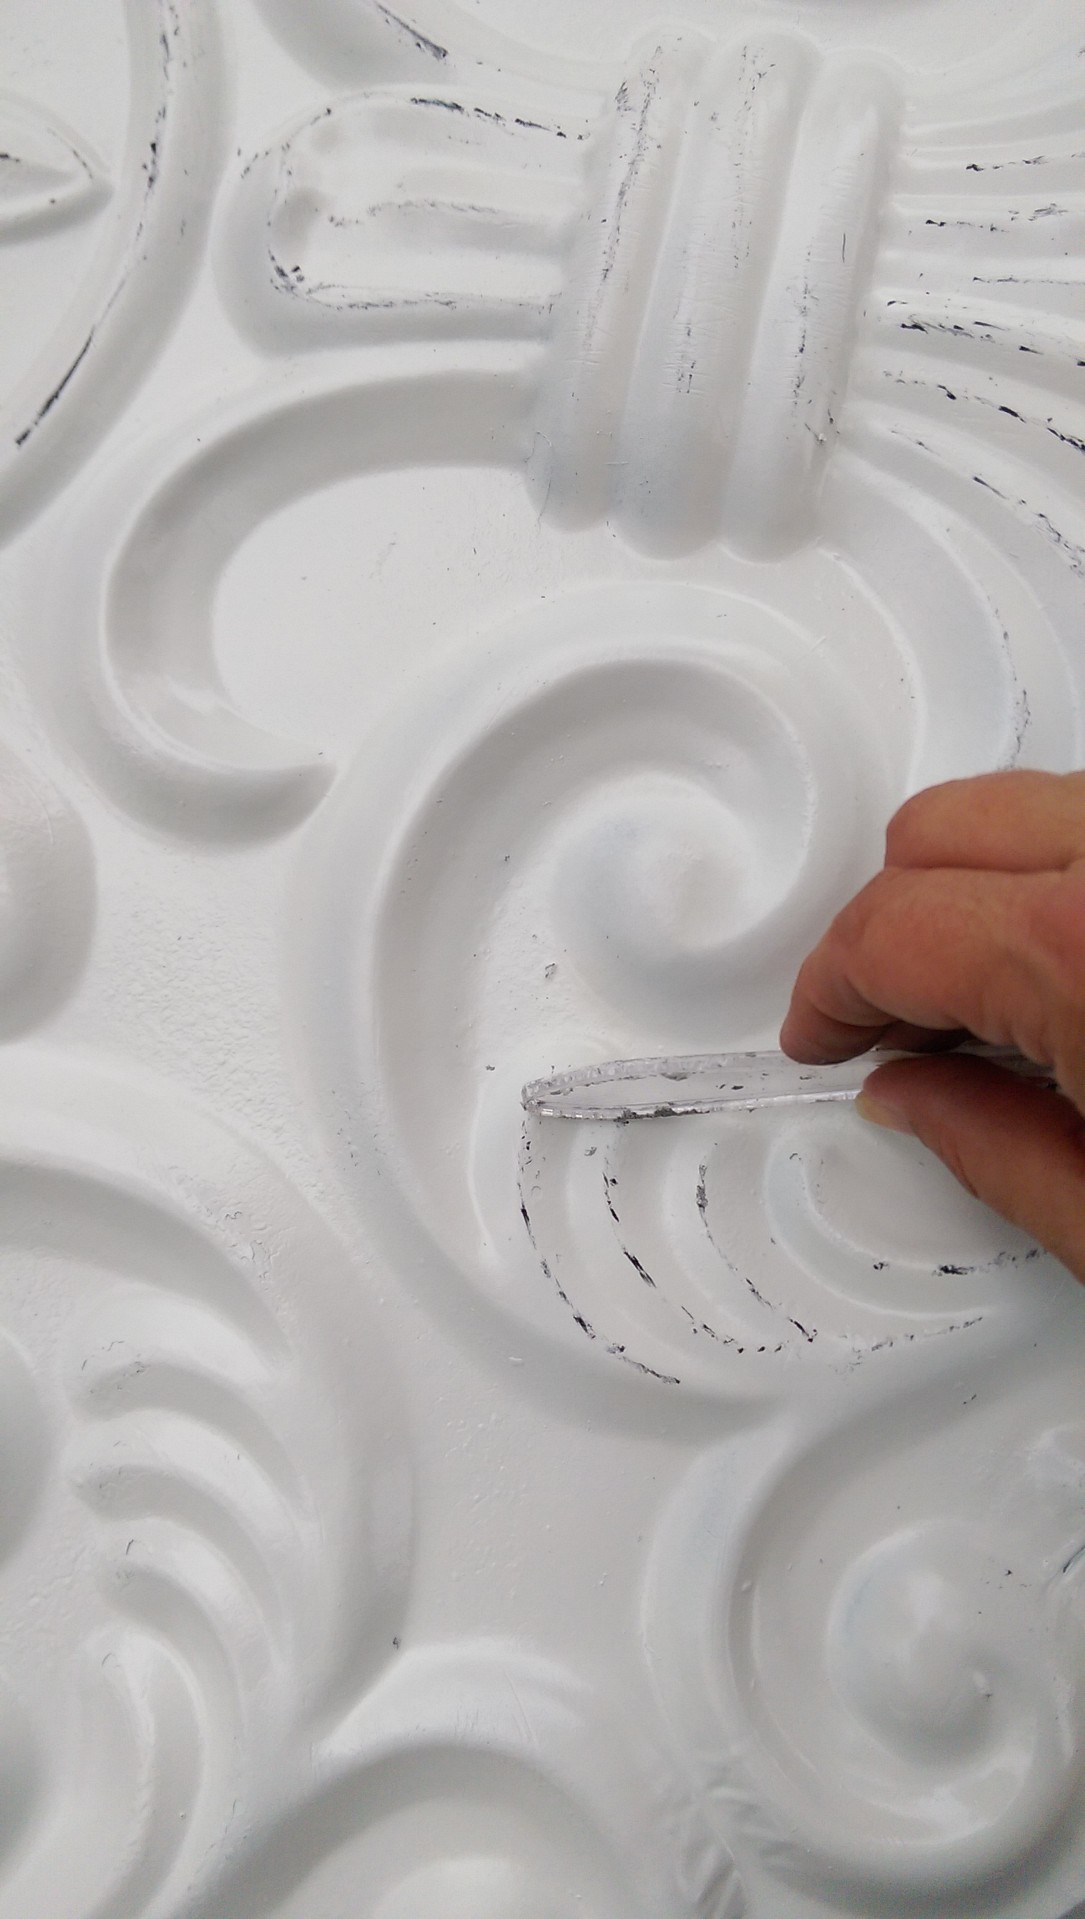
Using the spoon handle to distress the paint edges was way faster than sandpaper would have been.  If you notice how I was holding the spoon, it felt similar to peeling potatoes.  I just love the little center vein that was routered down the middle of each leaf.   That, coupled with the distressing, gives these holly leaves nice dimension.

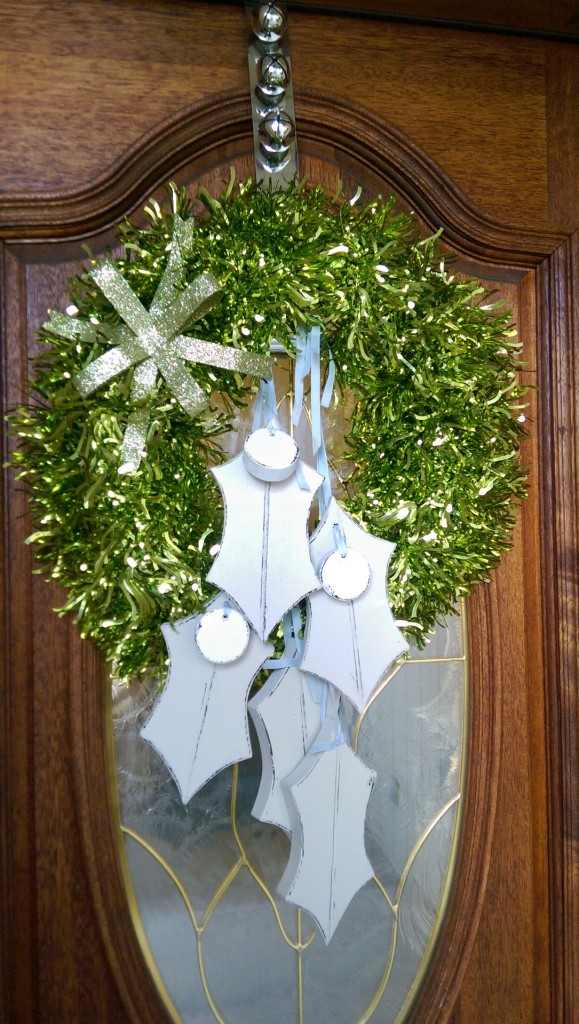
Once all of the pieces were distressed, I grabbed some light blue ribbon and inserted it in the holes.  I added the 3 round “berries” to 3 of the leaves with the ribbon and laid it out on my counter in the approximate way that I wanted it to hang…

wood holly swag

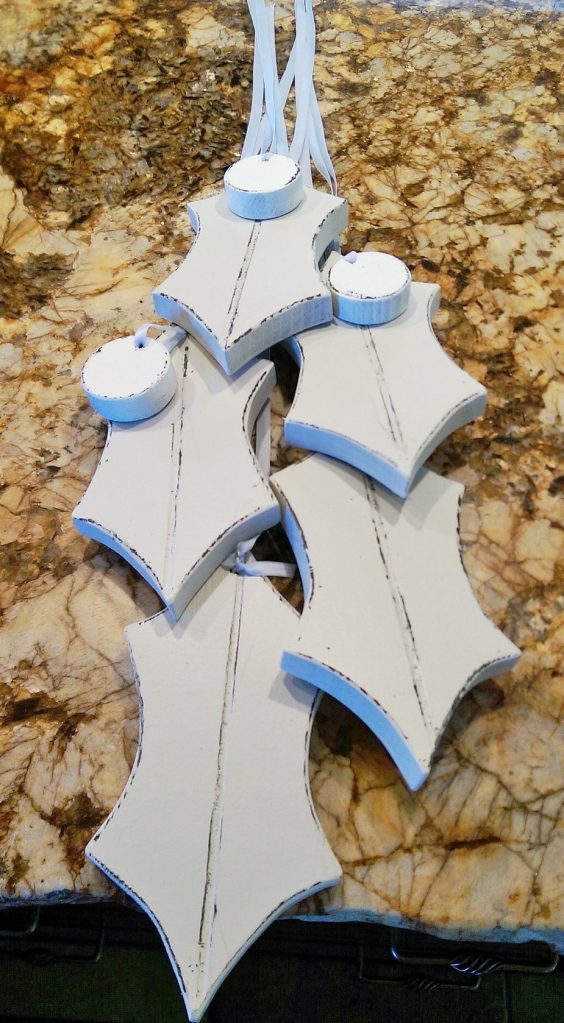
…and then I tied a knot at the top.  So, here is the finished swag:

Just in case you are interested in making a set of your own, here is a pattern for the holly leaves and round berries.  This would make an awesome neighbor gift, right?

My other project was an item that I painted sometime in the 90’s which was in sore need of a makeover in order to come out of the Rubbermaid this year:

Green red wood JOY sign

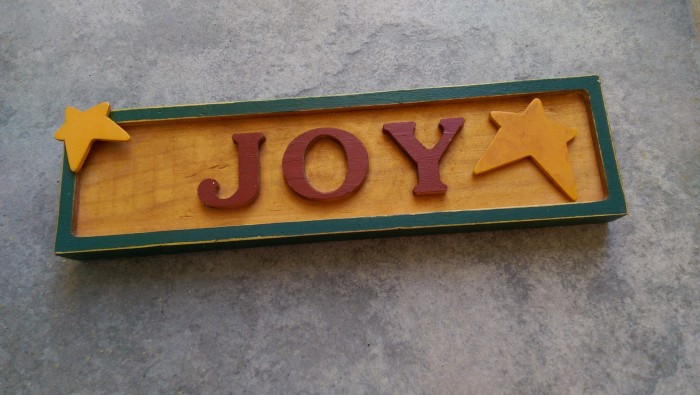
Again, it wasn’t horrible, just didn’t fit my current décor.  This little “JOY” sign got the same treatment as my holly swag and I kind of love it now:

wp_20161202_002-1

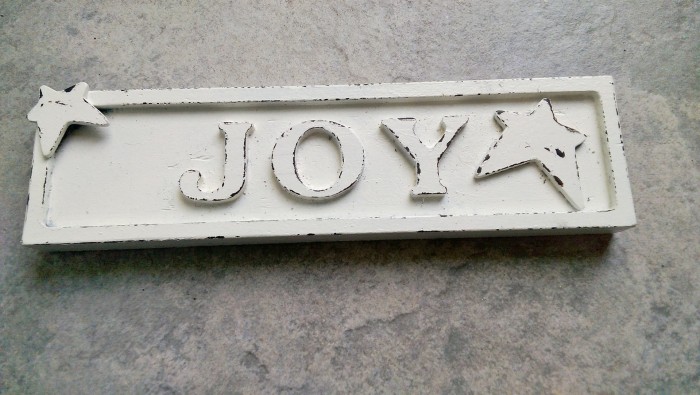
I half thought that I would paint the stars with silver nail polish.  Who knows, maybe next year.  I am really liking the subdued whites this year, so for now, it’s just how I want it.

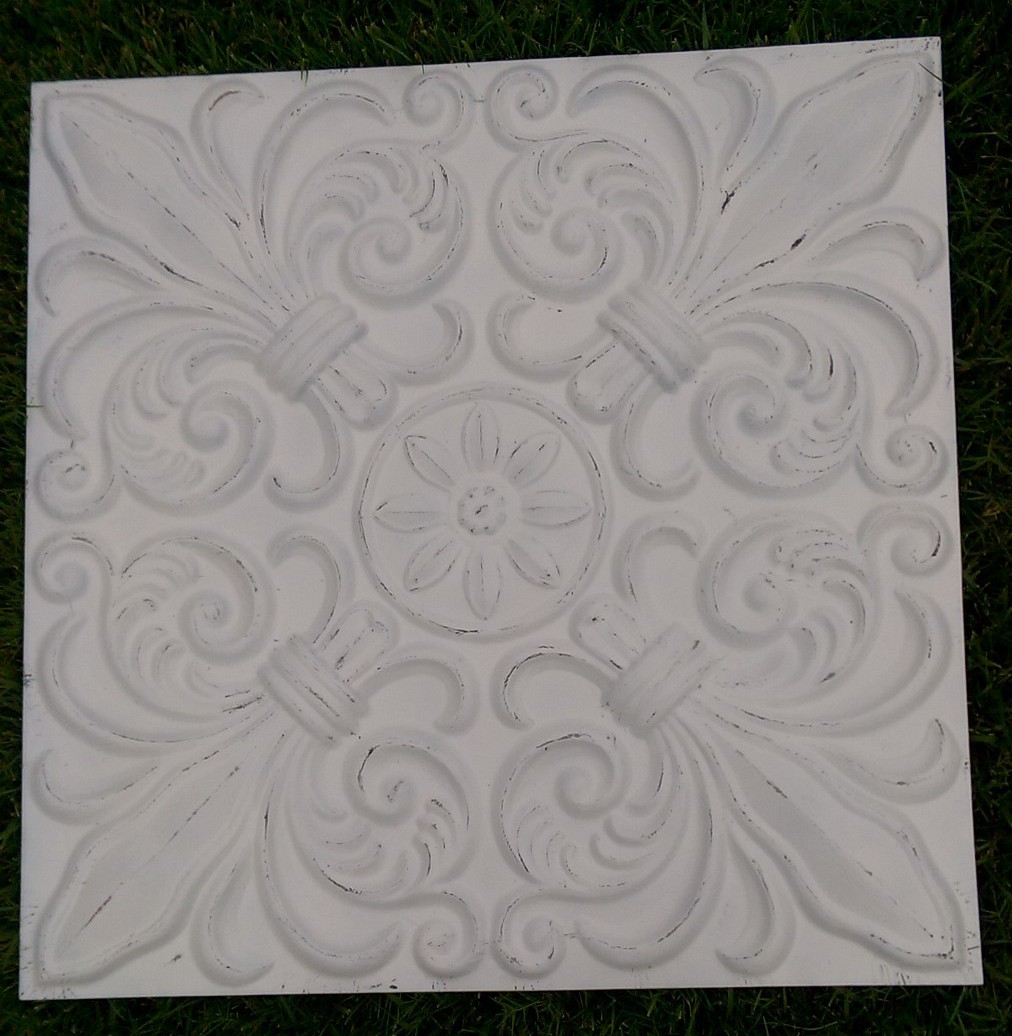
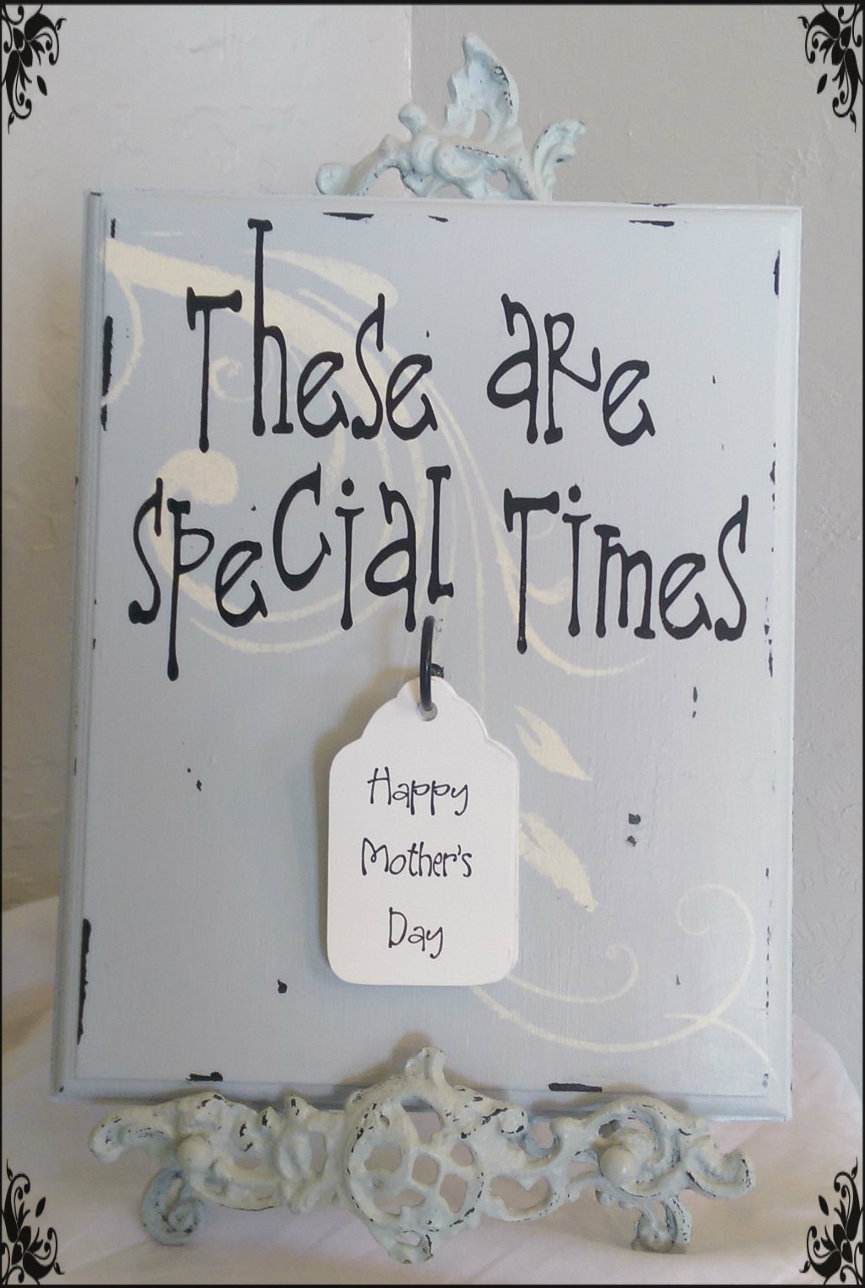
And, here is the final resting place of each for Christmas 2016:

green wreath holly swag

I’m liking the new looks…for now.  Who knows, I may change it back to bright colors in another decade.

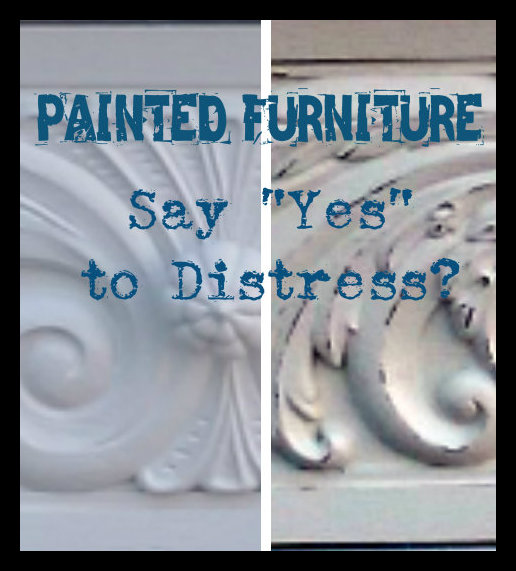
So, do you like the before: colorful versions, or the after: distressed shades of white?  What Christmas color scheme are you liking right now?


*********Linking up to these awesome parties*********


Painted Furniture: Say “Yes” to Distress?

painted-furniture-distress-title

Happy day friends!  In my last post about the free Craigslist nightstand that I painted, I told you that I wasn’t done with it yet.   This is how it looked when I finished painting it:

White chalk painted Craigslist nightstand

Not half bad, right?  Whenever I paint a piece of furniture, I always get to this point and wonder, “Should I distress it?”.  Do you do that?  It almost goes against the grain to make something look so nice and then take sandpaper to it, doesn’t it?

My experience with distressing painted pieces goes way back to the late 1980’s.  I had attended a church craft night with my sister and after we had painted the wooden craft, they passed out sandpaper to distress the edges.  I thought that they were crazy.  I had just painted the piece to perfection…why would I want to sand off a perfectly good painting job?  I refused and my craft project came home with me with pristine edges.

Let me just say that, in the decades since (holy cow, that makes me sound SO old!), I have come to embrace distressed painted furniture.  Embrace it with big open arms.  Want to see my distressed painted nightstand?  Why do I ask?  Of course you do!

Distressed Painted Nightstand

Yeah, I know the picture is kind of dark.  Sorry about that, but, can you see the difference?

How about some close ups?

Here are a few other painted items in my home that I have done this same subtle distressed finish on:


before-after-distress-collage
Unfortunately, the lighting in these Before and After pics is totally different, but you get the general idea, right?

Here’s the distressed nightstand in its final resting place, our guest room:

wp_20161005_001-1

So, what do YOU think?  Do YOU like the clean, pristine perfect paint look, or do you like the look of subtle distressing?  Personally, I like…both.  Wimpy answer, I know, but sometimes I prefer the subtle distressed look, sometimes I don’t.  I have found that, if I end up hating the distressing on a project, all it takes is a quick brush of paint on the sanded areas and “poof”, we have the pristine look all over again.  Easy peasy, lemon squeezie!

So, again I ask…what’s your take on the matter of painted furniture?  Do you say “Yes” to distress?

distressed-paint-collage


*********Linking up to these awesome parties*********

Concrete Look Dollar Store Pumpkins

If you have been in pretty much any dollar store in the last month or so you have likely seen lots of bright orange light-weight pumpkins.  El cheapo looking pumpkins.  But, for some reason, they inspired me in a big way.  I bought a couple of them and before I had even gotten out of the store, I knew what I wanted to do with them.  Happily enough, they turned out exactly how I envisioned them!

Concrete Pumpkin

I love them!  The process, once I figured it out was quite easy.  It took some trial and error, so to help you avoid all that, I will show you the easy way to make these concrete look pumpkins.  First, though, my base ingredients:

WP_20151104_002 1

I had noticed this half used bag of thin-set mortar in our garage recently and wondered what a person actually does with it once the tile job is done.  The trial and error portion of my project consisted of just mixing water with the thin-set mix and painting it on.   Not wanting to use a nice bowl to mix the stuff in, I cut down a gallon sized milk container.  The handle made it really easy to hold while I stirred.  I used the top part for my scoop.  See what it looked like after one coat:

WP_20151104_003 1

Too transparent for the look that I was going for so I made some changes to my thin-set mix.  First I added some white paint and then decided to add some Plaster of Paris powder, as well.  I didn’t have any specific recipe, just added until it was the consistency of pancake batter.  A couple more coats (let it dry completely first) and this is what they looked like:WP_20151106_008

As you can see, I added some short twigs to make stems for my pumpkins.  At first I added a silk leaf to the top, but removed it because I liked the starker look.  Can I just say that I’m loving the white pumpkin look this year?  Truth be told, however, these could be made in any color… of course your paint color will dictate that.  It would be fun to make gray or peacock blue or black concrete pumpkins, don’t you think?

White and chic pumpkin
White pumpkins!
White pumpkins!

Since these pumpkins are made of Styrofoam, they can be easily pierced on the bottom and place on a candlestick that has a “nail” for holding candles in place:

WP_20151106_005

Isn’t it amazing how just a few items found in most garages can make el cheapo look high end?  I’m loving my new pumpkins and plan to make several more in different sizes next year.

So, what do you think?  Are you still there, or are you grabbing the car keys and heading to your local dollar store to buy some pumpkins?


********* Linking up to these awesome parties!*********

I was FEATURED!  What an honor!

Great Ideas — 18 DIY Thanksgiving Ideas Part Two!


Welcome to 31 Days


Easy DIY: Distressed Metal Art

Chippy Metal Art

Check out this awesome piece of metal art that I bought 4 years ago at Ross.

IMAG00853

I thought that the design was okay-ish and the size, awesome (3 feet by 3 feet),  but above all, I loved the price:

IMAG00855

7 bucks?  That, I can do! I’m thinking that it was discounted because it was kind of scraped up in a few places…

IMAG00854

…which is ok since I didn’t like the finish on it anyway.  So after moving it from place to place in my garage for the past 4 years, it got some attention today, and I LOVE it!

IMAG00862

Wanna see how I did this uber-easy project?  Of course you do!  First I grabbed a can of black spray paint and mainly focused on painting the edges and raised portions:

Sorry, the dappled sunlight makes it kind of hard to see, but if you look at the upper left corner of the above pic, you can kind of see the black edges which will be visible once the piece is distressed.   Next, came two coats of a semi-gloss white paint:

IMAG00859

Of course I could have called it “Done” at this point if I was going for a clean modern look, but I wanted to take it a step further and distress it up a little to highlight some of the details.  Of course that is why I painted it black in the first place.

***Very Important*** If you plan to do a similar project, spray the top coats with only a short time between coats and distress while the paint is still a bit tacky.  They make spray paint so well these days that it dries to form a really tough surface, which is really what we want, right?  SO, if you are distressing spray paint, you have just a short window of time to accomplish that task.  Even though the distressing process took me about 10 minutes, I could tell a big difference between how easy it was when I started, compared to when I was finished.  Work fast, ok?  If, heaven forbid, you miss that window of time, you can try using some fingernail polish remover and a Q-tip like I did with my metal star project.   Just make sure that you change Q-tips often to avoid a smudgey look.  Got it?  Good!

Now, do you want to see my high-tech distressing tool?  Of course you do:

IMAG00866

Let me be honest:  I started out by using my thumbnail and realized that I would likely wear it away to nothing so I figured that a plastic spoon would do the trick and it did.  Sometimes I scraped away with the spoon part…

IMAG00860

…and sometimes I used the handle to cover more area at a time…

IMAG00861

Here is the finished project…

IMAG00862

…which I LOVE!!!  With the new finish, it is no longer “okay-ish”, it is fabulous.  I thought that I knew exactly where I was going to place this baby, up high in my dining room, but now I want it more front and center.   Hmmm.  The easy part was re-creating this piece.  The hard part is deciding where to put it:

What do you think?  Where should it go?


Yep, I can honestly say that I love this piece.  Love!   So, do you have something hidden away in YOUR garage that could use a couple of coats of paint and a spoon?


********* Linking up to these awesome parties!*********


DIY: “Special Times” Perpetual Calendar

SpecialTimes

Have you seen those family birthday calendars out there in the internet world?  They are a cool way to keep track of the birthdays in your family, for sure.  Most of the ones that I have seen are a long wooden sign that says, “Birthdays” or “Family” or “Family Birthdays” or something along those lines.  Across the bottom of the sign they list each of the twelve months or an initial to represent each month.  Then, under each month there are squares, hearts, circles all chained together; each one has a name and a number to represent a family member’s birthday.  Have you seen them?  Do you have any idea what I am talking about?  If not, Google or Bing “Family Birthday Calendar” right now.  You will be bombarded with all kinds of versions of what I just described.  See?   I would show you some pictures, but I don’t want to break any copyright laws.  End up in prison, or worse.

Well, a while back I had some requests from some ladies at church to make one of these birthday calendars for an upcoming “Super Saturday” craft making day.  I looked and looked and hemmed and hawed as I tried to find the perfect calendar to copy.  At the back of my mind were questions like, “What about small families?” and “What if no one has a birthday in Feb., or July, or September…the whole thing will look out-of-whack” and “What if a new child or grandbaby is born?  People will constantly be seeking me out to cut out more hearts or squares or circles.”.  I also got thinking about the anniversaries and other holidays that we look forward that aren’t birthdays.   This is what I came up with instead:

IMAG00320

Basically I painted a purchased wood plaque, painted it black and cut out white vinyl on my Roland Dr. Stika cutter.  The black with white lettering kind of gives a chalkboard-y look, don’t you think?

The hook is just a cup hook that I spray painted black.

IMAG00330

When doing this in bulk, just stick the screw ends into some cardboard to make them stand up and spray away.  Then screw it in your painted board.  Easy enough!

For my tags, I just hand traced and cut them out with scissors, but you can use any shape that you want…rectangles…hearts…circles…whatever.  Make sure that there is a hole to slip over the hook.  For a clean look, only use one shape and have enough for each birthday, anniversary, holiday that you want to remember to celebrate.  In fact, have extras for newbies that join the family.  I handwrote on my tags and added border details, but when I made one of these perpetual calendars for my parents (who have 10 kids plus their spouses and grandchildren…), I typed, printed and then hand cut out each tag.  Made it look more professional.

So, the way that these calendars work is that you put all of the tags in chronological order with the next special day’s tag on top and place the stack on the hook.  When the special day on the top is over, pull the pile off of the hook, put the top tag on the bottom of the pile and put them all back on the hook.  That way you can see at a glance when the next celebration is.  Cool, right?  (If two or more people share a special day, put both events on one tag.)

As I have mentioned before, I am losing the beige and going gray in my home and I decided to lighten my calendar up.  First I mixed up a gray-blue shade of paint and painted a couple of coats over the black.  While the paint was still tacky I distressed a bit to reveal the black layer below.  I like to use a damp paper towel and/or my thumbnail to gently rub and  scrape away bits of paint.

Just for fun, I added a stenciled detail:

I cut out some new vinyl using the LimaBean font, slapped it on and replaced the cup screw.  I think that I like it.

So, which look do you like better?

Next celebration?  Mother’s Day!  Have a happy one!


********* Linking up to these awesome parties!*********