Christmas Home Tour 2015

I guess that I may as well jump on the blogging bandwagon and post some pics of my holiday home.  They say that a picture is worth a thousand words, so I will mostly let the pictures do the talking.

My Front Porch:

Christmas front porch santa foil wreath

Front Entry and Living Room

Pool Table Room/Library:

Kitchen and Dining Rooms:

Family Room:


Well, that about sums it up.   Thanks so much for stopping by!  I would love to offer you a nice hot cup of cocoa, but, well…you know.  You will have to really stop by my home for that to happen.  Until then, Merry Christmas to you and your family!

Textured Wooden Pumpkin

Textured Wooden Pumpkin2

Fall is in the air…isn’t that exciting?  Around here, that means that we are no longer having triple digit temperatures.  Woo hoo!  With daytime highs of less than 85 degrees and night time lows in the 50’s, I’m in the mood for everything Autumn.  The other day I got the hankering to just make something new to add to my Fall decorating.  I gave myself a challenge.  Do you ever do that?  My challenge was that I would use materials that I already own and create something I’ve never seen before.  Here is what I decided to work with:

WP_20150923_010

Some stained old textured wallpaper and 3 scrap pieces of 2×4 left over from a garage shelving project.  Are you inspired?  I was.  Wanna see what I made?

WP_20151027_001

Turned out okay, don’t you think?  I happen to love it!  Would you like to see how I made it?  Alright.  Here we go:

Textured Wood Pumpkin collage

First step, I cut out the textured wallpaper.  I wanted a continuous pattern so I traced around the 2×4’s, stacked vertically, on the back side of the wallpaper.  After cutting out the wallpaper, I glued a strip down on each of the 2×4’s using regular white glue.  Easy.  To make sure that it didn’t bubble, I stacked them up and weighed them down with books.  As the glue dried I made up a pattern.  Kind of.  I’m not an artist so I went to the computer and found a basic pumpkin template.  I printed it out then cut the image in 4 pieces so I could stretch it out to make a larger size.  After taping it down to a large sheet of (pieced together) paper, I drew in my own lines.  Next step, I cut out the paper template and then transferred the pumpkin shape to my textured wallpaper 2×4’s, again making sure that the pattern was continuous.

After cutting the individual pieces out, I sanded random dents in the edges to make them more rounded and textured. See?

WP_20150929_007

I wanted the pumpkins to look nice and finished and not thrown together so I made sure to “caulk” the edges with spackling.

WP_20150930_001

See how much better the spackled part looks?

I chose to paint my pumpkin a nice white, but orange, black, aqua or teal would be equally nice.  I had originally painted mine black with the intention of sanding the edges to allow the black to show through, but ended up liking the white, un-distressed look.

My stalk is a cut piece of a branch from a tree in my yard.  If wishes were fishes, I would have made it longer, but by the time that I decided that, the darn thing was too attached to remove.

WP_20150930_003

Once the paint dried, I assembled the pieces:

A few twist of baling wire forms the tendrils.  I also added some silk leaves and some natural raffia…

And, there you have it… a finished pumpkin.

WP_20151002_003

I’m kind of liking my new pumpkin.  What do you think?

WP_20151027_005

********* Linking up to these awesome parties!*********

———This post was FEATURED!!!———–

Live Randomly SimplePieced Pastimes

http://www.cozylittlehouse.com/2015/11/tweak-it-tuesday-166.html

Welcome to 31 Days

Funky Junk Interiors: DIY Salvage Junk Projects

Intelligent Domestications  101 + Pumpkin Decorating Ideas:

Easy DIY: Distressed Metal Art

Chippy Metal Art

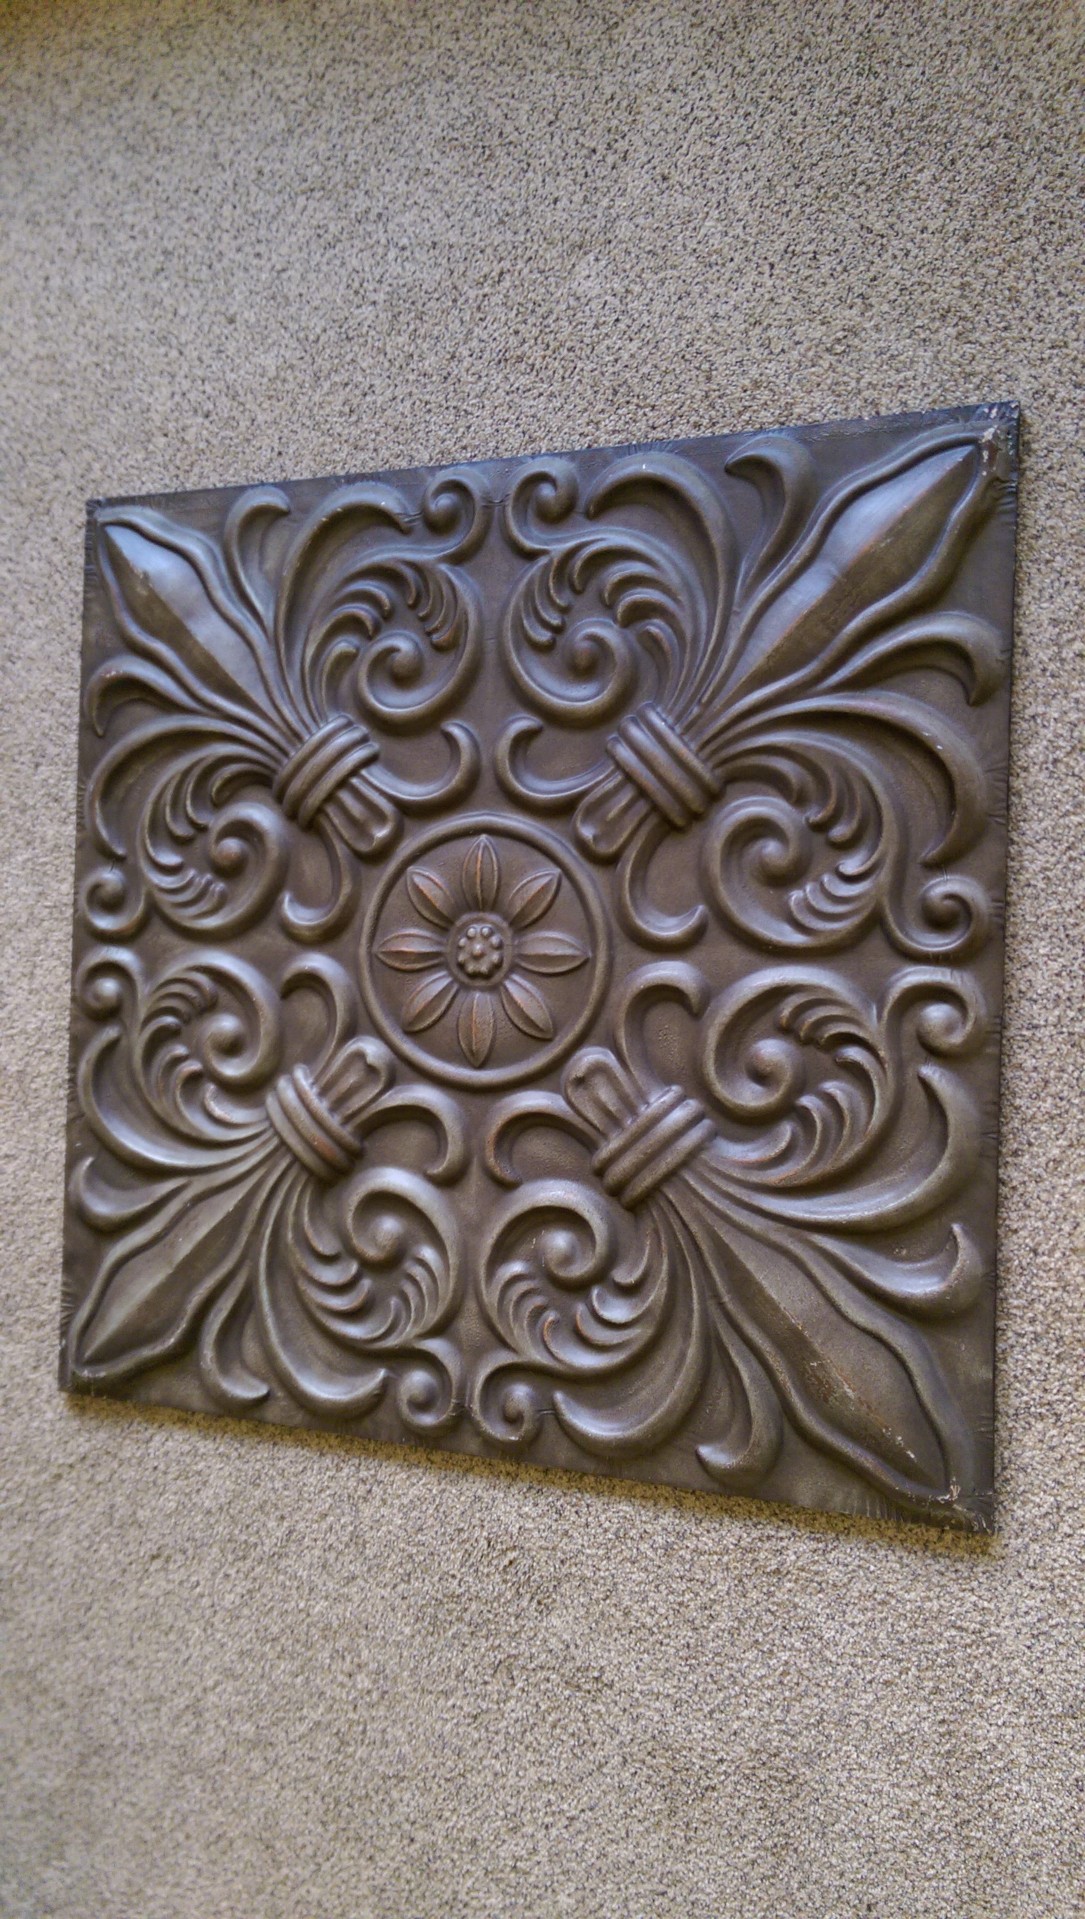
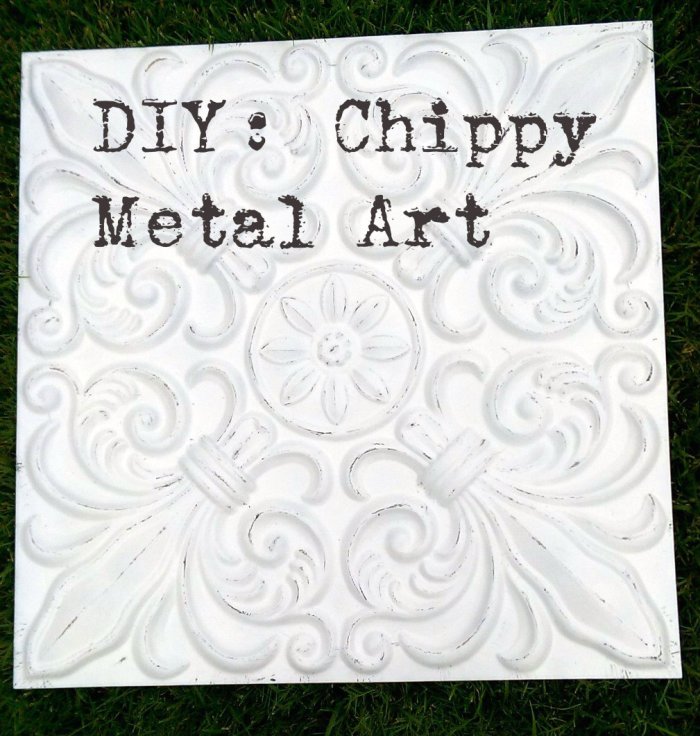
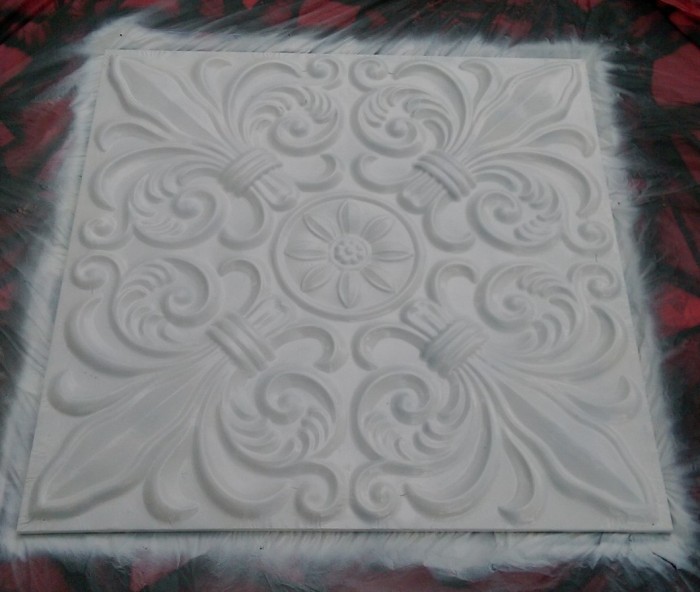
Check out this awesome piece of metal art that I bought 4 years ago at Ross.

IMAG00853

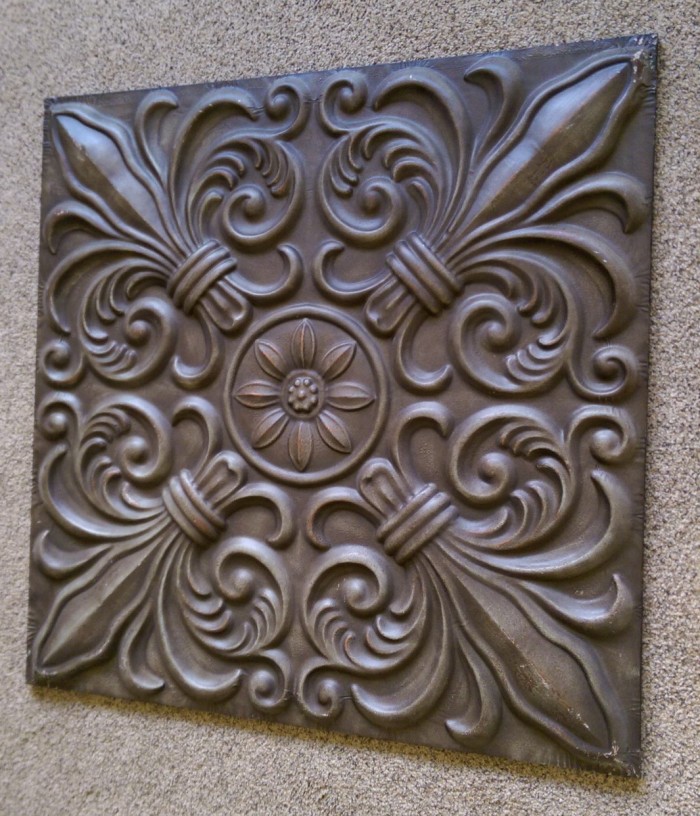
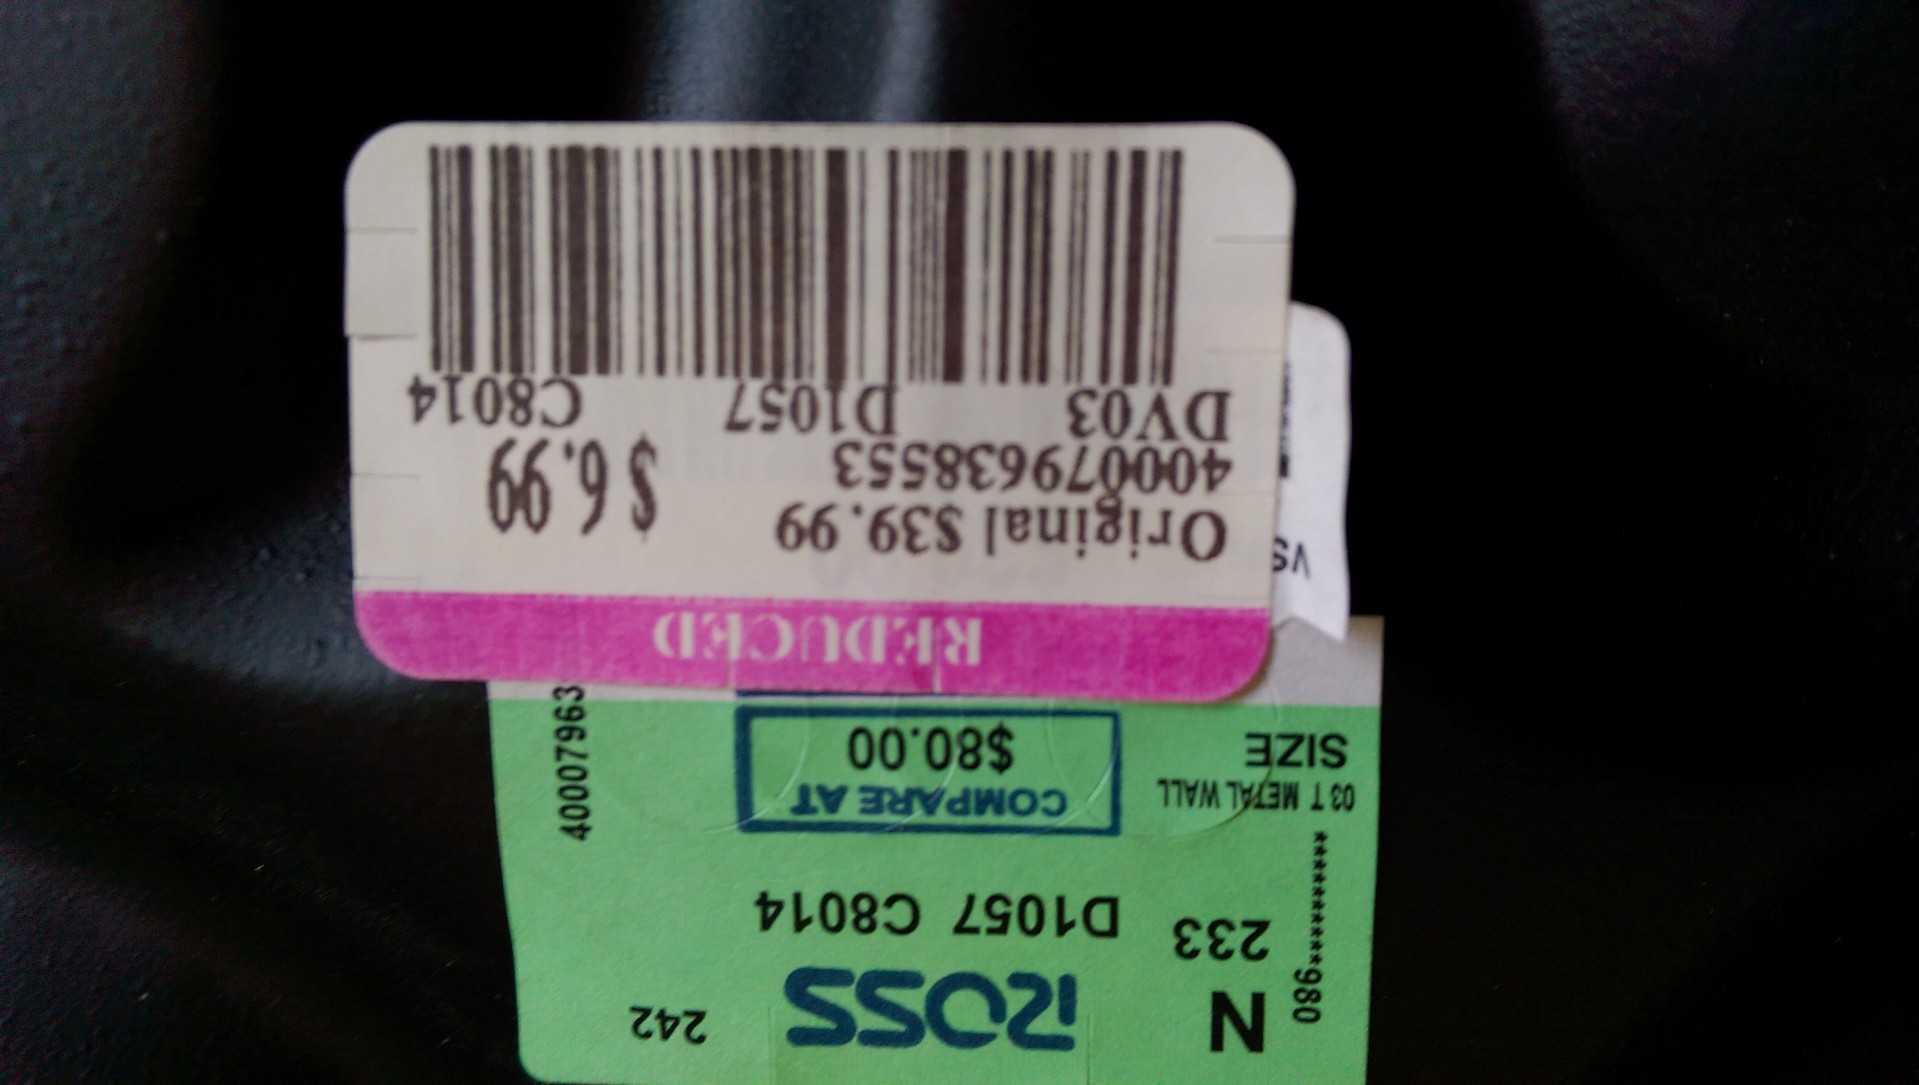
I thought that the design was okay-ish and the size, awesome (3 feet by 3 feet),  but above all, I loved the price:

IMAG00855

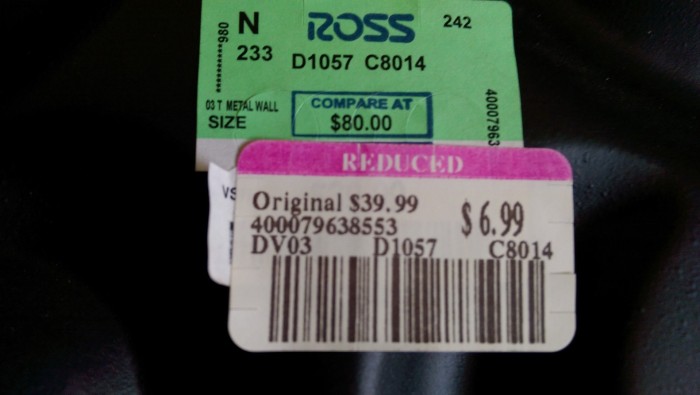
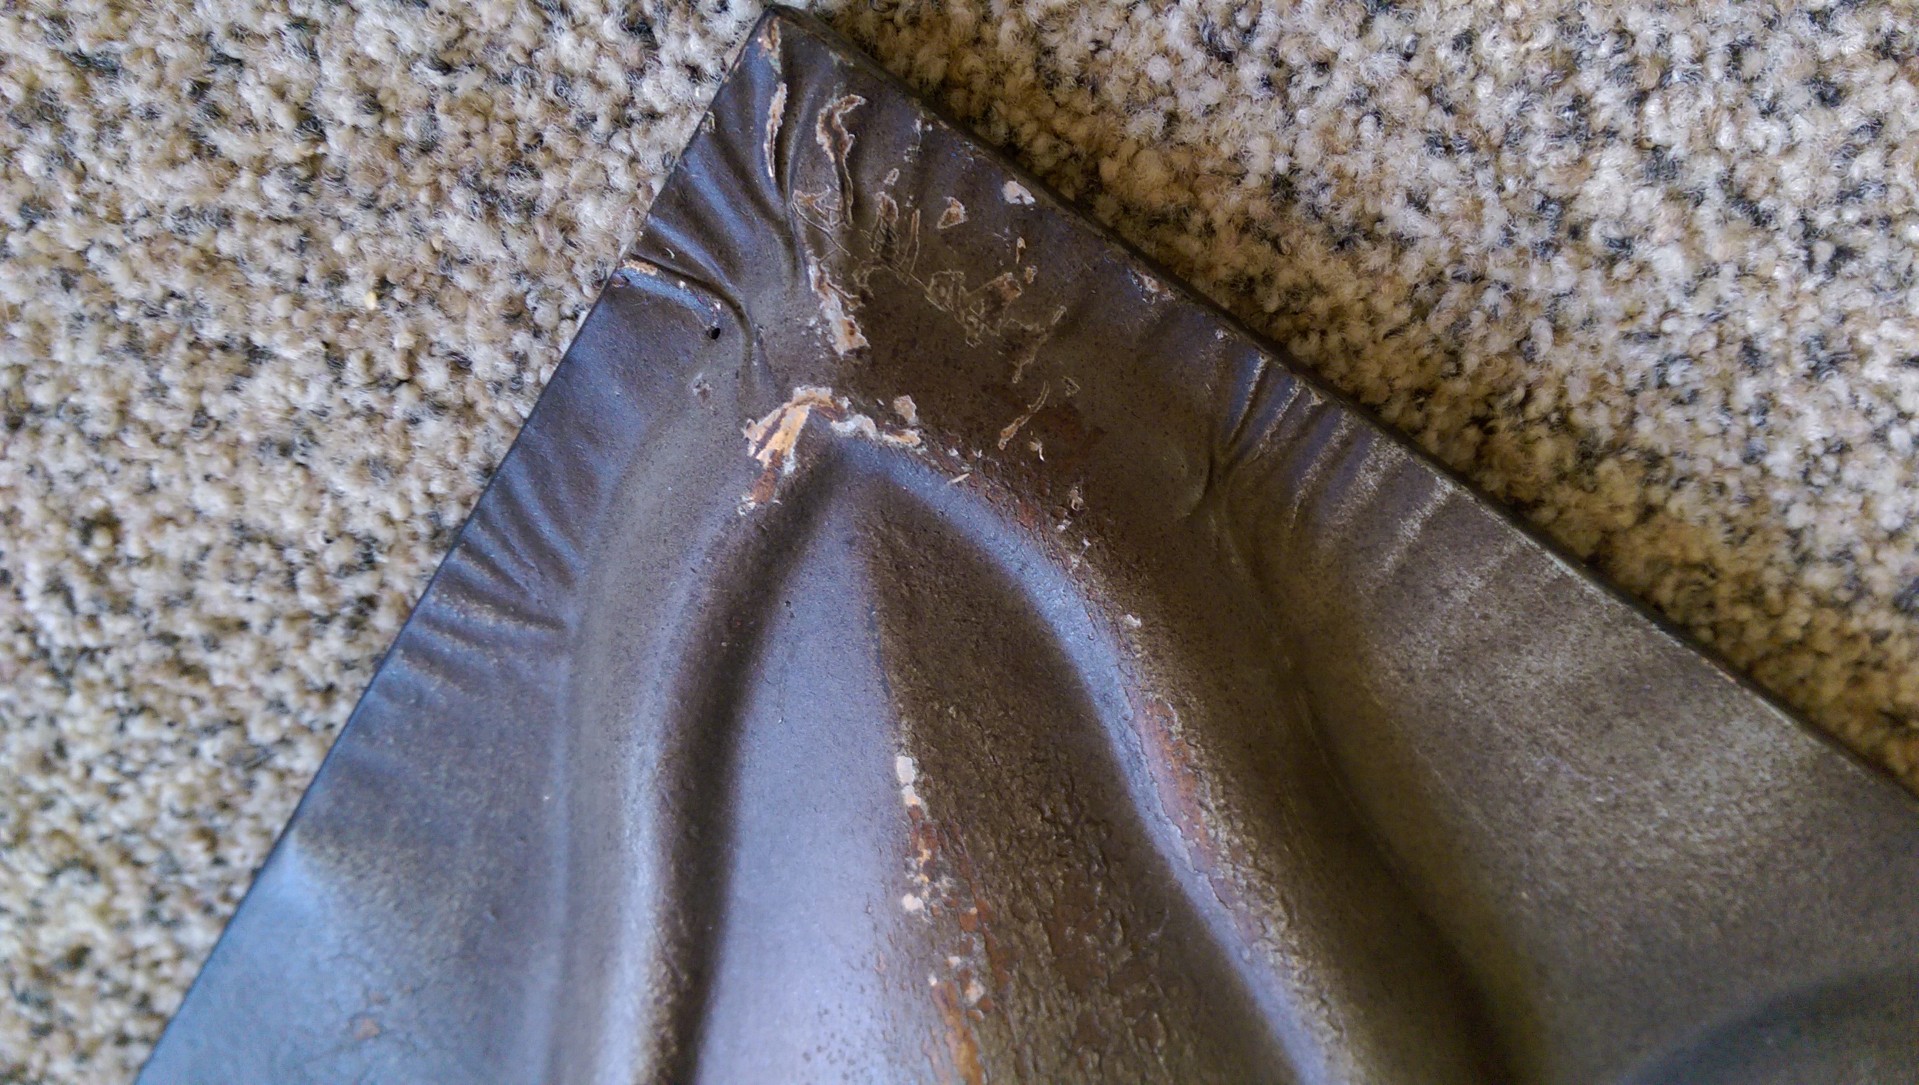
7 bucks?  That, I can do! I’m thinking that it was discounted because it was kind of scraped up in a few places…

IMAG00854

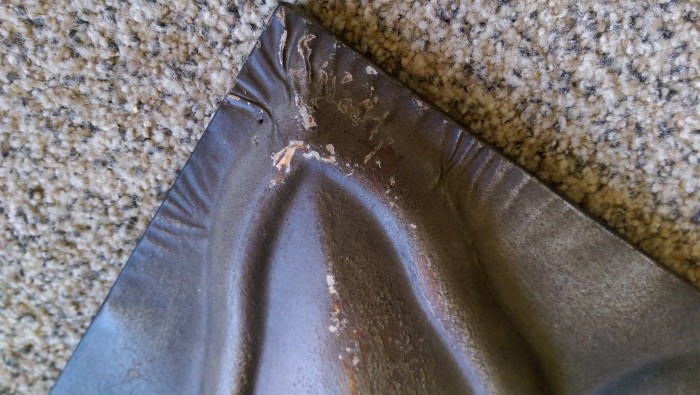
…which is ok since I didn’t like the finish on it anyway.  So after moving it from place to place in my garage for the past 4 years, it got some attention today, and I LOVE it!

IMAG00862

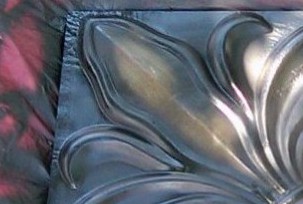
Wanna see how I did this uber-easy project?  Of course you do!  First I grabbed a can of black spray paint and mainly focused on painting the edges and raised portions:

Sorry, the dappled sunlight makes it kind of hard to see, but if you look at the upper left corner of the above pic, you can kind of see the black edges which will be visible once the piece is distressed.   Next, came two coats of a semi-gloss white paint:

IMAG00859

Of course I could have called it “Done” at this point if I was going for a clean modern look, but I wanted to take it a step further and distress it up a little to highlight some of the details.  Of course that is why I painted it black in the first place.

***Very Important*** If you plan to do a similar project, spray the top coats with only a short time between coats and distress while the paint is still a bit tacky.  They make spray paint so well these days that it dries to form a really tough surface, which is really what we want, right?  SO, if you are distressing spray paint, you have just a short window of time to accomplish that task.  Even though the distressing process took me about 10 minutes, I could tell a big difference between how easy it was when I started, compared to when I was finished.  Work fast, ok?  If, heaven forbid, you miss that window of time, you can try using some fingernail polish remover and a Q-tip like I did with my metal star project.   Just make sure that you change Q-tips often to avoid a smudgey look.  Got it?  Good!

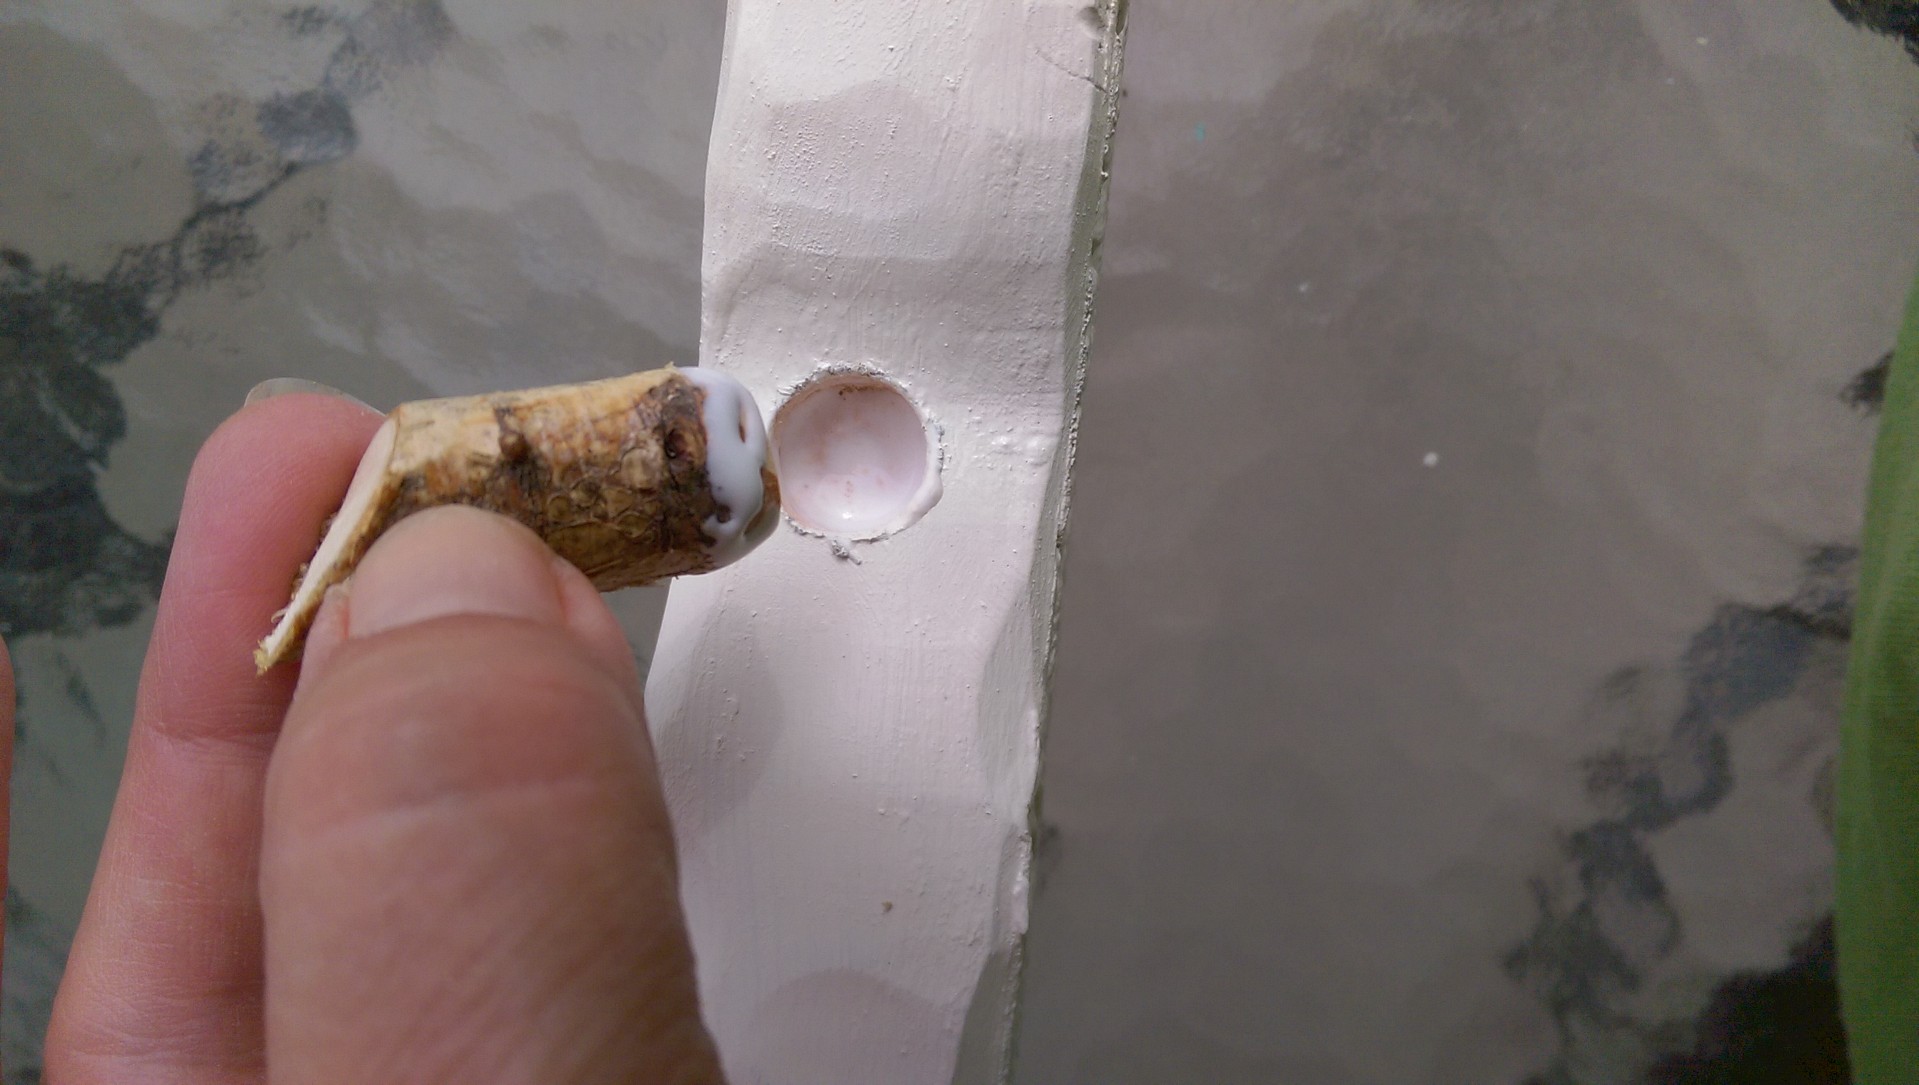
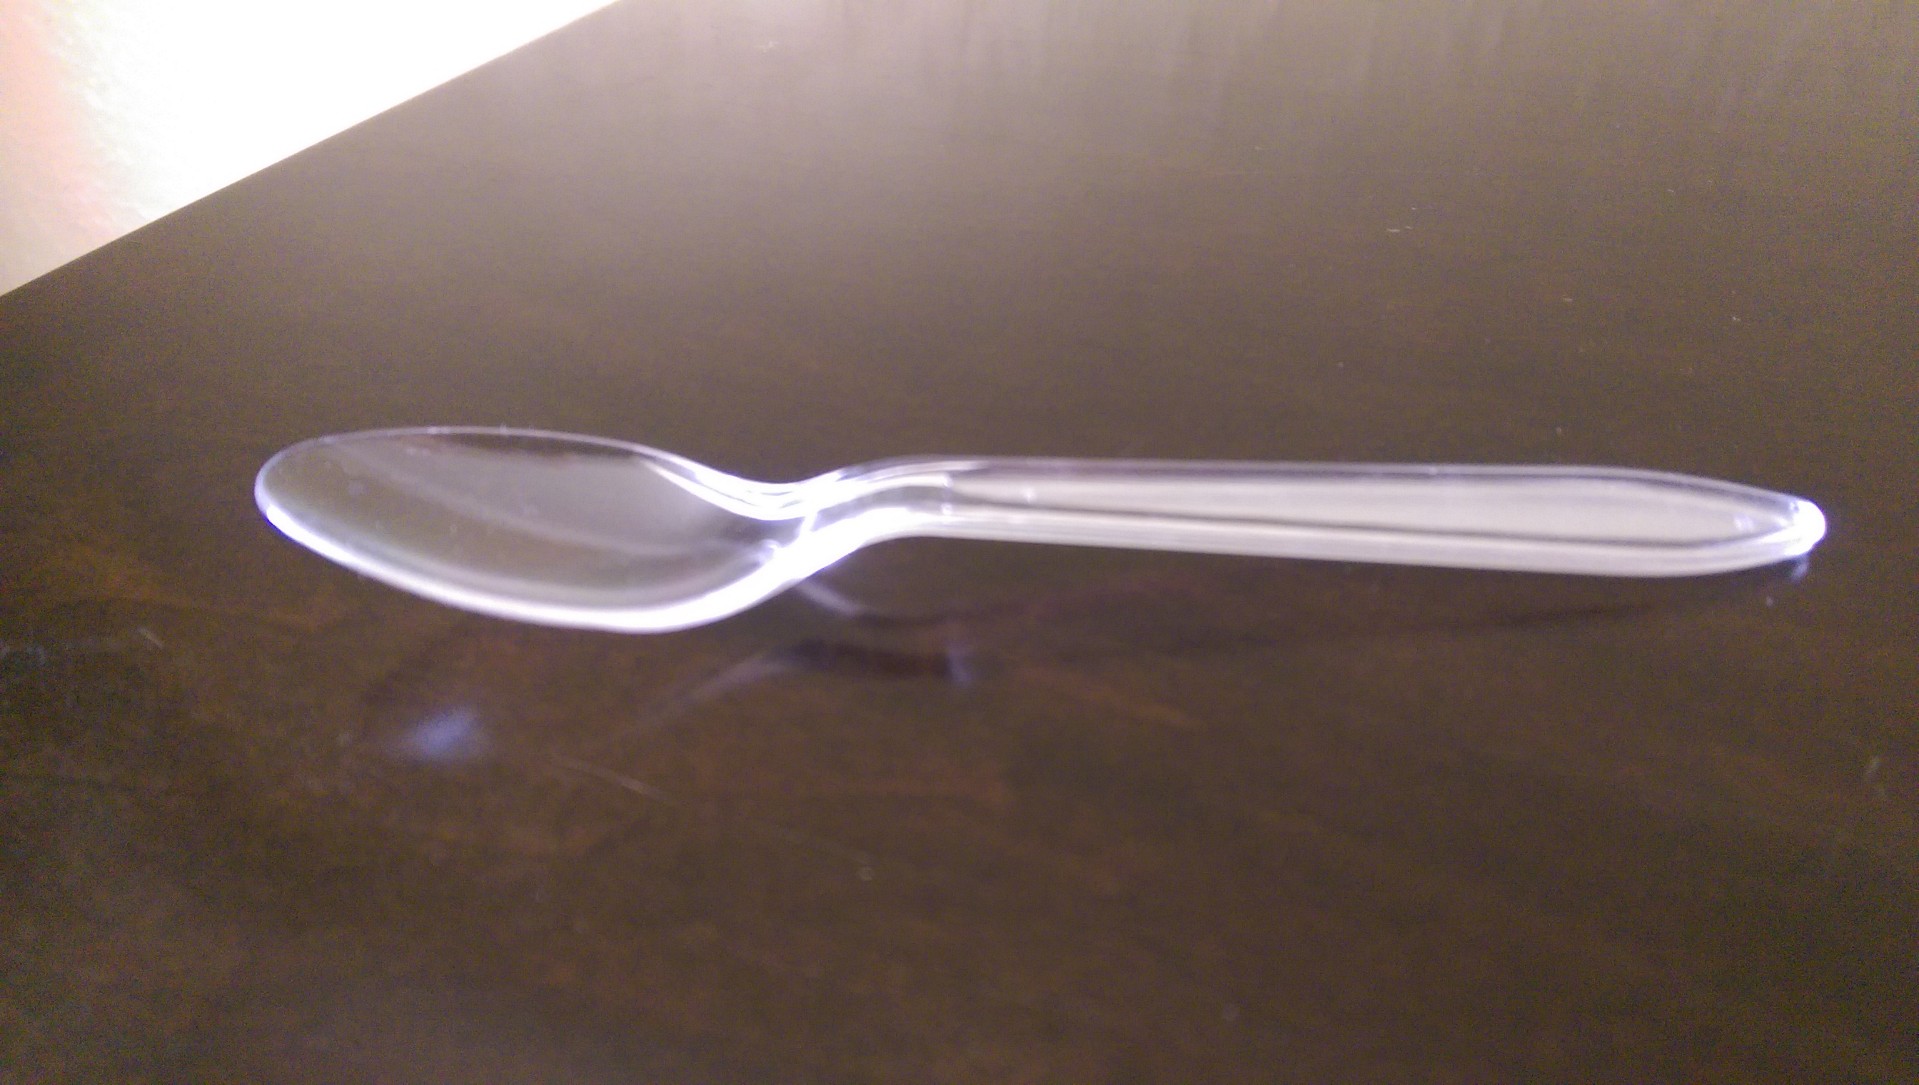
Now, do you want to see my high-tech distressing tool?  Of course you do:

IMAG00866

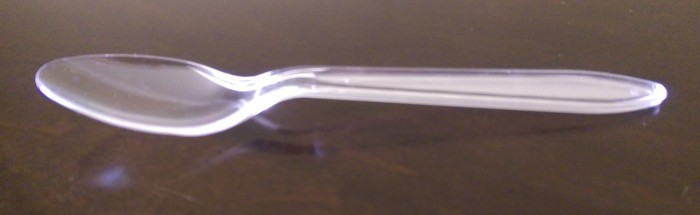
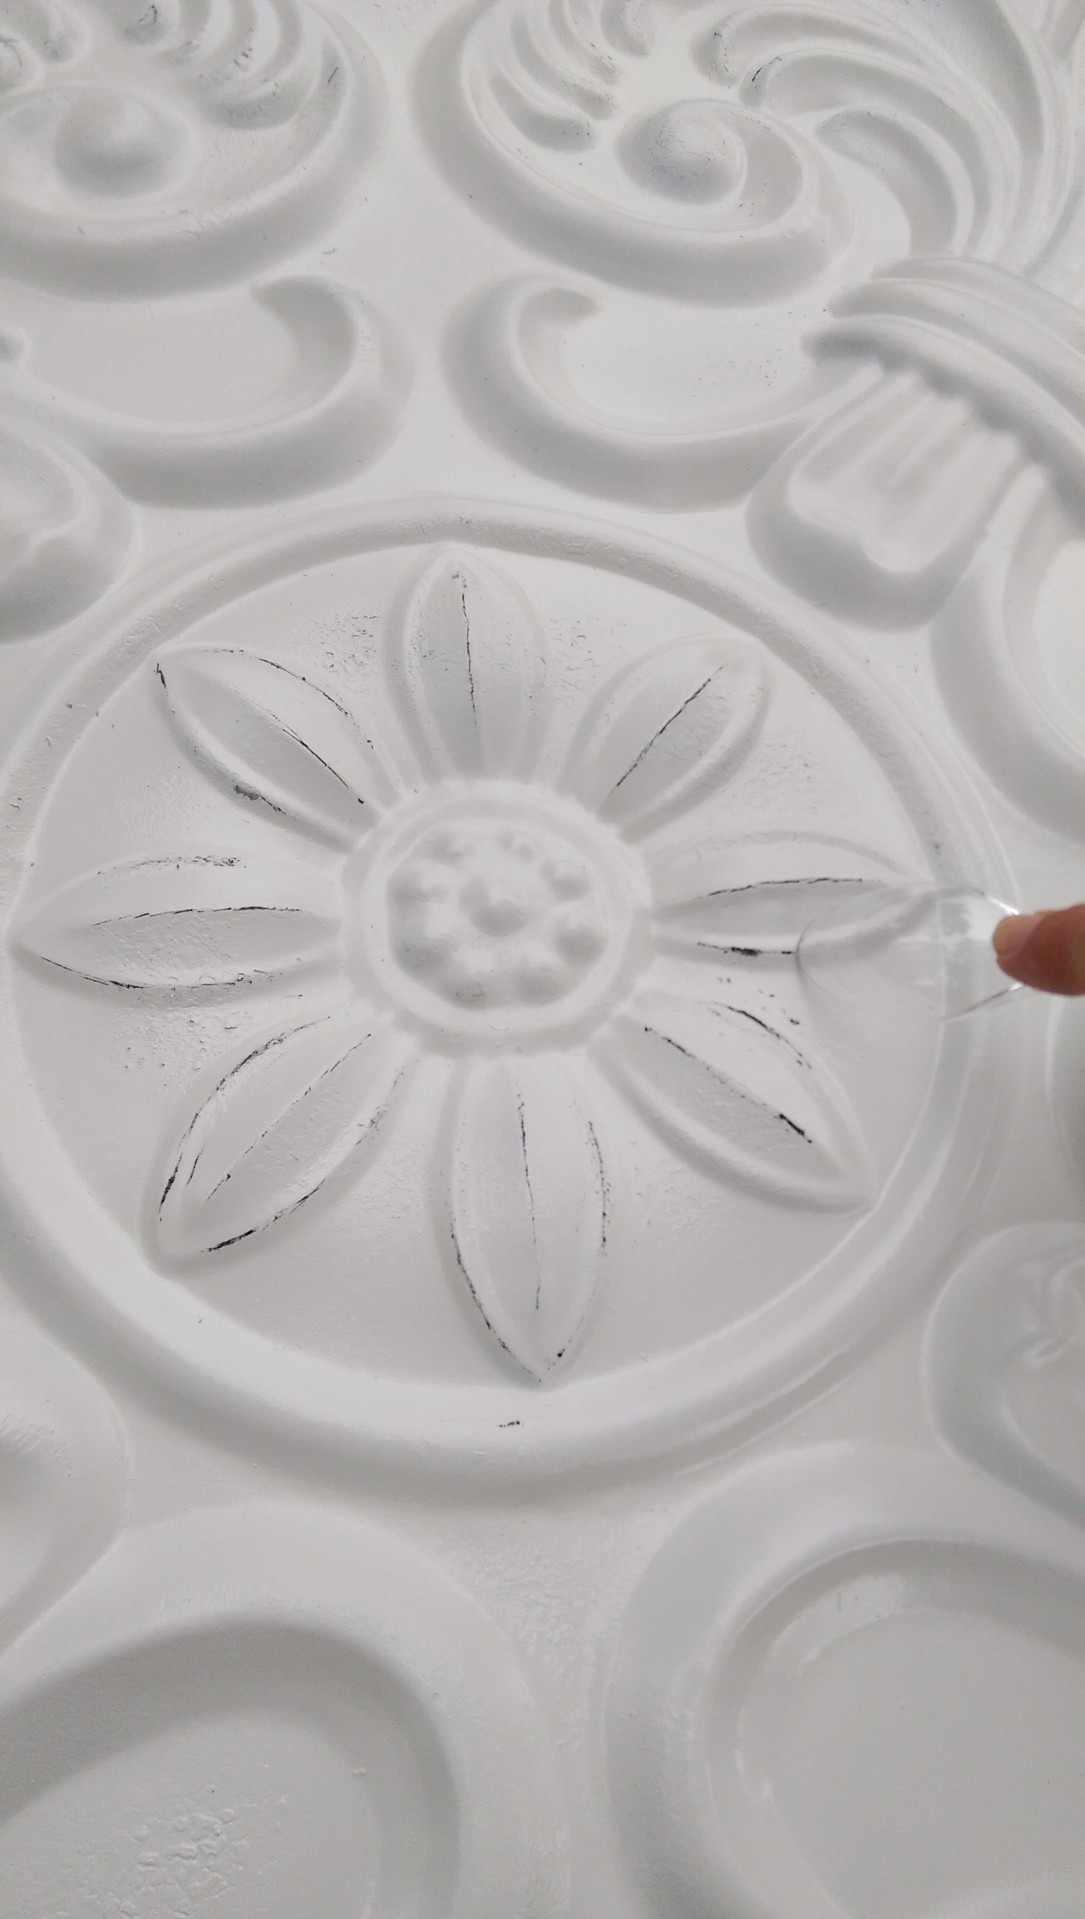
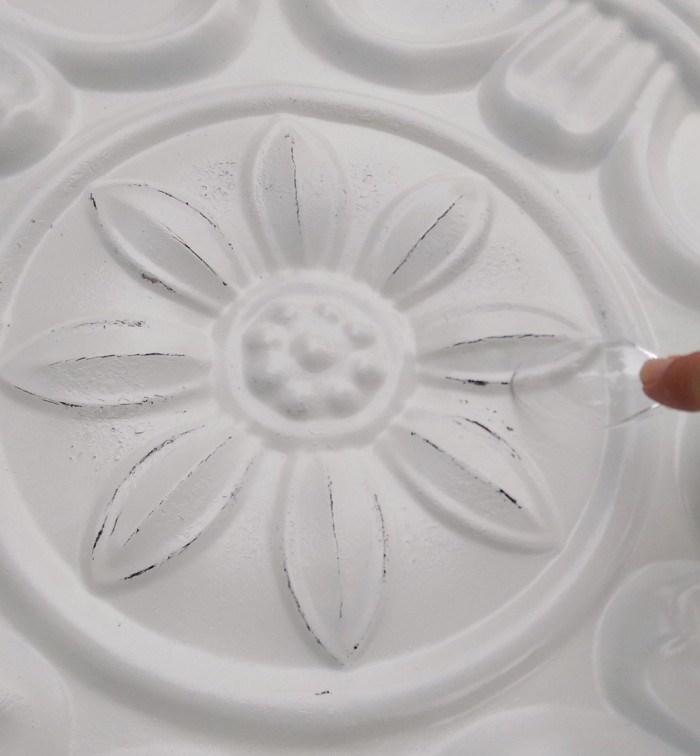
Let me be honest:  I started out by using my thumbnail and realized that I would likely wear it away to nothing so I figured that a plastic spoon would do the trick and it did.  Sometimes I scraped away with the spoon part…

IMAG00860

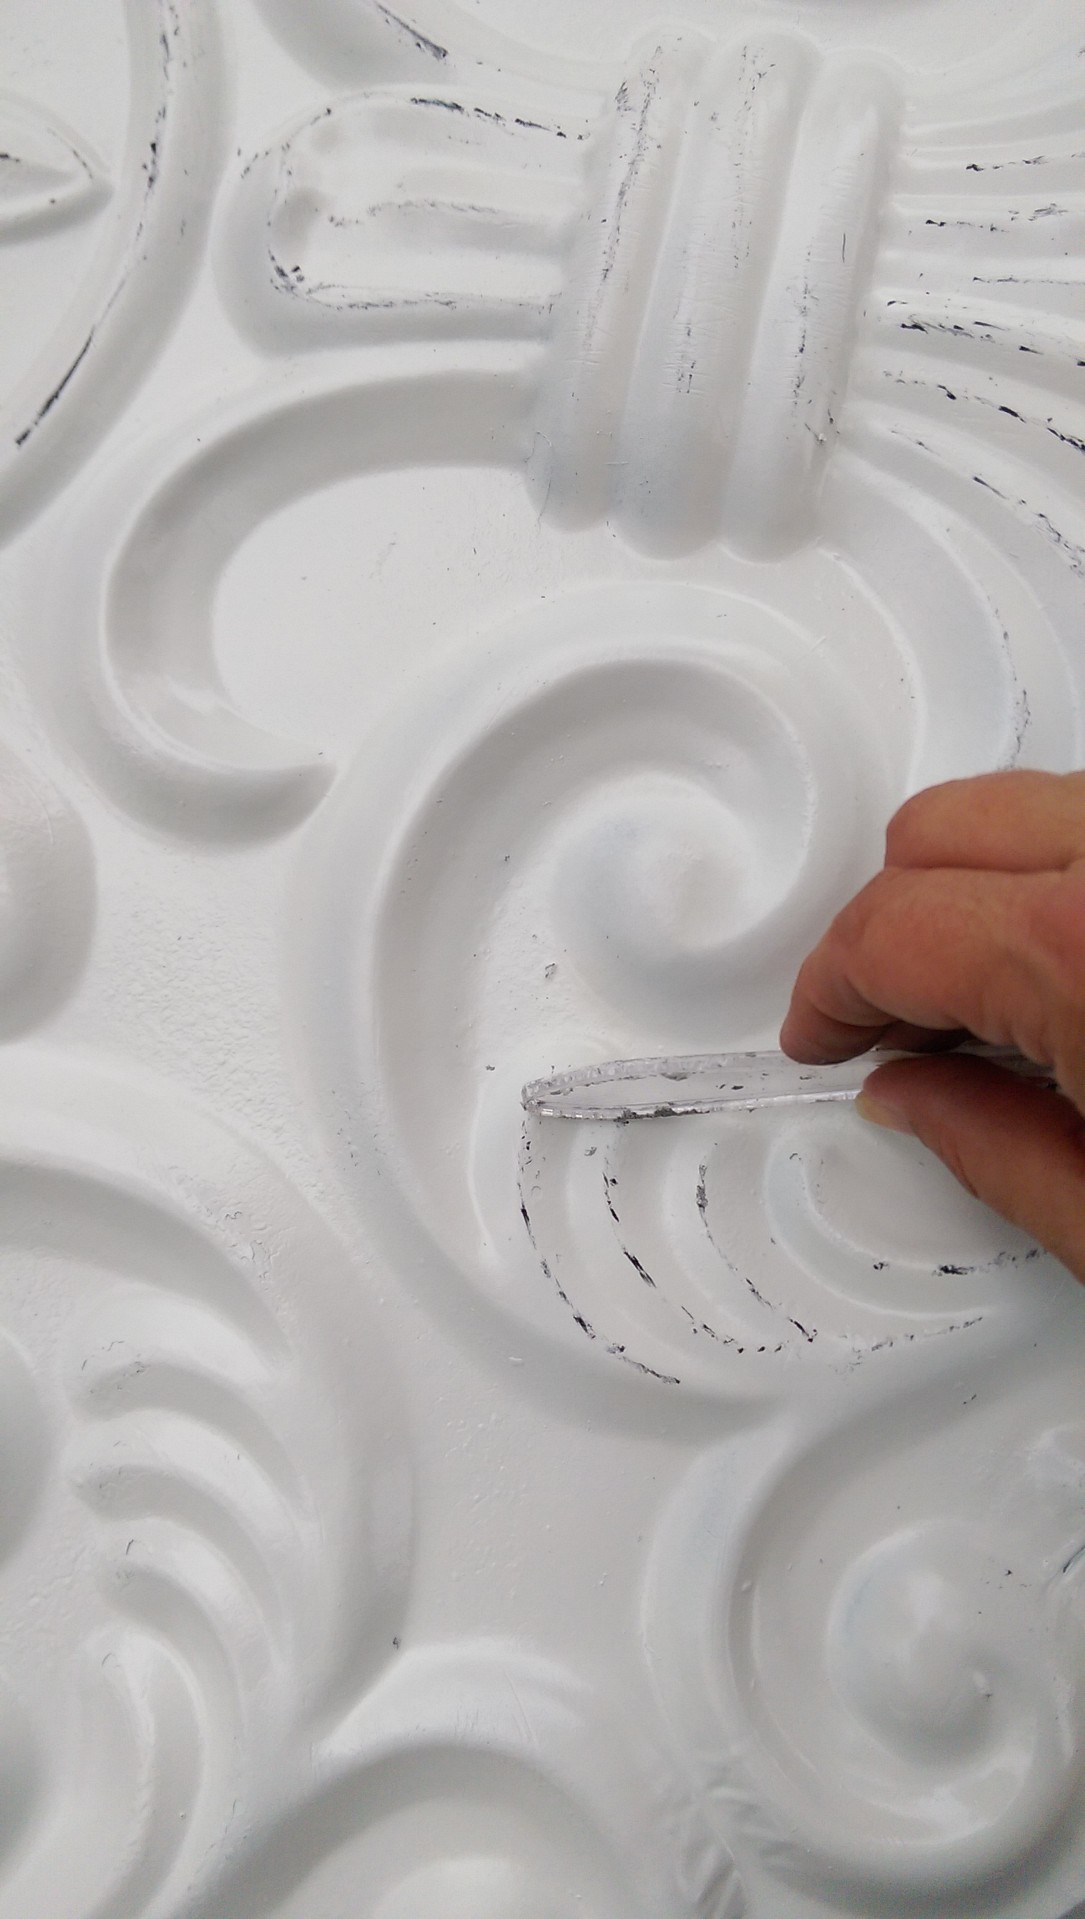
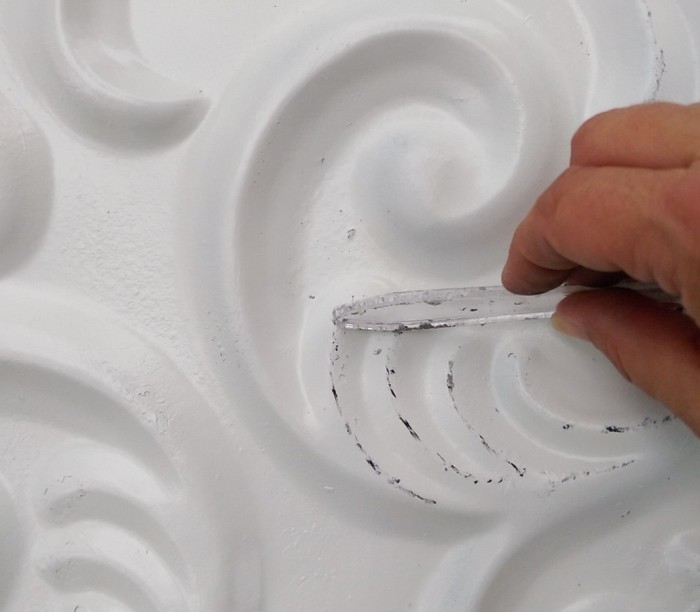
…and sometimes I used the handle to cover more area at a time…

IMAG00861

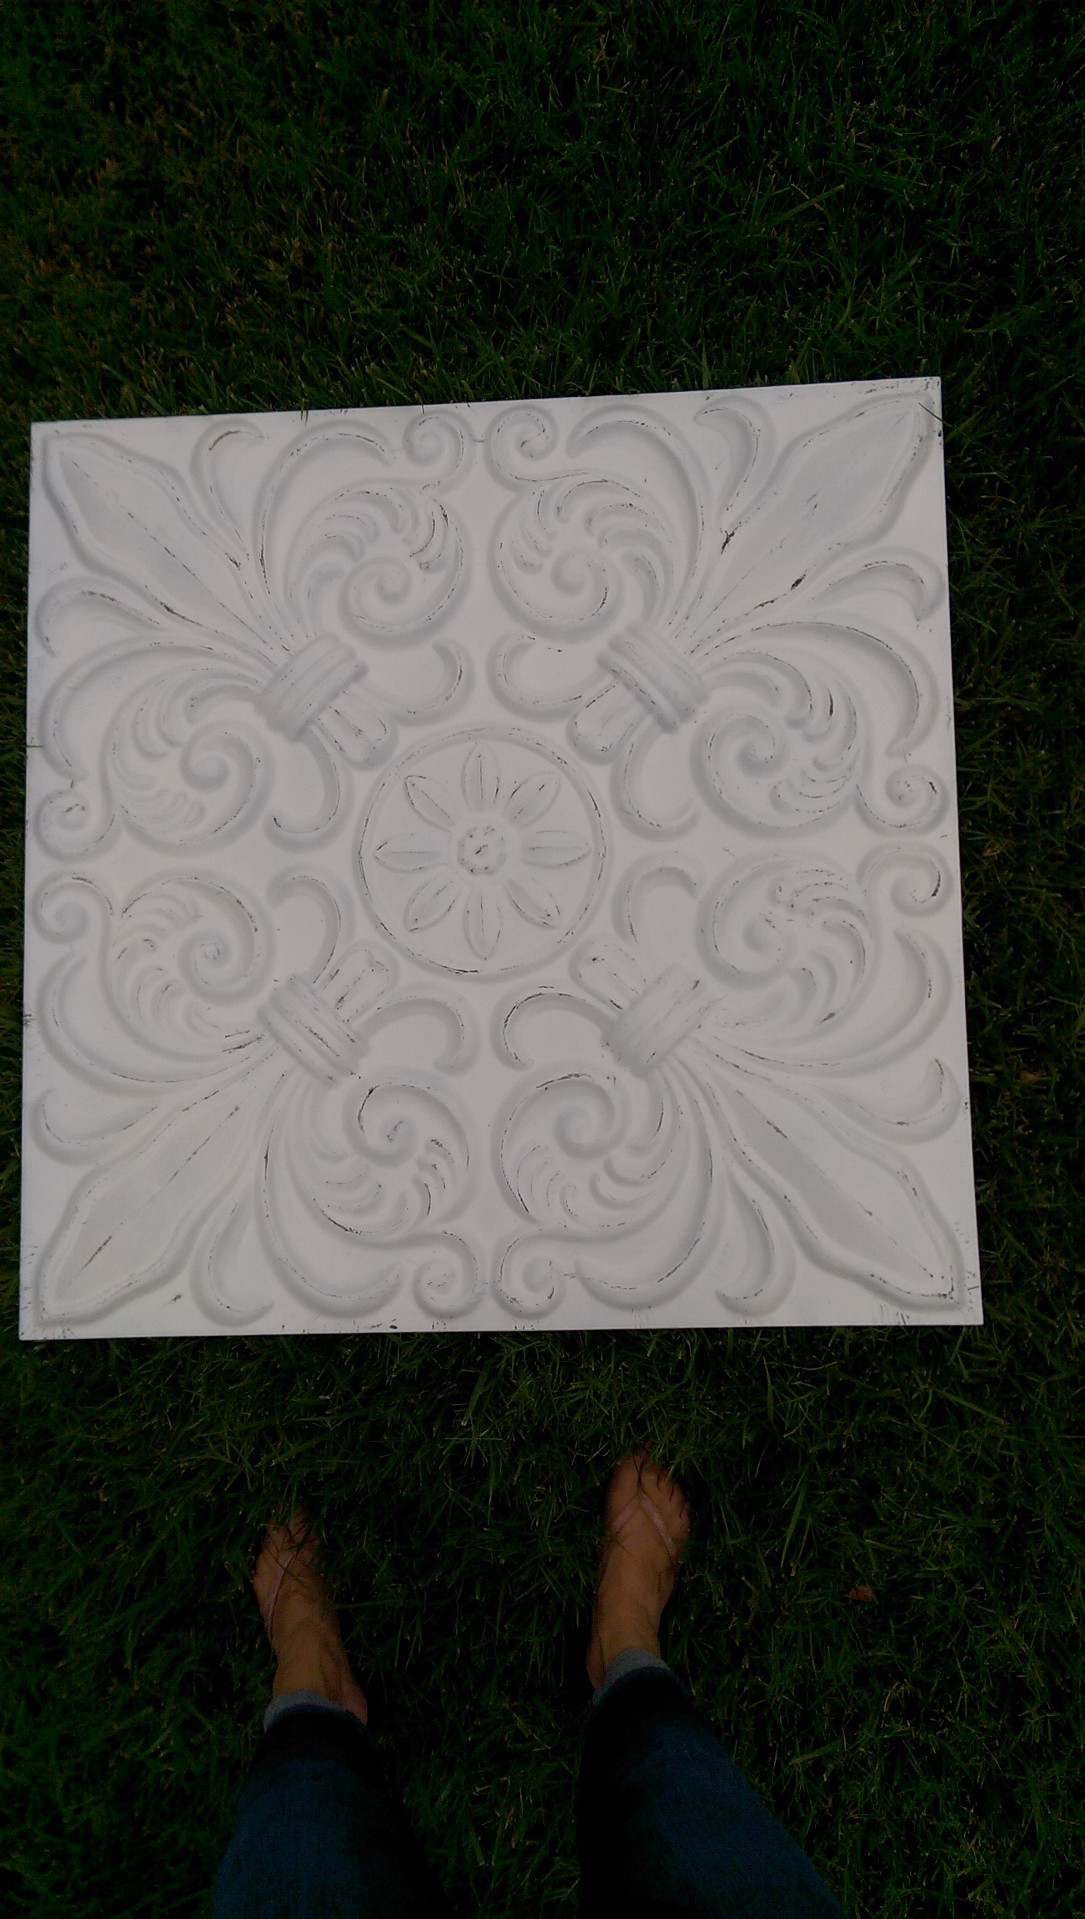
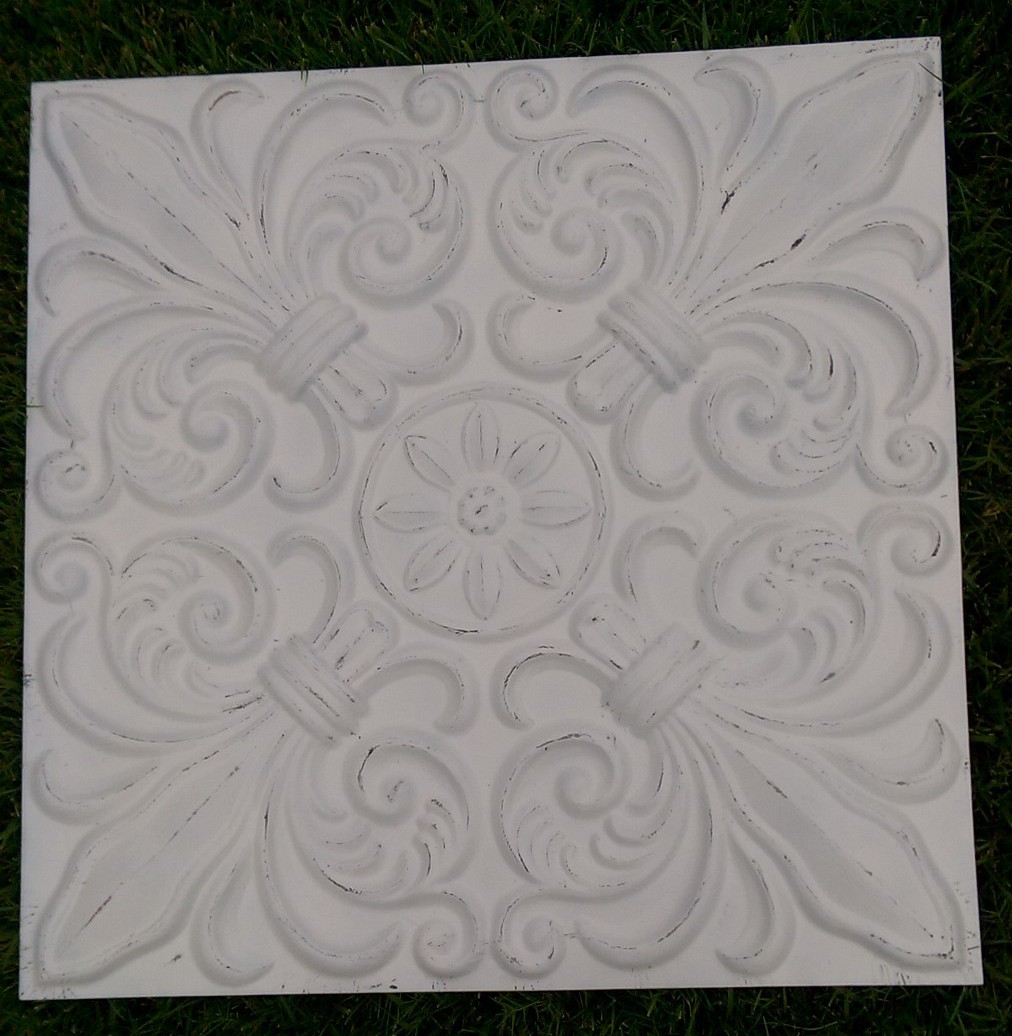
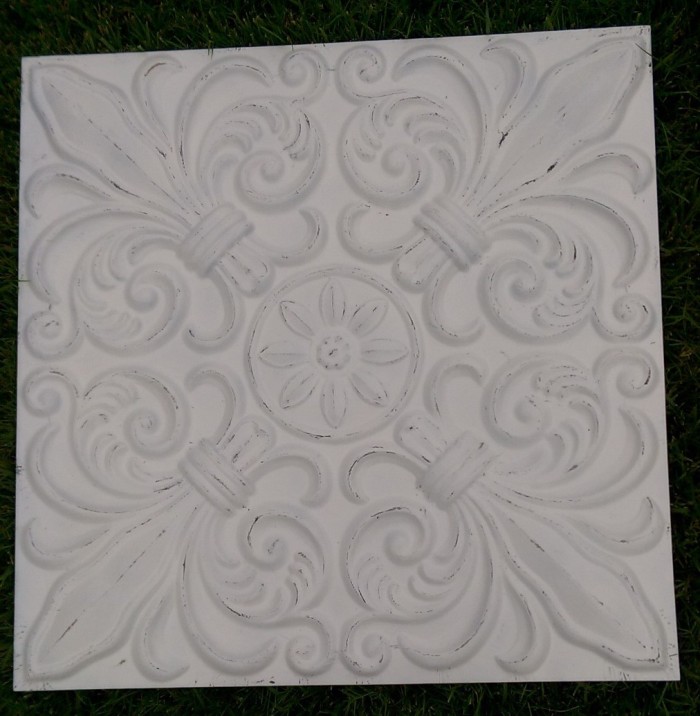
Here is the finished project…

IMAG00862

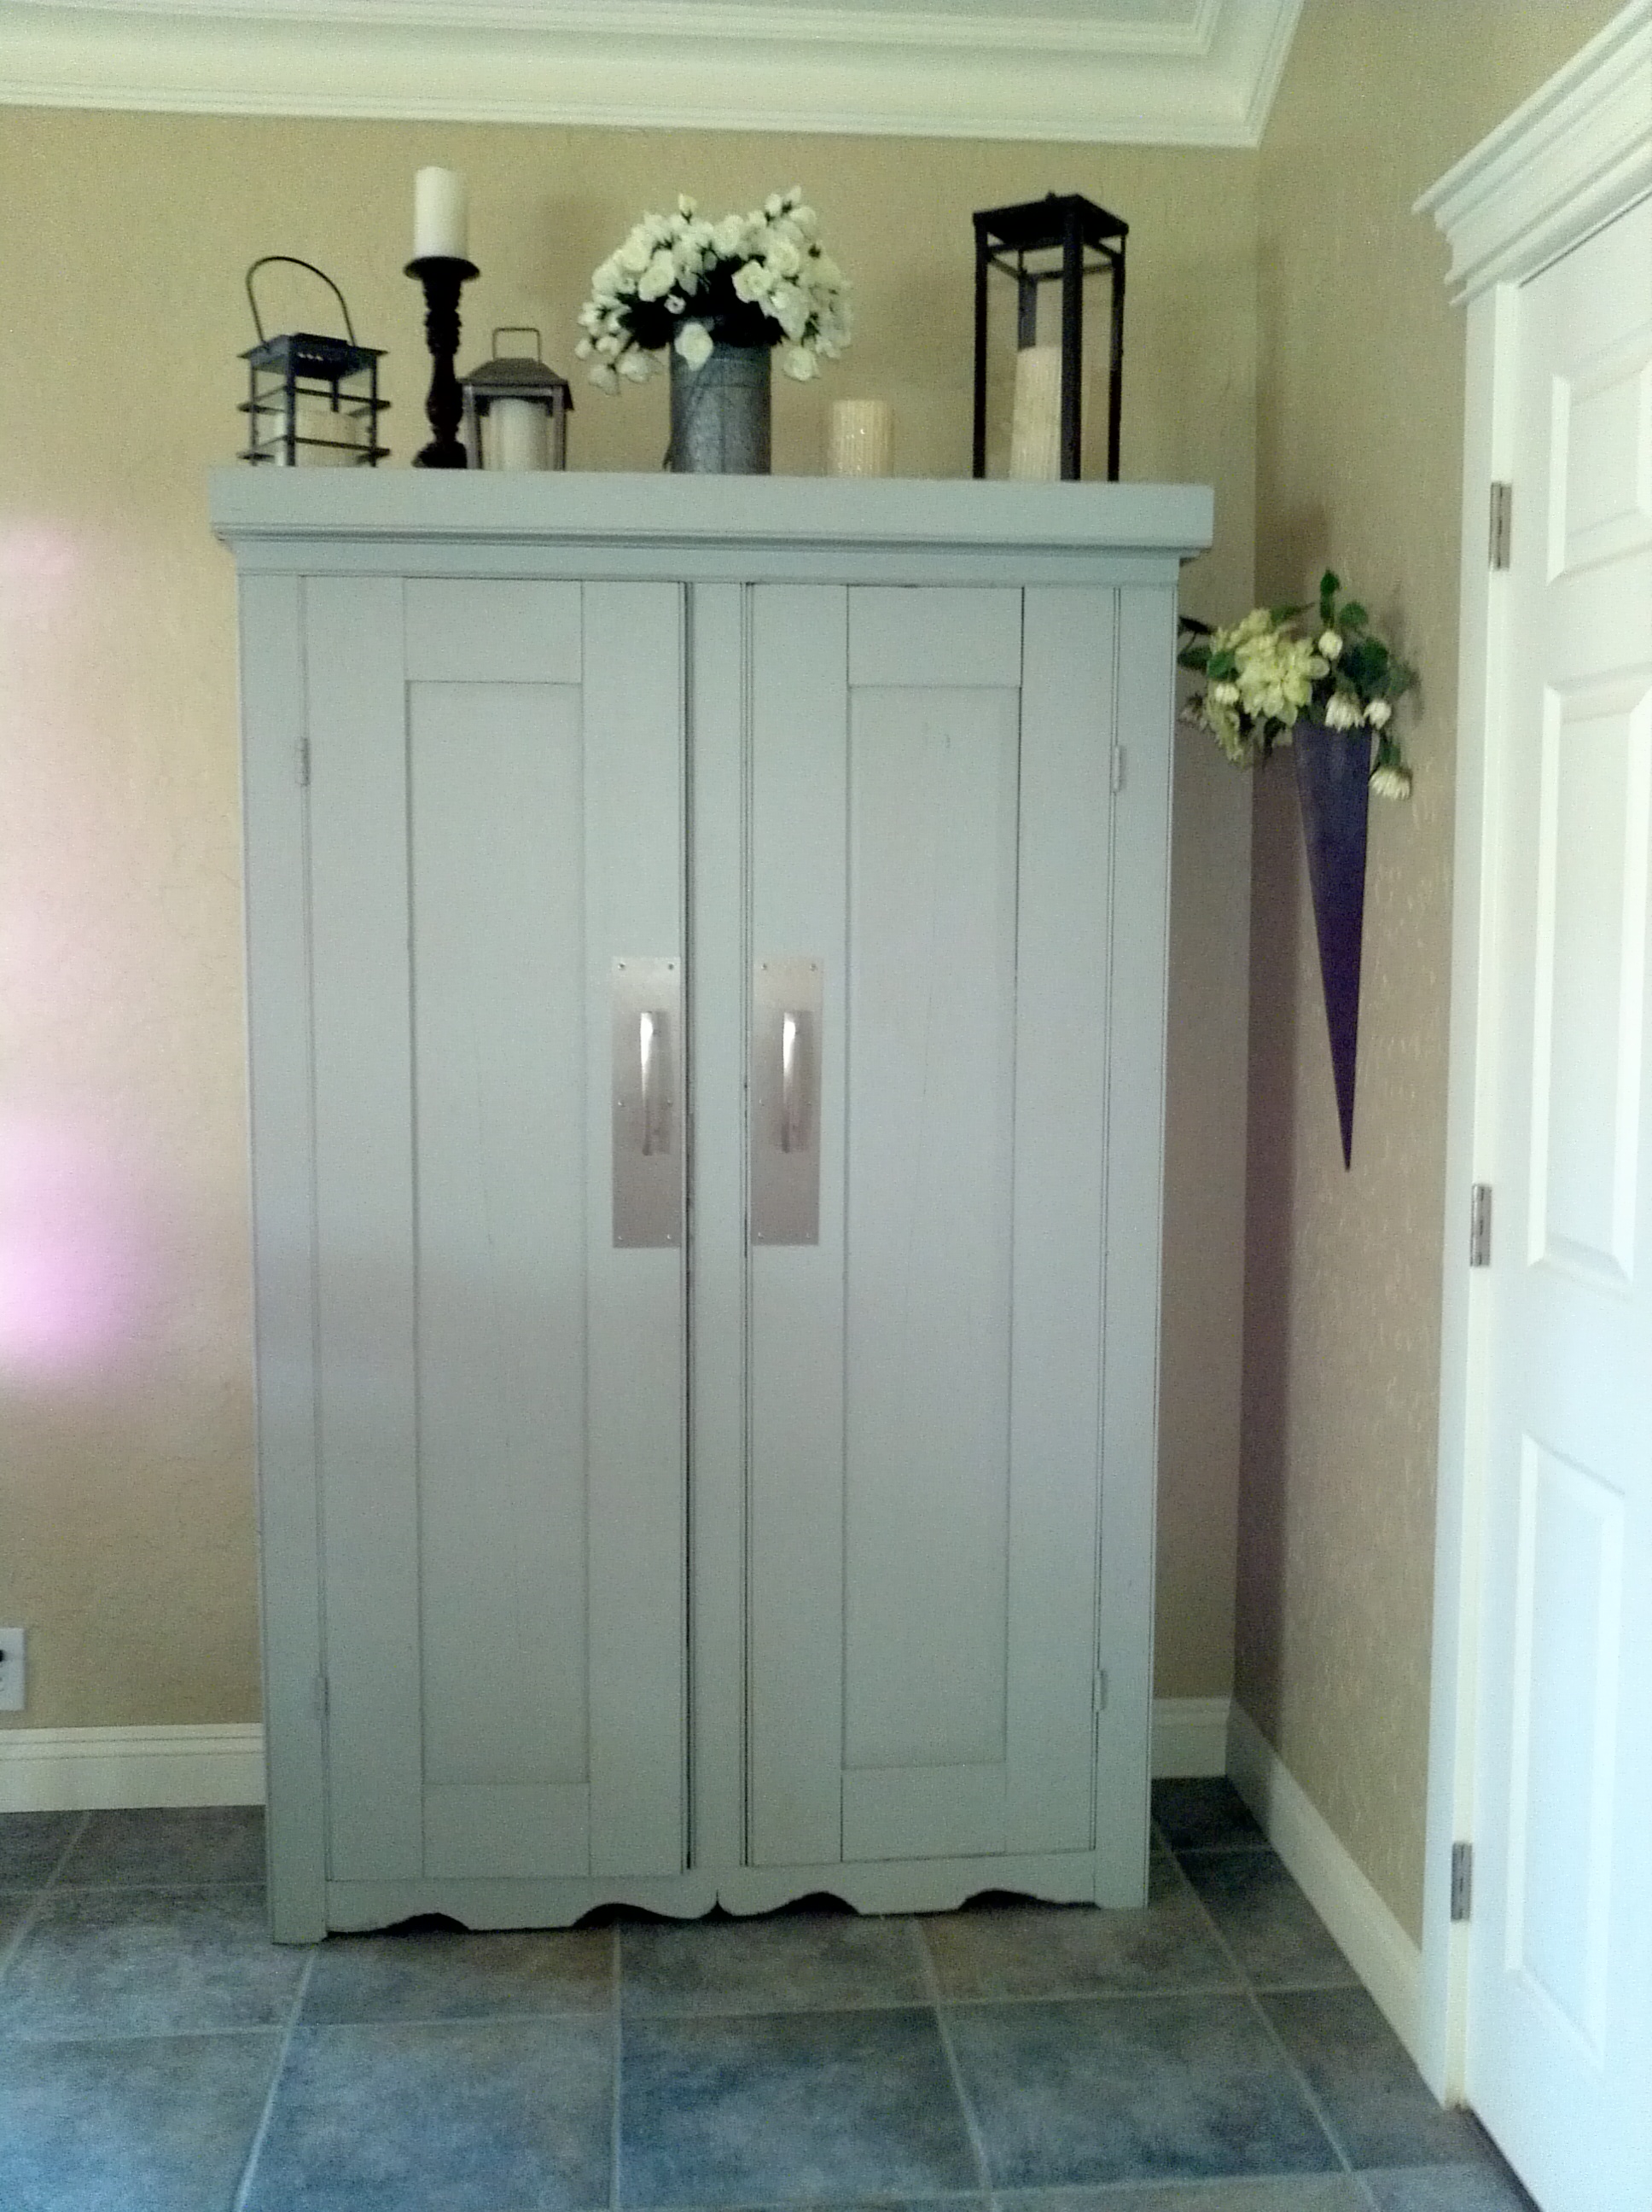
…which I LOVE!!!  With the new finish, it is no longer “okay-ish”, it is fabulous.  I thought that I knew exactly where I was going to place this baby, up high in my dining room, but now I want it more front and center.   Hmmm.  The easy part was re-creating this piece.  The hard part is deciding where to put it:
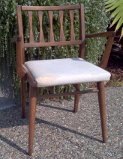
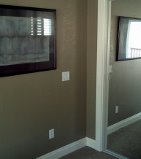
What do you think?  Where should it go?


Yep, I can honestly say that I love this piece.  Love!   So, do you have something hidden away in YOUR garage that could use a couple of coats of paint and a spoon?


********* Linking up to these awesome parties!*********


Kicking It Up a Notch: A Cabinet Re-do Using Kick Plates

KickPlateCabinet2

Don’t you just LOVE this old cabinet?

IMG_20130619_162102


It’s an old redwood cabinet that is solid as a rock and weighs about as much as my car.  It stands about 7 feet tall and 5 feet wide and, since my house doesn’t have a pantry, currently serves that purpose.  This thing holds a full metric ton of stuff, I swear.  Maybe more.  Problem was, it looked beat up and had few too many holes and no real door pulls to speak of.  See?

IMG_20140924_180208

I figured out that I would have to spackle and fill until the cows came home until I happened upon a solution in my local Lowe’s hardware store:

Gatehouse 3.5-in x 15-in Aluminum Aluminum Entry Door Push Plate

Are you thinking what I was thinking?  Genius, right?  I bought 2 of these for $7.27 each and headed down to the cabinet pulls and knobs aisle and picked up some nice big, pulls.  With some basic tools like a power drill/driver, and about 30 minutes of my time, this is what I got:

IMG_20141002_094038

Oh, yeah.  Did I forget to mention that I painted the piece before installing the hardware?   The color is really similar to the original shade of gray.  I basically mixed several latex paint colors that I already had until I said, “Yep, that’s it” and slapped it on.  Seriously.  If you think that painting is hard and time consuming…you…are…wrong.  Sorry, I hope that wasn’t too harsh.  This piece took me maybe 30 minutes total painting time (not counting drying time) to paint.  It is not rocket science.  Easy-peasy, puddin’ and pie.  This is an old piece so I didn’t want it to look new.  I think the dents and cracks and area where the chunks of wood just splintered off add character.

So, whaddya think?  I must say that I love it!  It still fulfills the same purpose, but with a heck of a lot more style.

BEFORE
BEFORE
AFTER
AFTER

So, is your mind reeling with ideas of how to use Kick Plates in your home?  What about adding them to some dresser drawers?  Maybe even an actual door?  These babies come in several sizes and finishes.  What about lining up two or three of them, mounting them on the wall and making a magnet message board (just make sure the particular finish you use is magnetic),  or one per child for hanging their artwork?

Why don’t you take a trip to your local hardware store.  You never know what treasures might be found there.


********* Linking up to these awesome parties!*********

Nemcsok Farms

Also Featured at the Share It One More Time link party

share it onemorelogo_redo1


Let’s do a dry run here…

Have you ever thought about the phrase, “dry run” before?  As I titled this post, I instinctively wrote that phrase and then wondered to myself, “What in the heck does that mean?”.  I even had to Google it to make sure it was a real phrase and not just a figment of my imagination.  Here’s the definition that I found, “a rehearsal of a performance or procedure before the real one”.  Yep!  That’s exactly what I meant!

So, today I will do a dry run of what I hope this blog evolves into.  As I mentioned in my first post, I would love to get to the point that I actually have people who read my blog with the intent of helping other Armchair Decorators.  I want to be able to posts pics requesting help with my own decorating questions and dilemmas and have readers comment back with their suggestions.  Sounds pretty selfish of me if I were to stop right there, huh?  But wait, that’s not all… I also want my readers to post pics of their questions and dilemmas.  See, I’m not so self-centered after all.

Dry Run drum roll, please…….

Imagechair2imagechair

Here is a chair that I bought at a yard sale for $3 (!) a couple of months ago.  It has been sitting in my garage, waiting for me to do something amazing with it.  Usually I am the first person to slap paint on any wood around, but for some reason, with this chair I might even consider keeping the (walnut?) wood.  No promises, though.  Anyway…

Imagebedroom

…this is where I plan to put it, kind of kiddie-corner in the, uhh, corner.  Yep, it will block a little bit of my (most attractive- doesn’t everyone want them) mirrored closet door.  That’s ok.  Five days a week I get up at 0′ Dark-Fifteen when my hubby is still sleeping.  To avoid waking him up, I pick out my outfit each night so it is ready and I don’t have to think in the morning.  Right now I put my outfit in a nice pile right there, on the floor, so I would love to have that chair… right there. Keep in mind that this brownish paint will someday be covered with a nice, light gray paint.  What will look good now, plus then?

Here are the fabric choices that I am considering.

imagefabric

So, what do you think?  Which would you choose?  Should I paint the wood or just wax it?

I really wish this wasn’t a dry run, because I could really use your advice.  If you happen upon this post, please respond!  (I will show “after” pics when it is done.)

So, what décor dilemmas are lurking in your Home? /