DIY: Update Your Old Christmas Decor

updatechristmas

Happy December!  It’s that time of year again where the red Rubbermaid boxes with green lids come out of hiding and my house explodes in Christmas décor.  I love, LOVE, L*O*V*E this time of year!

Question: Do you have Christmas décor items that you put back in the box year after year without using them in your holiday decorating?  Stuff that you LOVED way back when, but now no longer fits with your Christmas design style or colors?  I decided to update a couple of items that I haven’t used in the past few years and I couldn’t be more pleased!

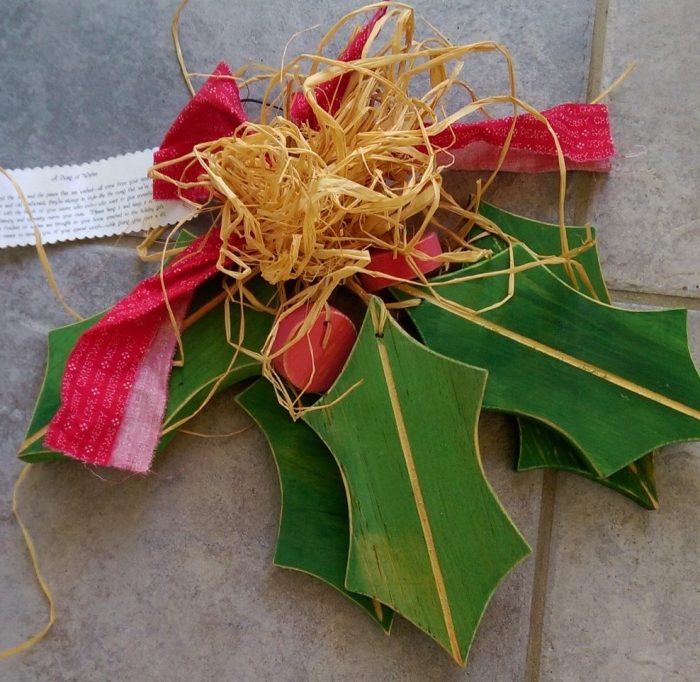
First, I have this wooden holly swag that my friend gave me many years ago (thanks, Renee!).  It’s super cute, right?
Green Red Wood Holly Swag

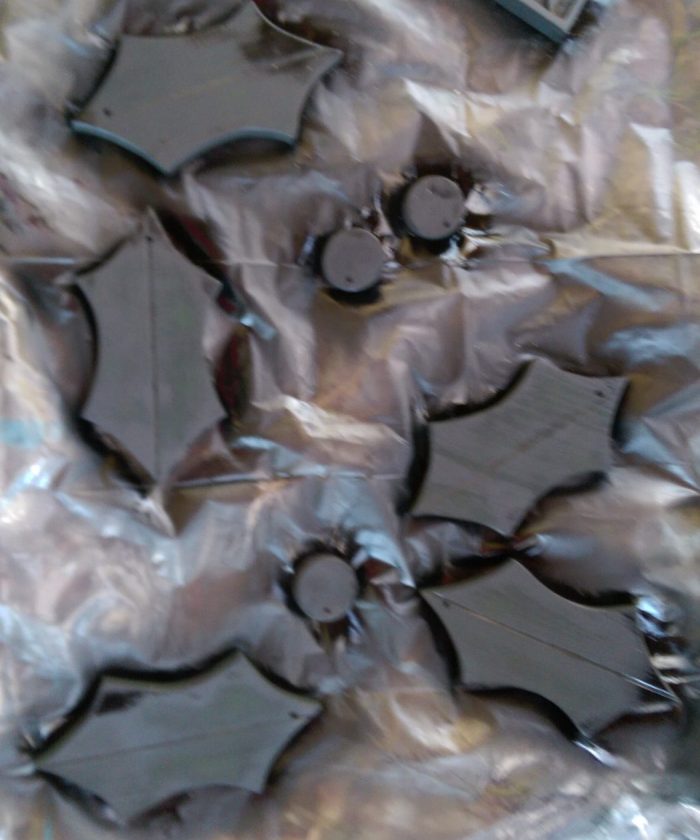
I have decorated with it and loved it for more than a decade, but my Christmas décor colors have changed over the years and it no longer matches my style,  plus the raffia was all snarled up.  For my DIY, I removed all of the raffia then painted all of the pieces with flat black spray paint,
Black painted wood holly cutouts

then painted the round “berries” white and the leaves a light greige color.   I did this to both sides to make the finished project look good from all angles.  After the paint dried I grabbed an old spoon and scraped the edges to reveal the black paint beneath for a distressed look.
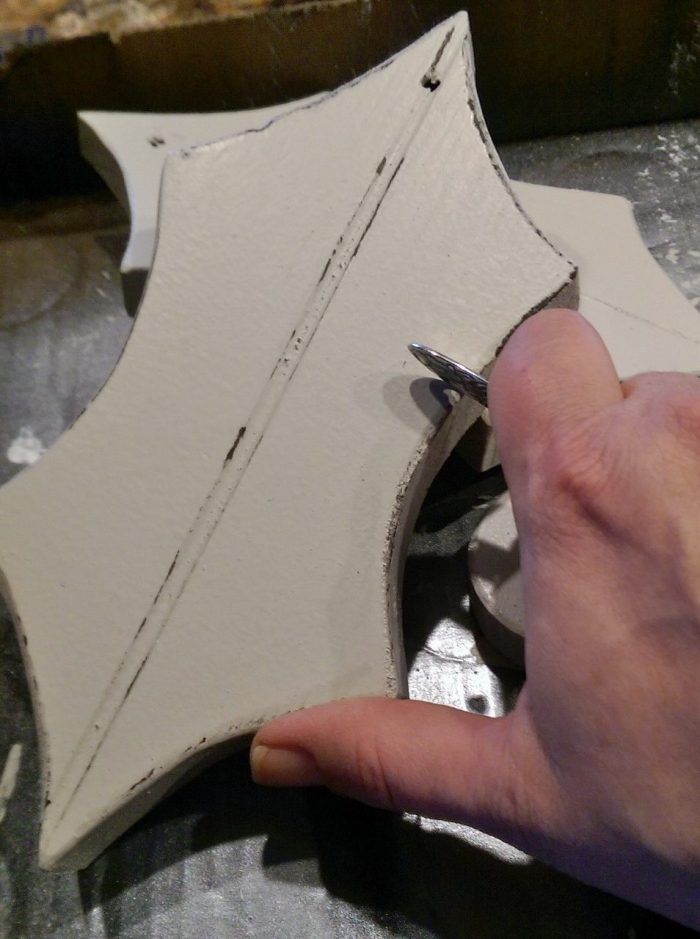
distressing paint with a spoon handle

Using the spoon handle to distress the paint edges was way faster than sandpaper would have been.  If you notice how I was holding the spoon, it felt similar to peeling potatoes.  I just love the little center vein that was routered down the middle of each leaf.   That, coupled with the distressing, gives these holly leaves nice dimension.

Once all of the pieces were distressed, I grabbed some light blue ribbon and inserted it in the holes.  I added the 3 round “berries” to 3 of the leaves with the ribbon and laid it out on my counter in the approximate way that I wanted it to hang…
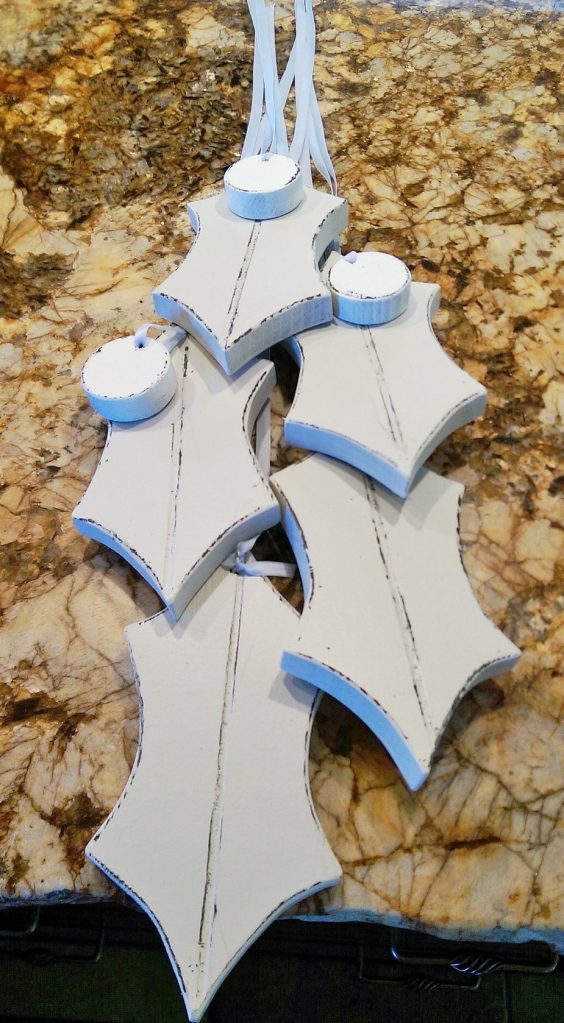
wood holly swag

…and then I tied a knot at the top.  So, here is the finished swag:

Just in case you are interested in making a set of your own, here is a pattern for the holly leaves and round berries.  This would make an awesome neighbor gift, right?

My other project was an item that I painted sometime in the 90’s which was in sore need of a makeover in order to come out of the Rubbermaid this year:
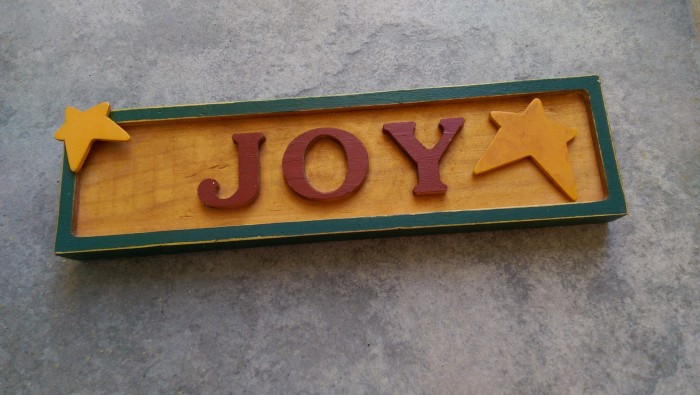
Green red wood JOY sign

Again, it wasn’t horrible, just didn’t fit my current décor.  This little “JOY” sign got the same treatment as my holly swag and I kind of love it now:
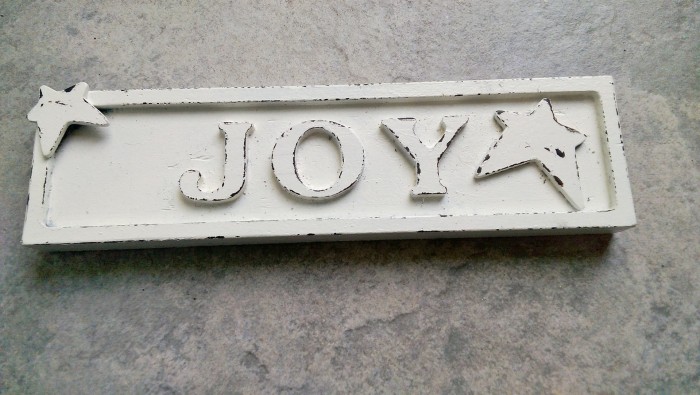
wp_20161202_002-1

I half thought that I would paint the stars with silver nail polish.  Who knows, maybe next year.  I am really liking the subdued whites this year, so for now, it’s just how I want it.

And, here is the final resting place of each for Christmas 2016:
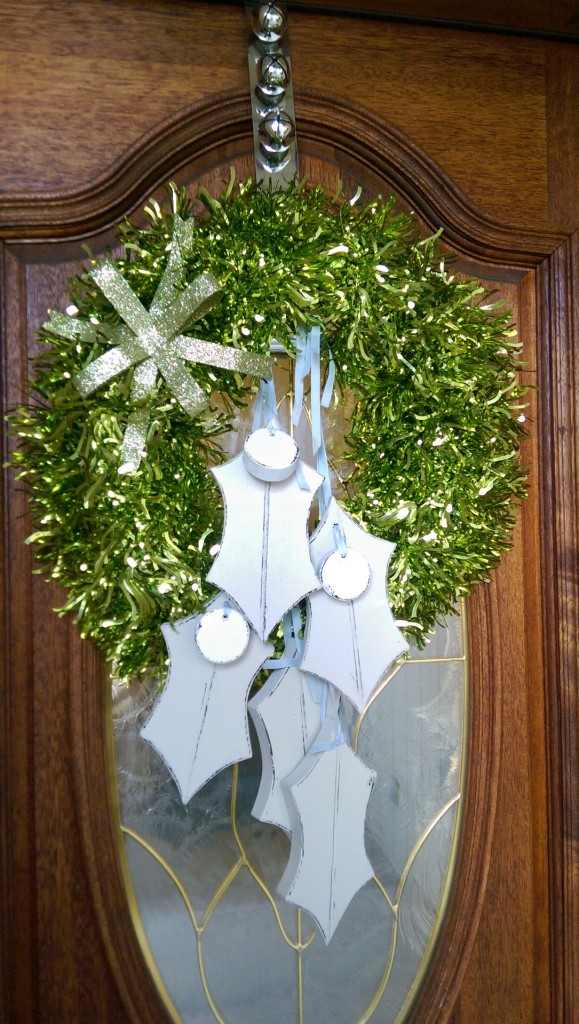
green wreath holly swag

I’m liking the new looks…for now.  Who knows, I may change it back to bright colors in another decade.

So, do you like the before: colorful versions, or the after: distressed shades of white?  What Christmas color scheme are you liking right now?


*********Linking up to these awesome parties*********


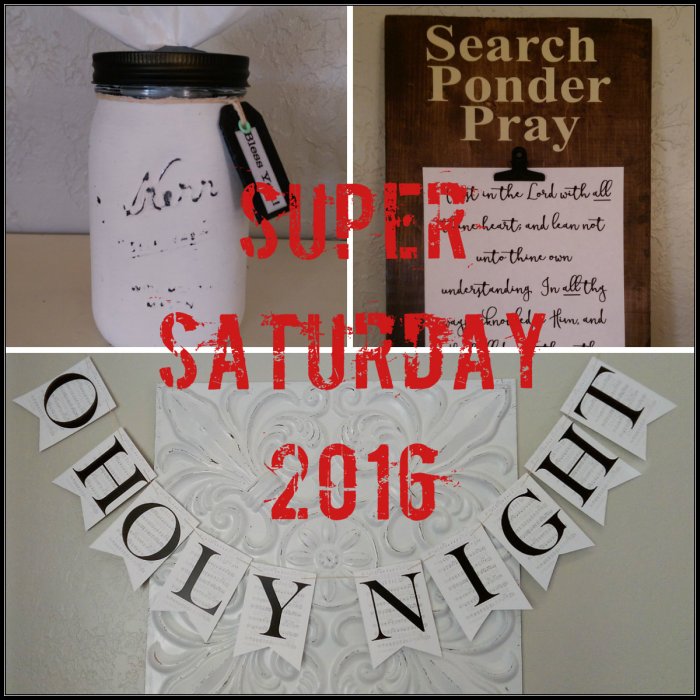
Super Saturday Crafts 2016

Super Saturday 2016

It’s almost Super Saturday again!

Super Saturday is my favorite crafting event and it is coming up in just 2 short weeks.  Last year I posted what crafts we did for our local Super Saturday and I figured that I would do the same this year.  Uggh.  I just realized that in that post I had promised a tutorial for the Scarecrow/Snowman craft that I made and I totally did not do that!  Shame on me! I will do that very soon.  This time I really mean it!  Promise!

***UPDATE: Here is the tutorial***

To decide on which crafts to make, I consulted my two Pinterest Super Saturday boards: Super Saturday Craft Day Ideas and my group board, Super SUPER SATURDAY Craft Ideas.  You should check these boards (my other boards too!) out for some awesome, awesome crafting ideas.  (I will link below to show the original crafts that I copied for this Super Saturday activity)

Now, on to this year’s Super Saturday crafts:

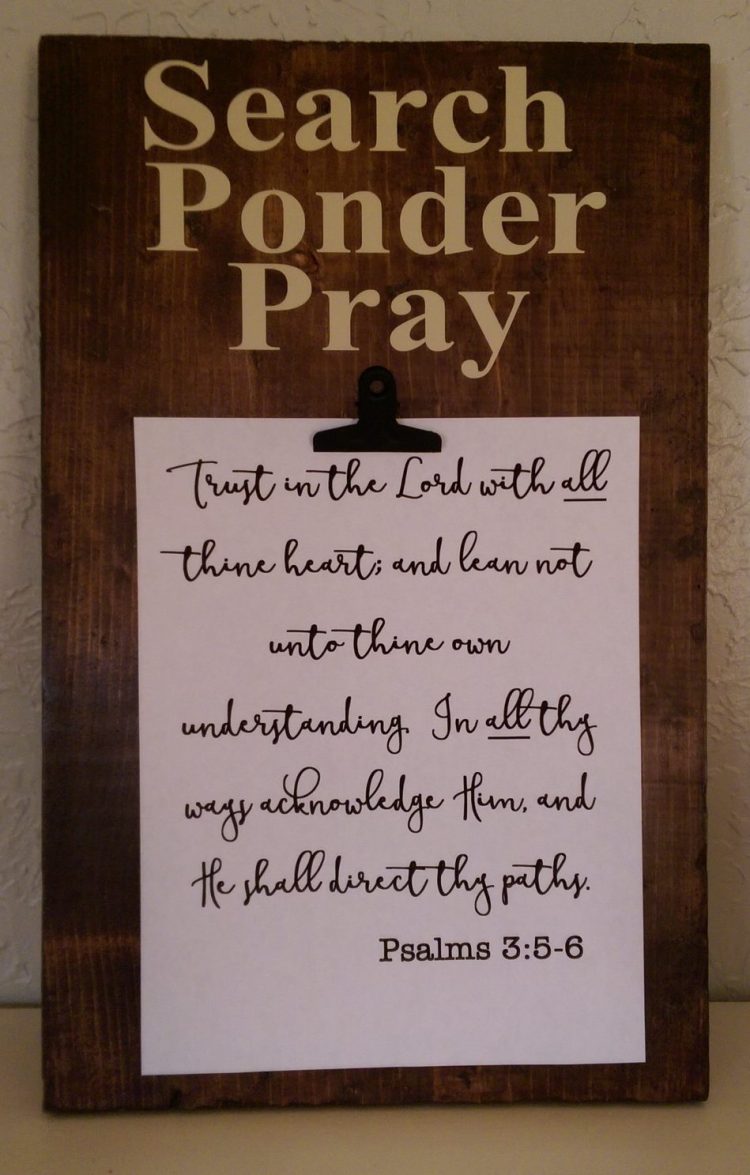
This first craft is what I will call a Ponderize Board.  The thought is that you take scripture verses or other quotes that you want to incorporate into your life and you print it up in cool fonts and post it on this board where everyone can see it often.  It can just be a nice thought to ponder or you can try to memorize, hence the name, Ponderize.  The great part is that you can easily change your chosen verse or quote, maybe change it out every week or month.  Or, keep it up forever.

wp_20161023_001

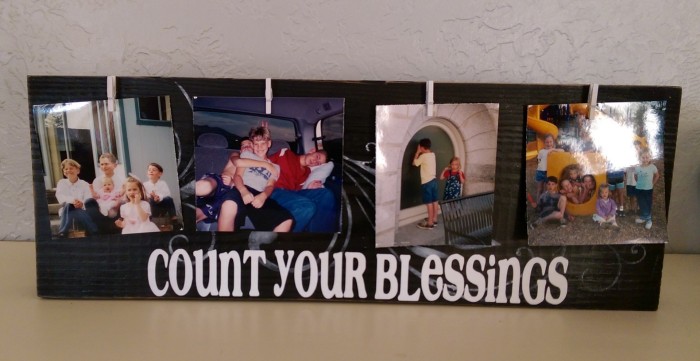
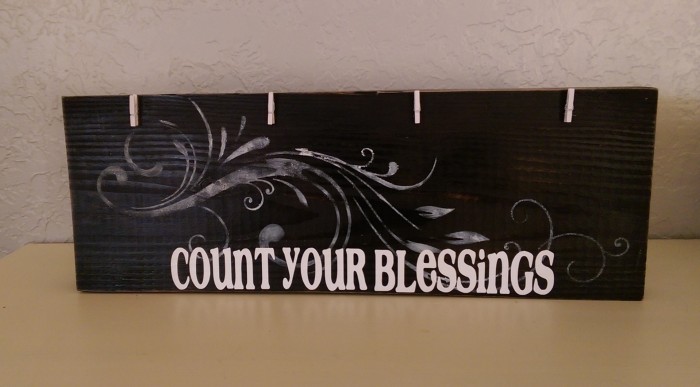
Next craft is a cute Picture Display Board.  I cut the rounded long edges off of 2 x 6 lumber so it can easily sit on a shelf, countertop, table, etc. and not fall over.  Tiny clothespins are hot glued in place to hold the pics.  The lettering is vinyl, (Café Rojo font) and I just used a stencil to add a little detail.

wp_20161023_003-1

wp_20161023_004-1

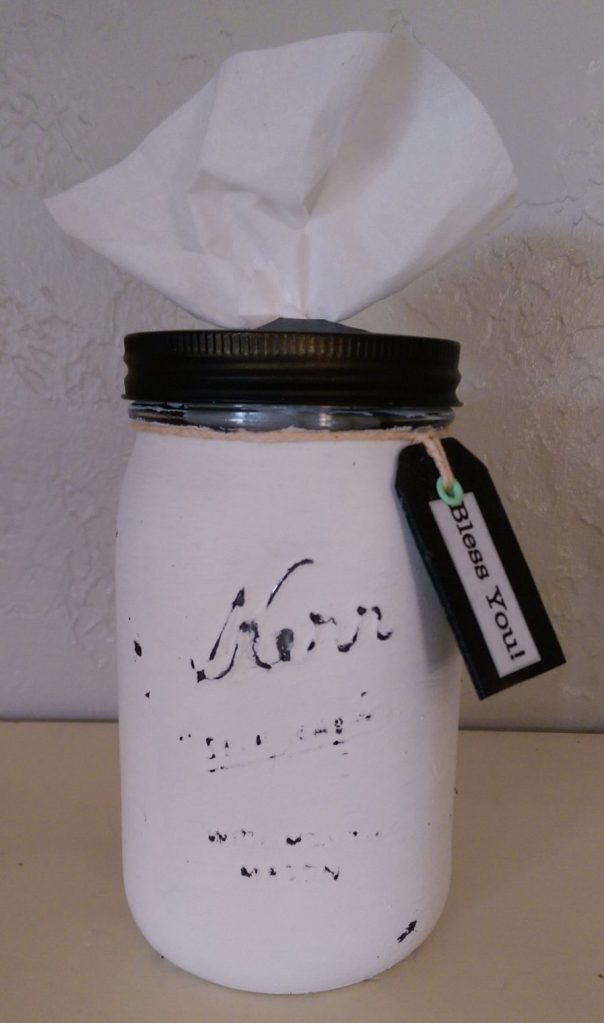
This Quart Jar Kleenex Dispenser turned out so cute!   Let’s face it, Kleenex boxes- no matter how stylish the print is- are really not that attractive.  To get this look, I first painted the jar with a dark color, then added a heavy coat of white chalk paint and sanded a bit to get the distressed look and to highlight the raised lettering.  You can click the “DIY Mason Jar Tissue Holder” link below for the tutorial on how to get the dispenser to work correctly.  This decorative jar is a really fun way to keep Kleenex’s handy:

wp_20161023_005

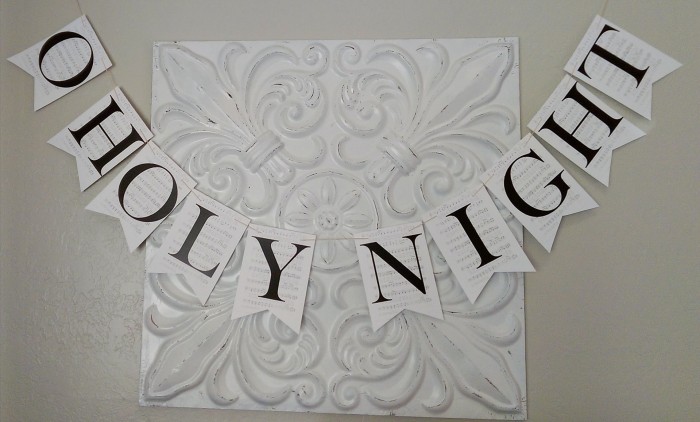
We will also be offering this O Holy Night Banner.  I was hoping to be able to download the banner letters directly from the site that I got the idea from, but the link wasn’t working.  I created my own version and had my local print shop print it up on cardstock.  If you want to print up your own set, here is the link for my version of the O Holy Night banner.  The top and sides of each page just need to be trimmed off (I removed the song title), the bottom cut into this banner-like shape and string added. Easy peasy!

wp_20161023_006-2

I’m sure that these Microwaveable Neck Warmers will be a Super Saturday hit.  They make fabulous gifts!  Look here for my tutorial.

DIY Corn Microwavable Neck Warmers

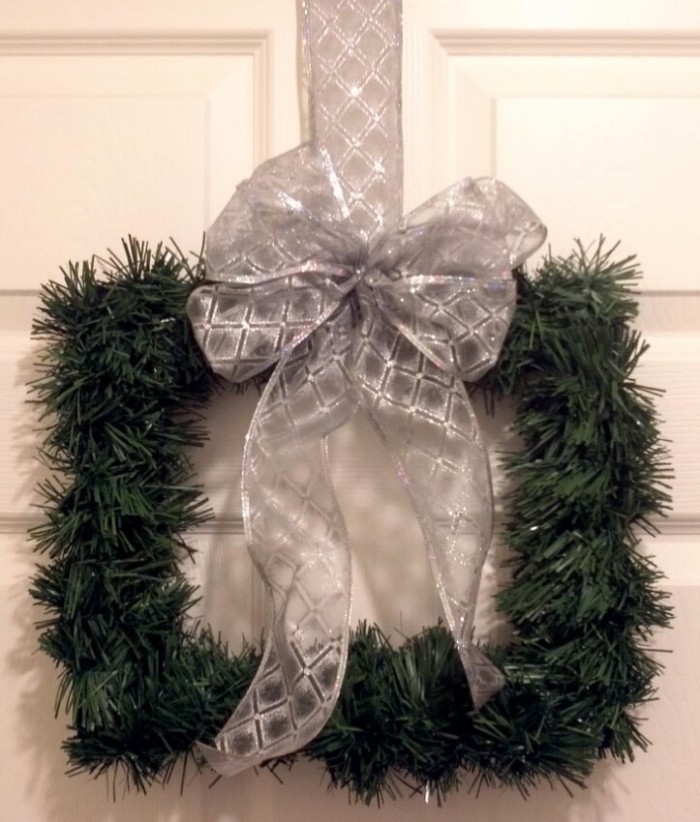
Lastly, during Super Saturday, we are going to do a demonstration to show just how easy it is to make a Square Wreath.  (Here is the tutorial.)

IMG_20141209_174922

Here are the images that inspired some of our Super Saturday craft choices:

Kudos to these awesome crafters!

Verse of the Week

Count Your Blessings Board

DIY Mason Jar Tissue Holder

O Holy Night Banner

Yep, Super Saturday is going to be awesome!

And, there you have it!  Our 2016 Super Saturday crafts.  What do you think?

Do you participate in a get-ready-for-the-holidays crafting event?  I would love to see what you are making!  Please send pics!  Maybe we will do them for Super Saturday 2017!


*********Linking up to these awesome parties*********


I was featured!

Fearlessly Creative Mammas


Spring Blossoms: Bring ’em Inside

Cover Pic Spring Has Sprung

I know that it is only March, but we have been seeing signs of Spring for a couple of weeks now.  Crazy, isn’t it?

Spring blossoms are even gorgeous at night time:

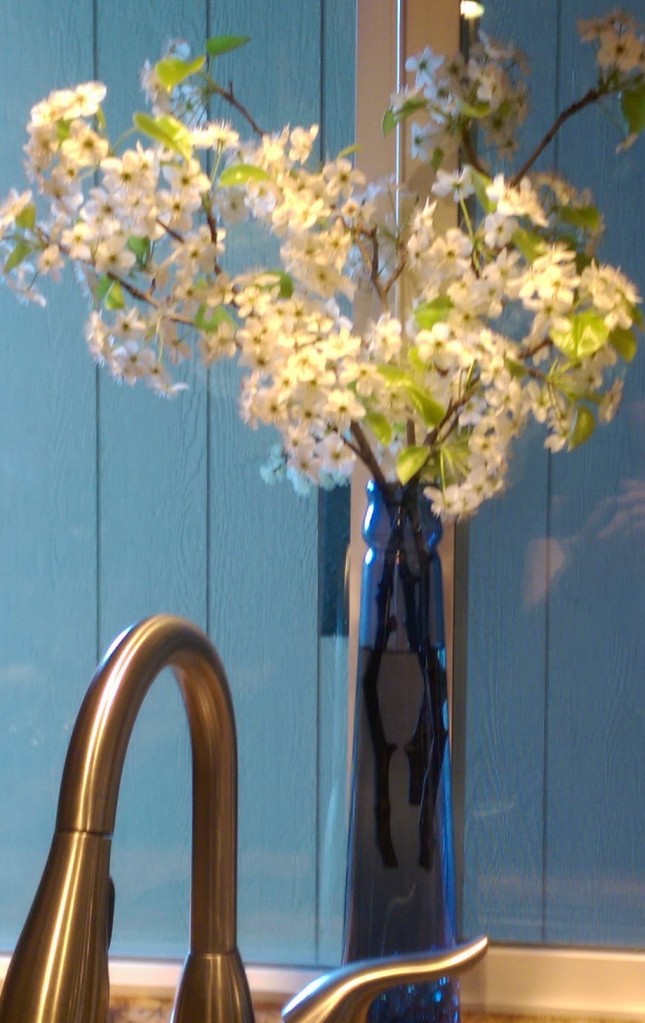
Believe me, I’m not complaining about Spring coming early at all!  This year I decided to bring springtime to the inside of my house by bringing in blossom covered branches.  I am reveling in Spring inside and outside!

Pink blossoms arrangement

White blossoms arrangement

These have looked good for a solid week!  Not bad for something that cost me nothing more than 5 minutes work of cutting, gathering, and displaying.  I’ll admit that my white blossoms kind of stink a bit, but the pink ones smell divine.  Like Spring has sprung right there in my dining room.  The scents seemed to diminish after day 3, though.  For those of you who are allergic to spring blossoms, I am SO sorry!   Maybe you can have a loved one cut and display a bunch, leave them outside and enjoy them from indoors.

After day 7, my pink bouquet is looking a little sad.  No problem, I’ll venture outside and gather more.  I’ve got an extra couple of minutes!  The white bouquet, however, looks just as good as it did the day that I brought it inside.

So, what’s the weather like in your neck of the woods?  Has spring sprung yet?  If not, you have that to look forward to…don’t worry.  It WILL come.  And, when it does, make sure that you grab some blossom-filled branches and bring a bit of Spring inside.

Cover Pic Spring Blossoms Arrangement


*********Linking up to these awesome parties*********


Creative Tablecloth Ideas

Creative Table Cloth Ideas

I love tablecloths.  I really do!  Do you wanna know why?  Since dining tables are usually at least somewhat large, when you change the tablecloth, you can change the whole look of a room.  Do you believe me?  Think about what a huge difference it makes to throw a different bedspread or comforter on your bed, it’s the same idea.  Bingo!  The whole room seems to change, am I right?  Of course I am!  Changing the tablecloth could almost be akin to painting a wall.  Only much quicker, less messy and, for fickle decorators like me, much easier to change the look of a room on a whim.

I have plenty of tablecloths.  More than I should have, probably.  I’m fickle, remember?  I’ve noticed that in recent months, however, I really don’t use my real tablecloths very often.  I have gotten creative and now use drapes and shower curtains instead and, I must say that I like the look of them so much more than my real tablecloths.  Want to see?

First, my current favorite:

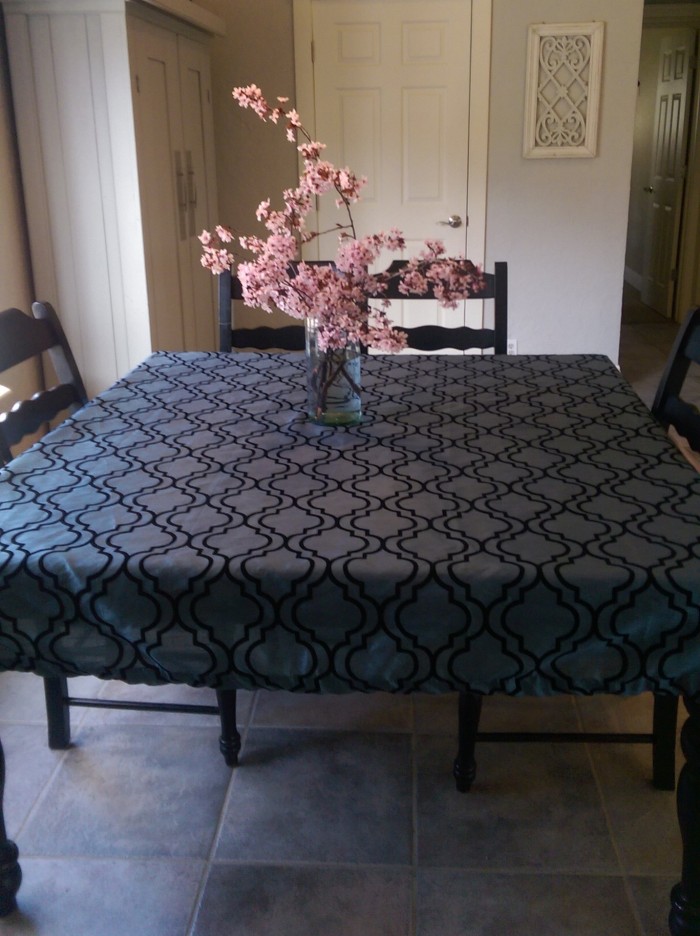
Decorative Shower Curtain Used as a Tablecloth

This Moroccan-looking number is the most amazing shade of blue.  I can’t figure out how to photograph the color perfectly.

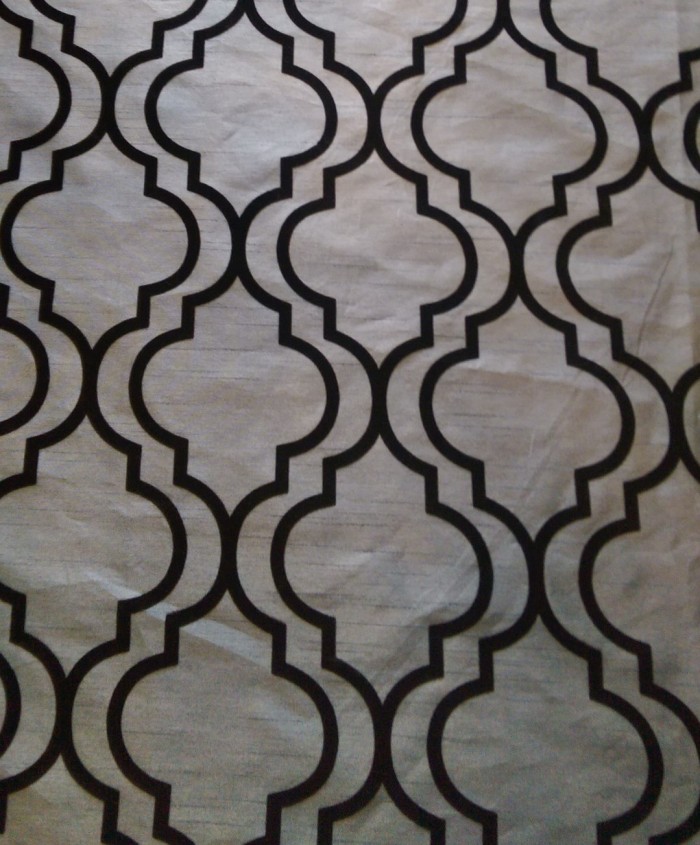
Close up of decorative shower curtain

I love how the black flocked design is so bold.  Yep, I love this shower curtain…turned table cloth.

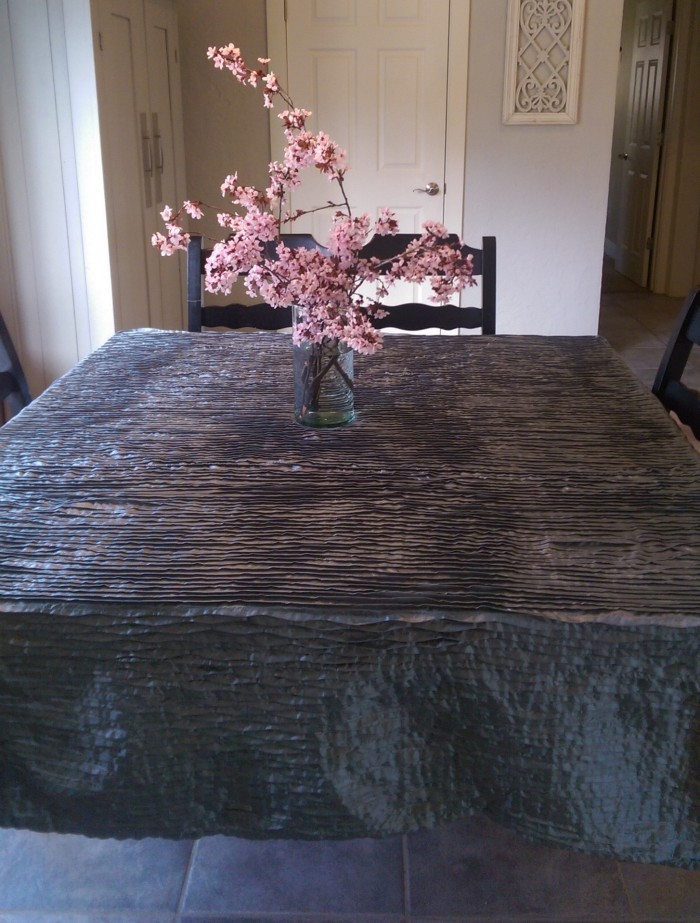
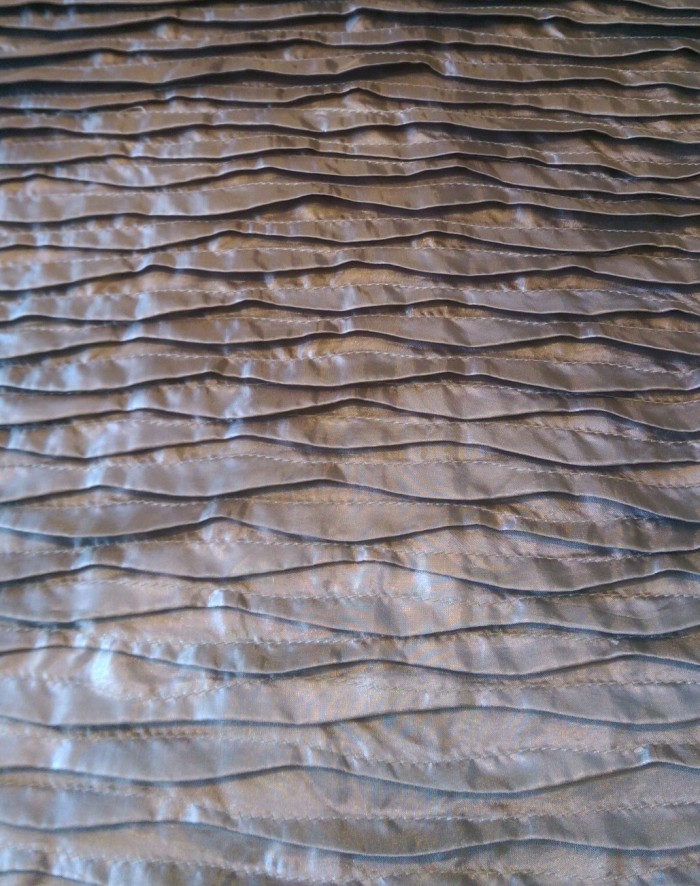
Here is a shower curtain that I bought at Goodwill for $3.  I love-a-love-a-love it!  It is practically dripping with texture:

Decorative shower curtain used as a tablecloth

Close up of decorative shower curtain

I also have some curtain panels that I like to use as tablecloths:

Here are some close-up pics so you can really appreciate the textures:

Yeah…I really like my pseudo-tablecloths.  They don’t look exactly like what I see over and over in the tablecloth departments of stores.  It’s a pretty fair bet that I’m not going to walk into anyone else’s home and see that their table matches mine.  Call me crazy.  Call me creative.  Just don’t call me late for dinner (set on one of these creative table cloths, of course!).

What do you think?  Have you ever stepped outside of the box and used something other than a tablecloth for a table cloth?


*********Linking up to these awesome parties*********

Roses and Rust Vintage Market 2015

Last Saturday, I had the opportunity to attend Roses and Rust Vintage Market in nearby Anderson, CA and it….was….awesome!  I had a friend come visit me from out of town to attend this event and we loved every minute of it.  I’ve got pics to share with you!

RosesRust

My favorite booth is just inside the gate and belongs to Liz and Randy Foster.  They are so kind and helpful and their booth is full of old ceiling tins and all kinds of wonderful items created from the ceiling tins and moldings.  See?

WP_20151107_003

Just looking at the pictures makes my mouth water.  Amazing stuff!

WP_20151107_002

Click here to see their Flikr account, which has oodles of great pics of their tins and some items that they have crafted with them.  Dreamy!

My next stop was a booth that had tons of hardware for doors, cabinets and drawers.  Lots and lots of bins to go through.

WP_20151107_006

WP_20151107_005

Yeah, my pics are a bit blurry, but you get the idea.  The place was hopping with people and I had to snap pics as quickly as there was a break in the crowds.

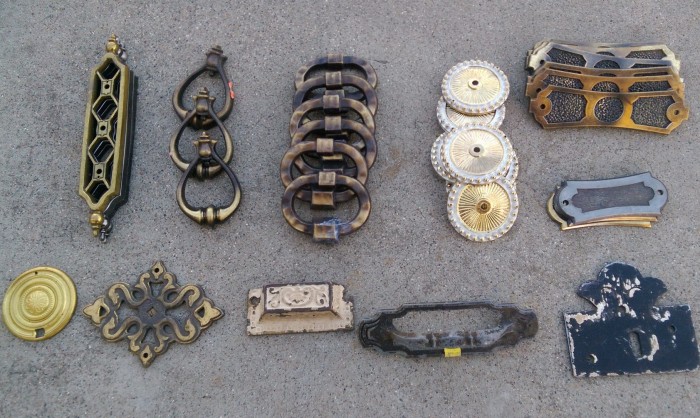
I parked myself in front of a bin that had goodies priced 3 for $1.  I sorted and searched and my hands got absolutely filthy, but just look and see what $10 bought!

WP_20151112_001

This tub-turned-planter was pretty interesting.  We surmised that it had a backrest, armrests and a place for the bather’s legs to hang out.  Makes me love my garden tub (which I very rarely use) all the more.

WP_20151107_004

We spent some time sampling some amazing jams and jellies.  My favorite, oddly enough, was Horseradish Jam.  Weird!  I don’t usually even like horseradish. These were the jars that I took home:

WP_20151112_002

This little sign cracked me up!

WP_20151107_015

As we drove away, we started planning to attend Rust and Roses’ Spring show in April.  And of course we will be back next Fall as well.  If you happen to be in Northern California, I would totally recommend it.  If not, you should at least check out the picture gallery on their website to see what you are missing.

WP_20151107_001

Let me know if you plan to attend!


********* Linking up to these awesome parties!*********