Painted Furniture: Say “Yes” to Distress?

painted-furniture-distress-title

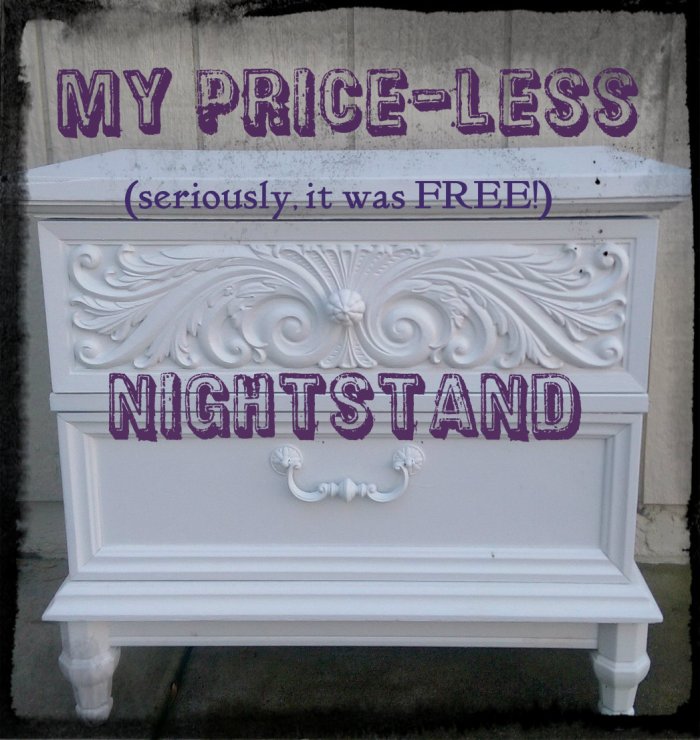
Happy day friends!  In my last post about the free Craigslist nightstand that I painted, I told you that I wasn’t done with it yet.   This is how it looked when I finished painting it:

White chalk painted Craigslist nightstand

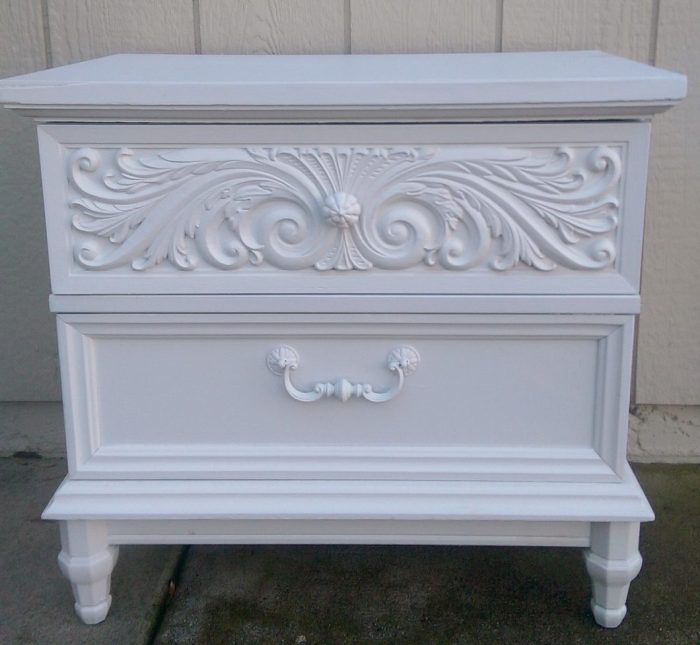
Not half bad, right?  Whenever I paint a piece of furniture, I always get to this point and wonder, “Should I distress it?”.  Do you do that?  It almost goes against the grain to make something look so nice and then take sandpaper to it, doesn’t it?

My experience with distressing painted pieces goes way back to the late 1980’s.  I had attended a church craft night with my sister and after we had painted the wooden craft, they passed out sandpaper to distress the edges.  I thought that they were crazy.  I had just painted the piece to perfection…why would I want to sand off a perfectly good painting job?  I refused and my craft project came home with me with pristine edges.

Let me just say that, in the decades since (holy cow, that makes me sound SO old!), I have come to embrace distressed painted furniture.  Embrace it with big open arms.  Want to see my distressed painted nightstand?  Why do I ask?  Of course you do!

Distressed Painted Nightstand

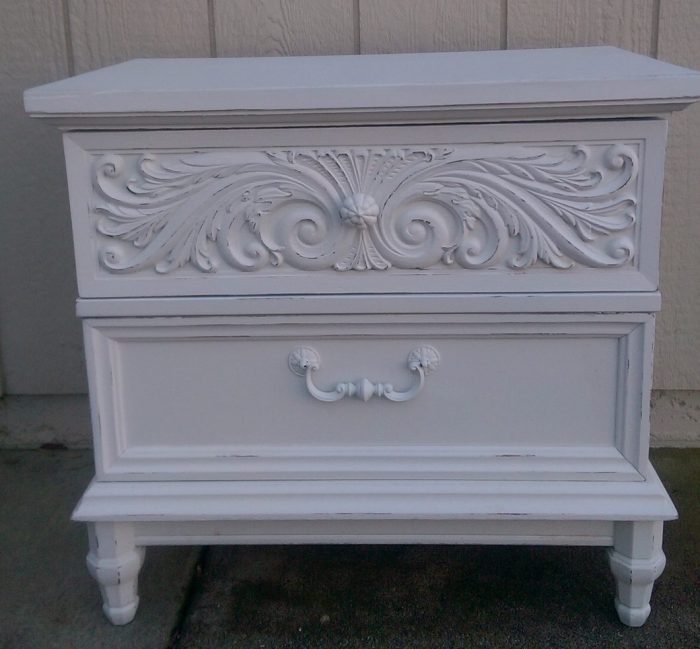
Yeah, I know the picture is kind of dark.  Sorry about that, but, can you see the difference?

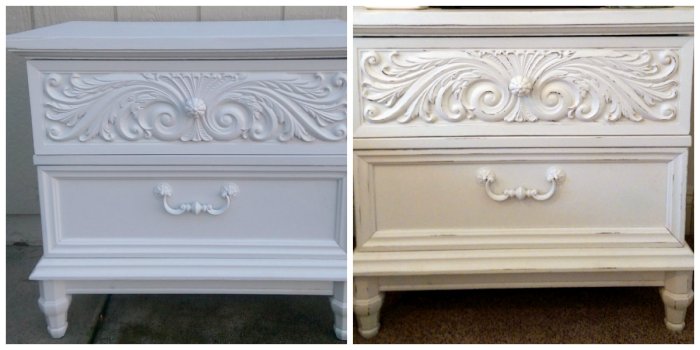
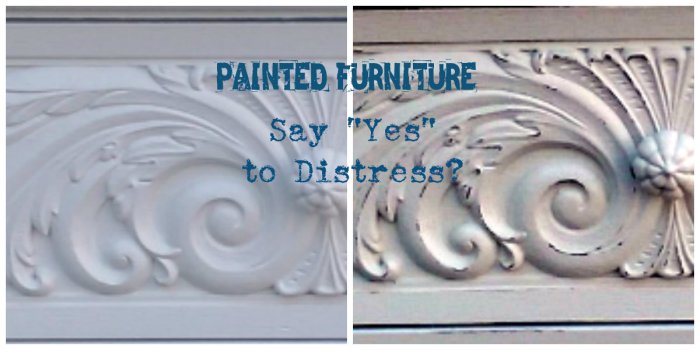
How about some close ups?

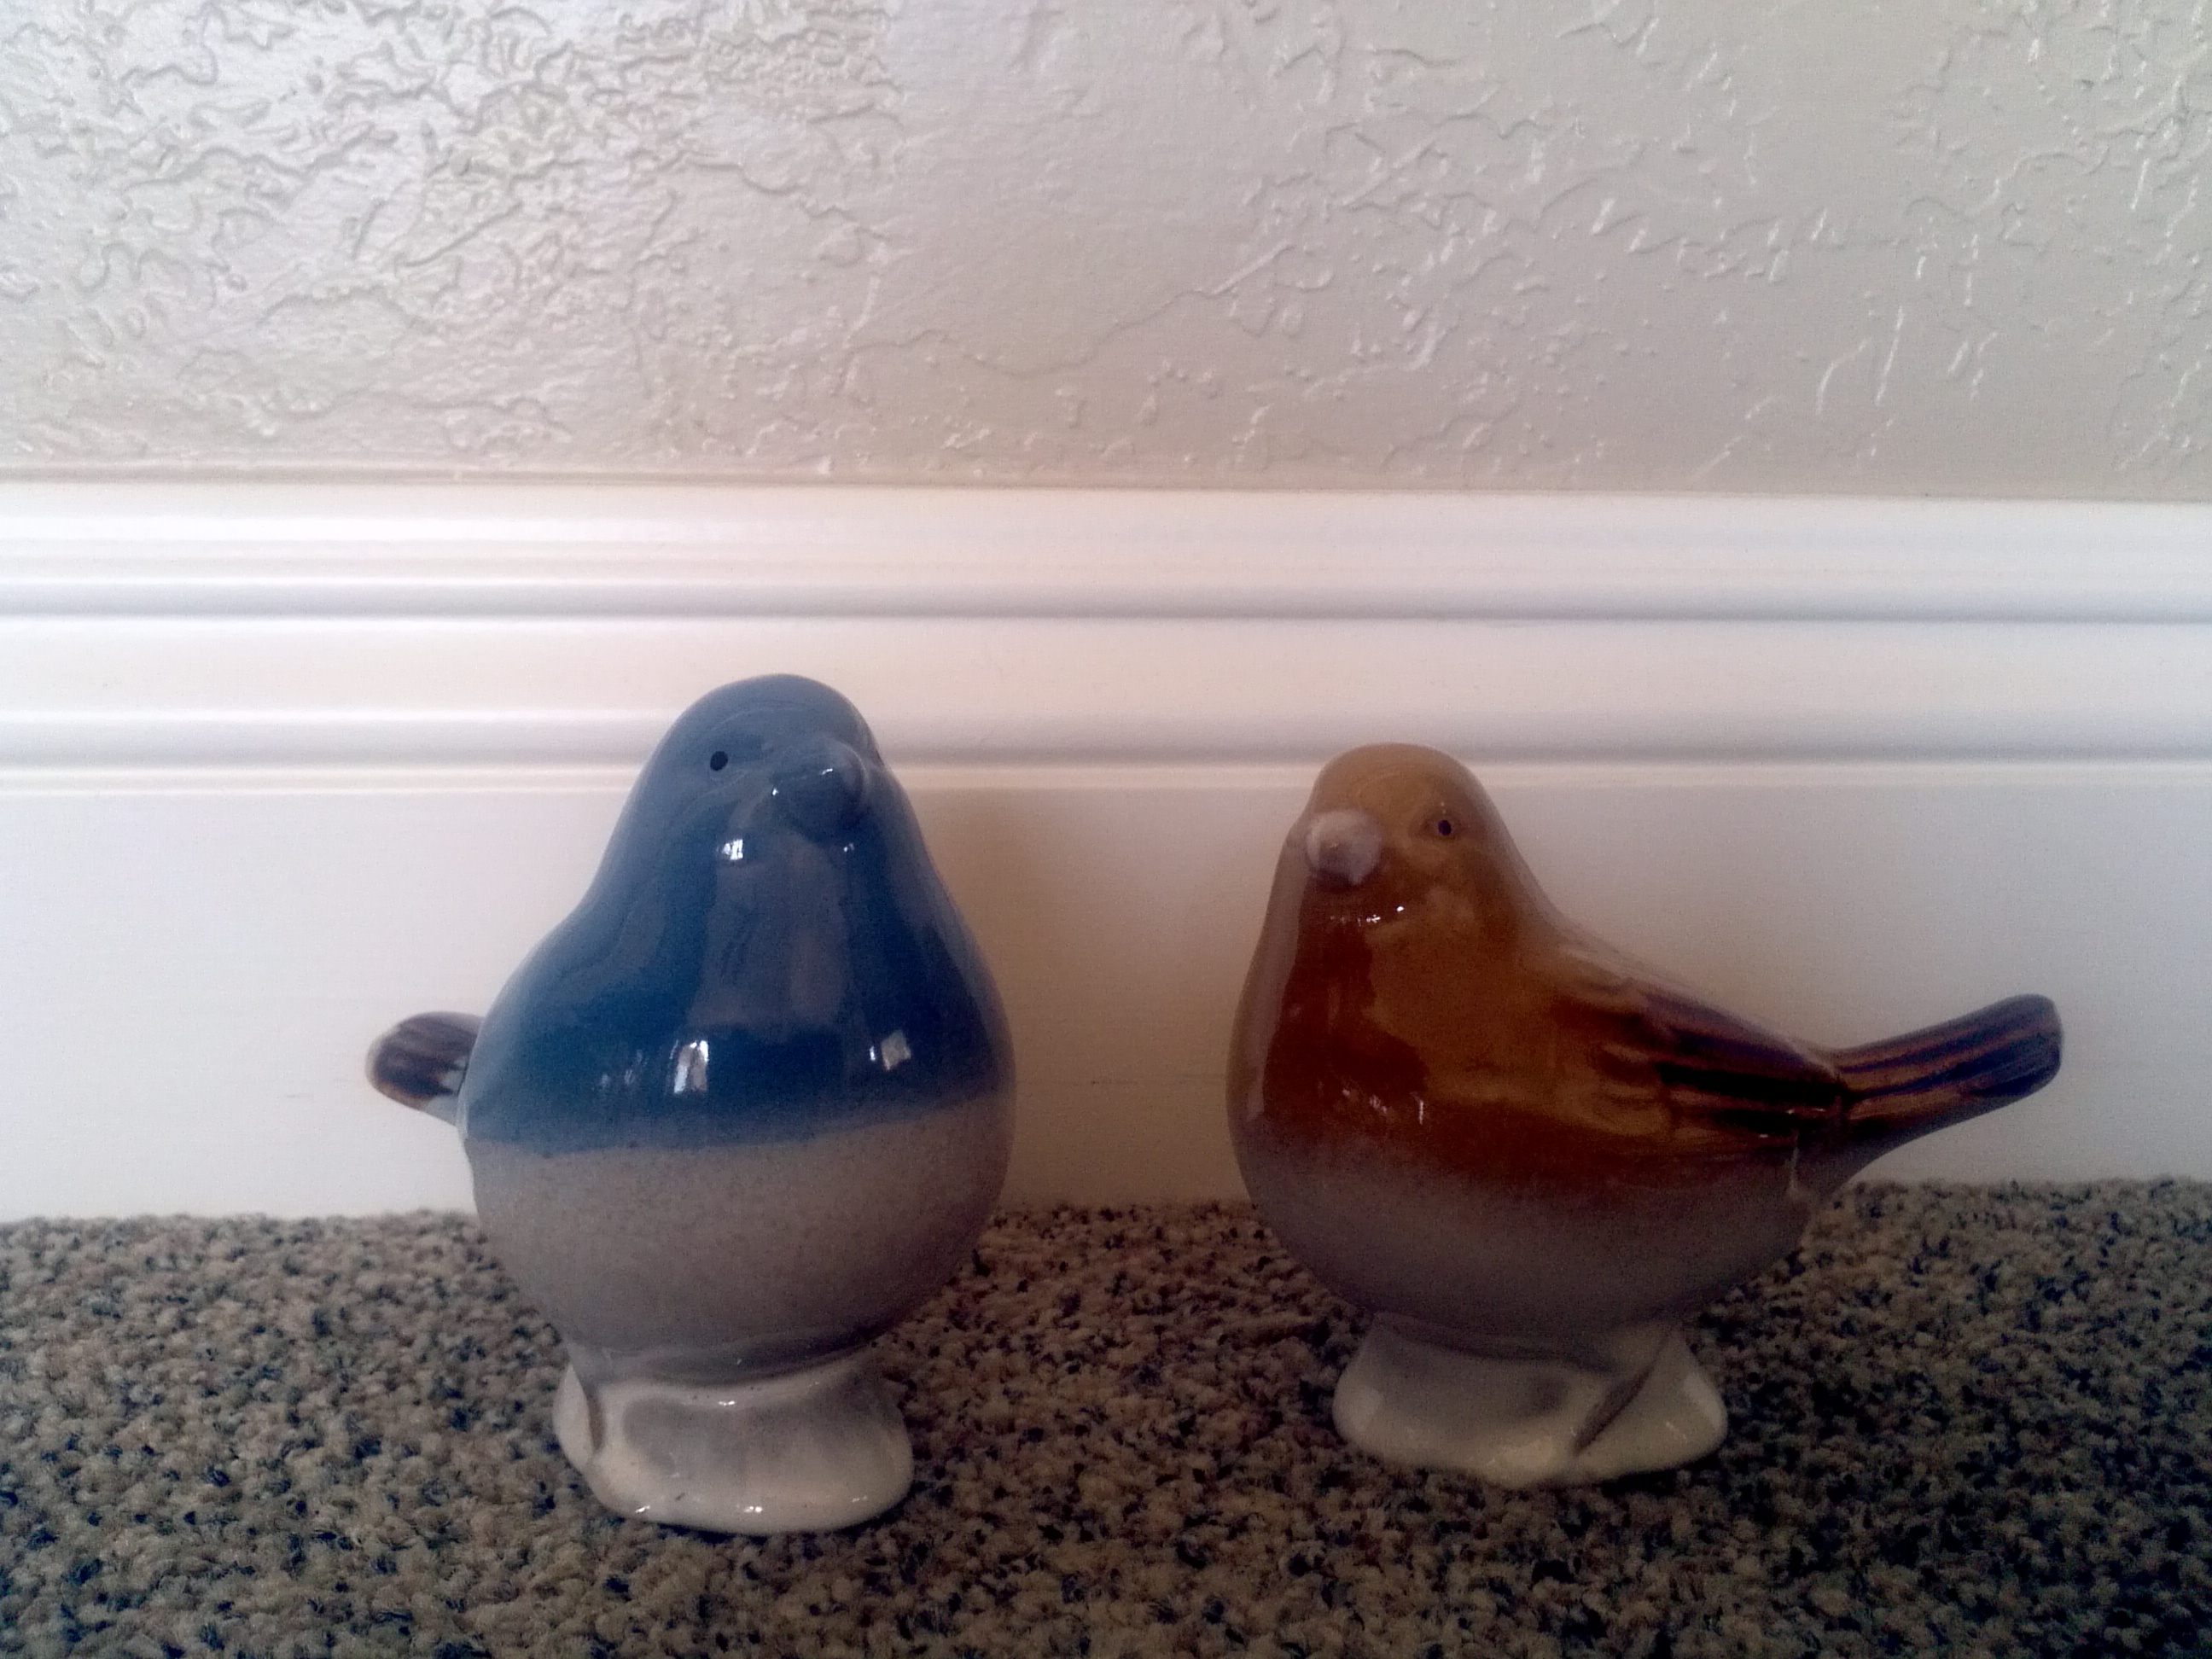
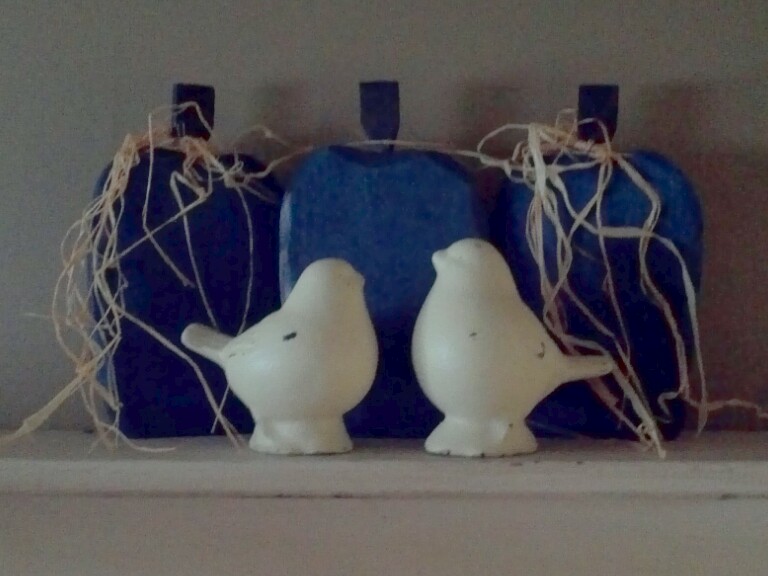
Here are a few other painted items in my home that I have done this same subtle distressed finish on:


before-after-distress-collage
Unfortunately, the lighting in these Before and After pics is totally different, but you get the general idea, right?

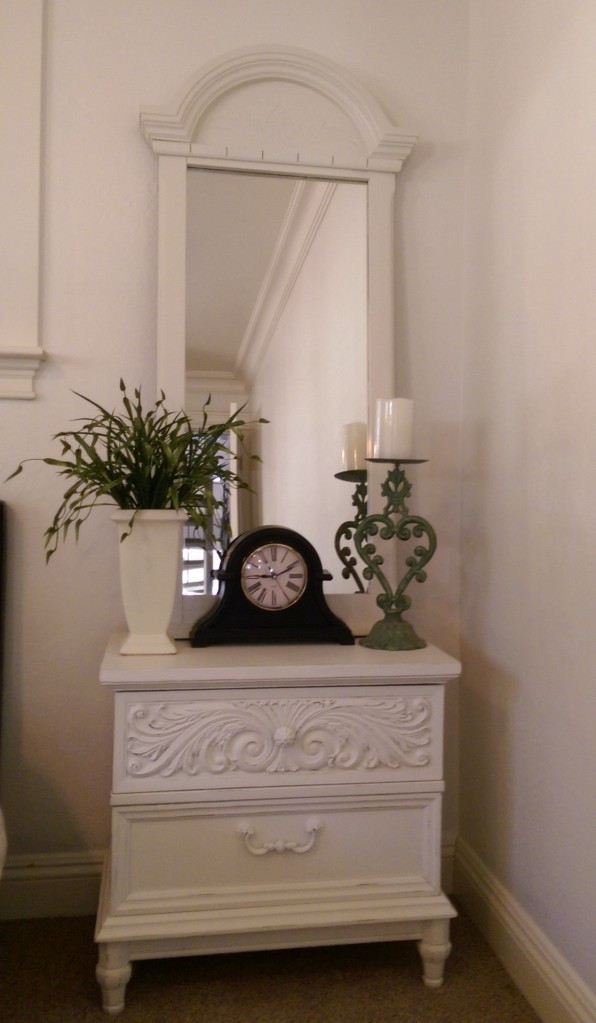
Here’s the distressed nightstand in its final resting place, our guest room:

wp_20161005_001-1

So, what do YOU think?  Do YOU like the clean, pristine perfect paint look, or do you like the look of subtle distressing?  Personally, I like…both.  Wimpy answer, I know, but sometimes I prefer the subtle distressed look, sometimes I don’t.  I have found that, if I end up hating the distressing on a project, all it takes is a quick brush of paint on the sanded areas and “poof”, we have the pristine look all over again.  Easy peasy, lemon squeezie!

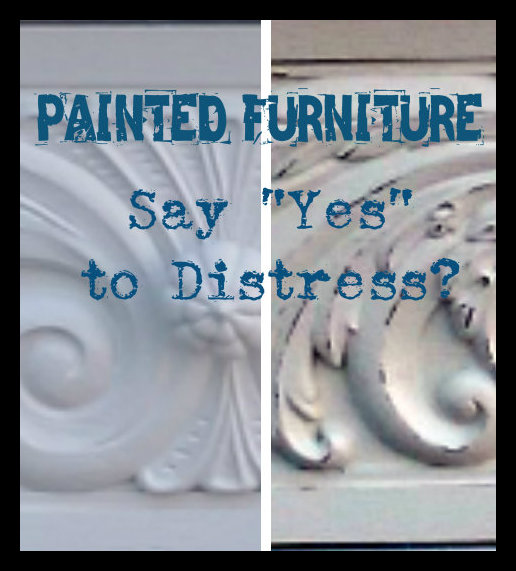
So, again I ask…what’s your take on the matter of painted furniture?  Do you say “Yes” to distress?

distressed-paint-collage


*********Linking up to these awesome parties*********

My Price-less (seriously, it was FREE!) Nightstand

Cover Pic Free Nightstand

Do you want to know my favorite price?  Free, of course!  Same with you?  I like to peruse the Free section of Craigslist every once in a while.  Have you ever done that?  People give away all kinds of stuff:  pianos, boats, yard sale left overs, plaid couches, building supplies, pets, etc., etc., etc..  For the most part, I’m not the least bit interested in what I see, but a few months ago I saw this awesome nightstand posted:

Free Craigslist Nightstand Unpainted

School lesson:  The suffix “less” means “without”.  In other words, without a price.  Free.  Remember…that’s my favorite price.  Yep, this nightstand was price-less.  You can bet that I snapped it up!  Once I got it home, it went straight to the back of my garage, where all good projects go to wait their turn to become awesome.  Soon thereafter, HomeRight kindly sent me this awesome paint sprayer:

homeright-finish-max

The HomeRight Finish Max Fine Finish HVLP Sprayer.  Imagine a choir of angels singing…I swear that’s what I heard when the package arrived.  Thank you HomeRight!

My free (I love saying that!) nightstand was the first project that I decided to tackle with my new sprayer.  Piece of advice…read the instructions + follow the instructions when you are tackling the unknown.  Smart people wrote those instructions, but, after reading them, I decided that I know what I’m doing.  I have painted a lot.  I mean, a lot, so I decided that there was no need to thin the paint.  Big mistake.  Once I humbled myself and thinned the paint like I should have in the first place, the thing worked like a dream.  I think it took about 3 minutes to paint the whole first coat.  Seriously, it took more time to open the paint, mix a batch of chalk paint (thinned a bit…the instructions show just how much), and walk out to the garage than it did to paint my nightstand.  I was insanely impressed!

Hold it!  I’m getting ahead of myself.  Before I started painting I had some prep, of course.  Worst part of painting furniture, wouldn’t you agree?   Actually, it was just a bit of hand sanding.  I lived through it, somehow.

Even though it is widely known that chalk paint can go on pretty much any surface, I decided to spray on some canned primer just because.  I remember watching a YouTube video years ago of Annie Sloan hand painting a dresser and she painted the handles at the same time with the same paint that she painted the dresser.  I really like the look of the handles being more of a texture, not a standout color, so I decided to also spray a coat of primer on those.

Spray Primed Decorative Nightstand

Ready for the after?  Want to see what 2 coats of paint and about 6 minutes of total spraying time with my new HomeRight sprayer can do?  Well, here you go!

White Painted Decorative Nightstand

Do. You. Love. It?  My price-less nightstand?  I totally do, but I’m not done yet.  Check back soon to see the finished product.  I also plan to share some things that I have learned by using my paint sprayer.  I’ll keep you posted.  Now, head right over to your local Craigslist and check out the Free section.  Hope you find something good!


*********Linking up to these awesome parties*********


Scraptastic Saturday Featuredsm


Chalk Paint Turns Dollar Tree Cheap-O to Chippy Chic

In our little town in Northern CA, Dollar Tree is the most “happening” store around.  Don’t feel too sorry for me,  I can be in Target, Lowes or Michaels or pretty much anything else, in less than 15 minutes.  It’s all good.  Regularly, though, I find myself perusing our local Dollar Tree.   Have you ever noticed that they seem to carry a lot of ceramic figurines?  Lots.  Figurines rarely excite me, but I did find these a while back:

IMG_20120303_141902

Aren’t you just digging the look?  Yeah, me neither!  At the time I had been researching chalk paint and wanted to try to see if it really does stick to everything.  Guess what?  It does!  I purposely didn’t sand or scuff up the super shiny finish and the paint still adhered perfectly.  My chalk paint recipe was pretty basic:

IMG_20141020_201328

I know that you all know how to paint, so I won’t bore you with all of the details, but I will note that instead of using brush strokes I just pounced the brush up and down. I did a couple of heavy coats.  I wanted this pair to look like painted iron that had chipped a bit. Once the paint was dry, I gently sanded them.  Just a buff with a little wax (to be honest, I just used regular Minwax) and these little birdies were done.

IMG_20141020_083222

Yep, you can see a touch of the original colors peeking through if you squint really hard, but I kind of like that.

IMG_20141020_161717

Not bad for a couple of bucks and about 10 minutes of my time, don’t you think?  Hmmm, maybe it’s time to hit up the ceramic figurine section at Goodwill.