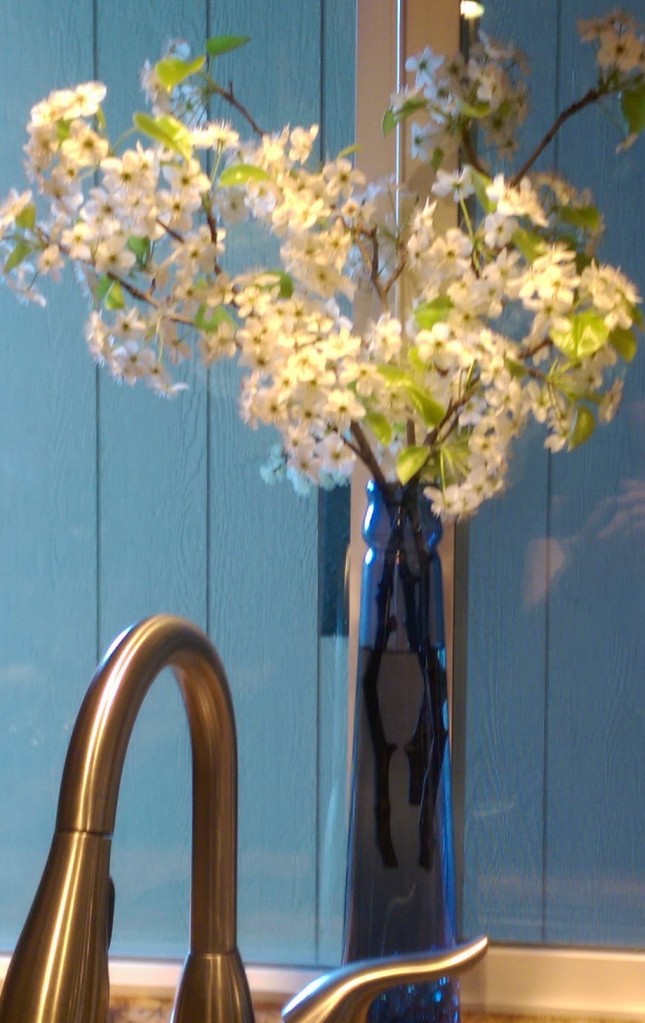
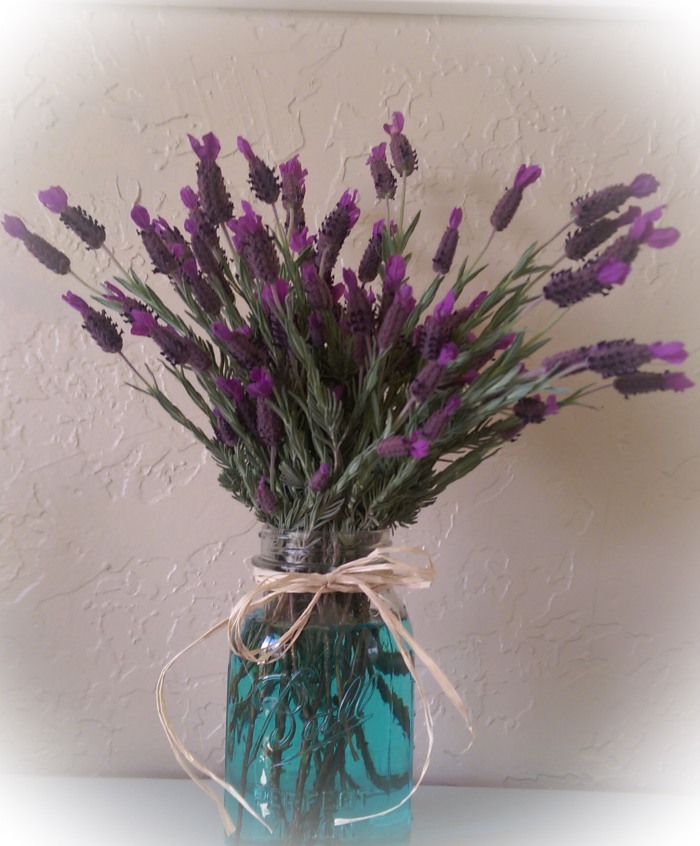
Has Spring sprung where you live? It has here and I love it! The trees all blossomed a few weeks ago and flowers are coming out and everything is SO green.
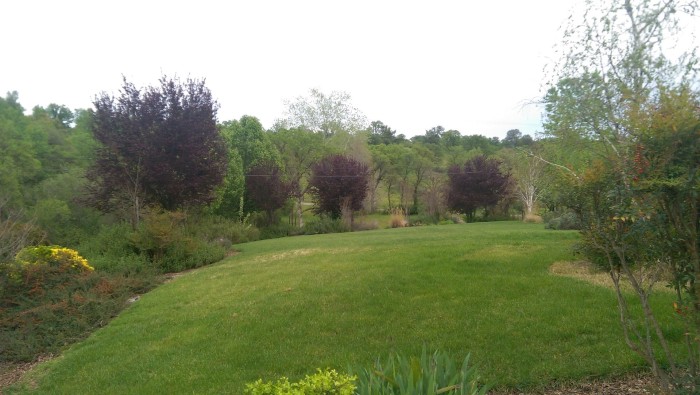
The phrase, “A breath of spring” certainly comes to mind. I wanted to make a little something today to celebrate spring. I knew that I wanted to make a sign of some sort with a length of 1×6 pine that I had in my garage. I originally thought that I would make an Easter sign of some sort, but Easter will be here and gone before we know it. I wanted something that can stay out for a couple of months or so and this is what I came up with:
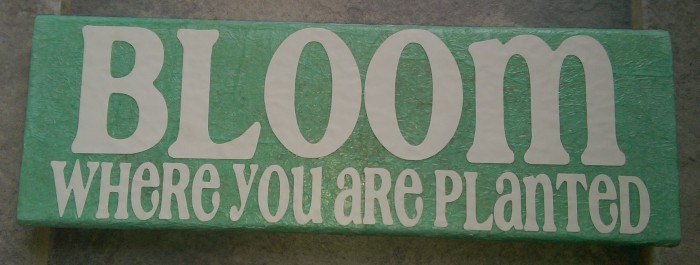
I love this phrase. To me, it means that where you are right now in location and life circumstances is where you are planted. You might be thrilled with where you are planted like a sunflower planted in good soil with ample water and full sun. Yep, it is easy to bloom well in those conditions. Maybe right now you are planted in not so perfect circumstances. Bloom where you are planted means that even if your part of the world right now is weed infested with poor soil and very little sun, do your best to bloom anyway. Basically, think positive, be happy, take life as it comes and pull out those weeds if you can. If you can’t, then you be the best bloom you can be to brighten up your little spot in the garden.
Of course I could have whipped out a can of paint as I usually do when making similar signs, but this time I decided to try something new. Want to see what I used instead of paint?
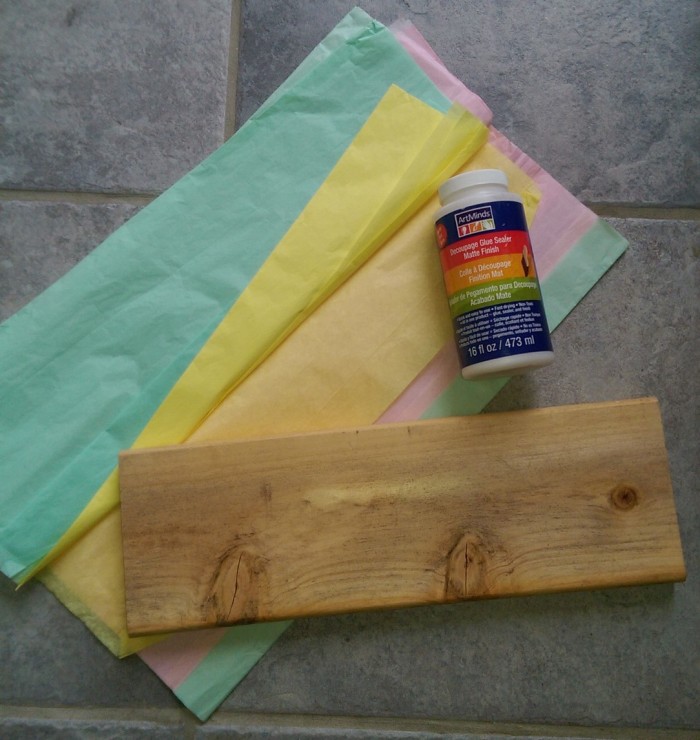
Tissue paper! I love the mint green that came with this pastel tissue paper set that I got at little old Dollar Tree. The steps were simple:
- Crumple up the tissue paper to get it all wrinkly, then semi-flatten it back out
- Using a regular paint brush, paint a layer of decoupage medium on the bare wood, top and sides. Another option would be to paint a base color similar to your choice of tissue color so you don’t have to do as many layers.
- While the decoupage medium is still wet, lay a sheet of paper slightly larger on all sides so you can wrap it around the edges. As you lay it down, encourage wrinkles but attach it securely.
- Immediately (meaning that the layer below is still wet) brush decoupage medium on top of the tissue paper layer. Apply to all sides (except the back). On each corner edge you will have an excess of tissue…just tear it off and lay the remaining down with the decoupage medium. You won’t even be able to notice it.
- Wait until the layers are dry before adding another layer. My bottle says to wait 15-20 minutes. I broke all rules and used my hair dryer to speed up the process and it worked just fine. I’m such a rebel.
- Add as many layers as you want. I added 3, but if I would have painted the board first, I would have just added one, maybe two. Maybe next time I will paint with one color and tissue with another just for fun. Maybe white with one layer of pink tissue on top for a sheer color effect.
- If you get any tears, that is okay. Just tear a piece of tissue (straight edges will show up more than torn) and decoupage right over it.
- If you want the back to look nice, decoupage it as well once the front has completely dried.
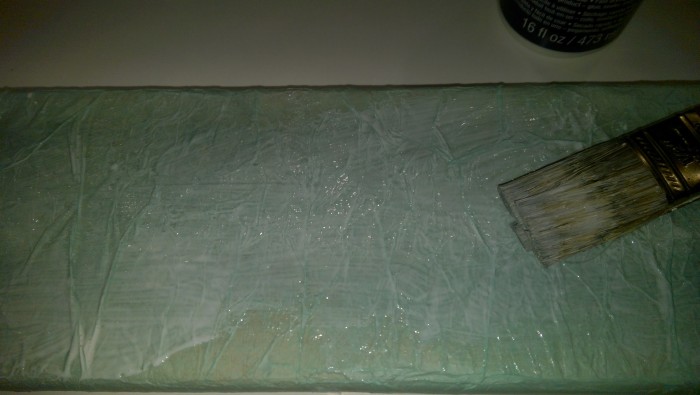
Really, the process is super easy and adds a different look. For added effect, rub a little stain or dark wax on to accentuate the texture. Hmmm…maybe this Fall I will try that.
I cut out the vinyl lettering with my Roland Stika vinyl cutter, but you could easily just print this Bloom pdf out (the font is Café Rojo) on paper (maybe with a cute print) and decoupage it right on your sign, leaving some space so you can see the your wrinkled tissue border around it. (Do a test run with this method…some printer inks smear with the decoupage medium. If yours does, I have heard that if you spray your printed page with hair spray, it will fix the problem.)
So, there you have it. Simple, yet profound at the same time.

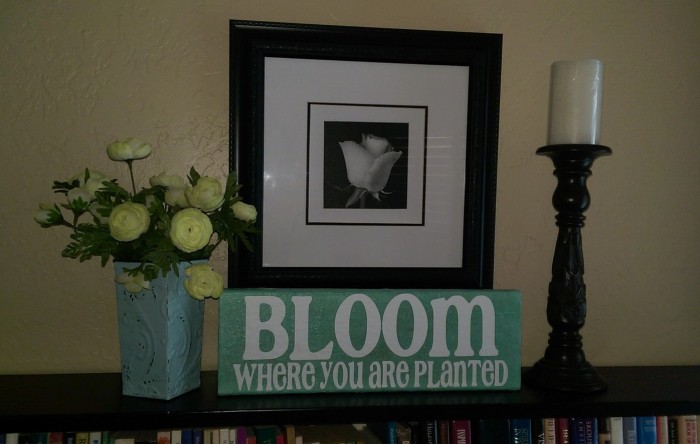
Unfortunately the pictures don’t really show the fun texture, but I really like the effect. Try it for yourself and let me know what you think! Now, go BLOOM!
(This project was featured as one of 6 Spring-Inspired Projects at the Do Tell Tuesday Link Party! Thanks Lisa, Diane, Cassie and Tori!)
