Did you hear a really loud scream today? A really high pitched squeal? Actually two of them? It was me! The first one was because of this:

If you can’t tell, it’s a SnAkE!!! A really big snake! That sidewalk there is 4 feet wide. Ugggggg……
My husband said that it is a “good” snake. No such thing!

Gives me the chills just to see a pic of it! That was my first squeal and THIS was my second

I made a foam rubber stamp! All by myself! From scratch! Squeal! Want to know the best part? It wasn’t that hard to do. YOU can totally do this, too.
Here is what you will need:
- Two paper copies of the design that you want to make into a stamp. You can even just type out a name, a word or a phrase like, “Happy Birthday!” in Word.
- Scissors
- A sheet of craft foam. I bought this blue sheet at Walmart and it is quite thin. I’m sure that Michaels or Joann’s or any craft supply store carries thicker foam sheets.
- Spray adhesive
- Something to use as a sturdy stamp base. I just cut a piece of wood to size.
- Baby powder (you’ll see in a minute)
- An ink pad
I got the idea after watching this awesome YouTube tutorial.
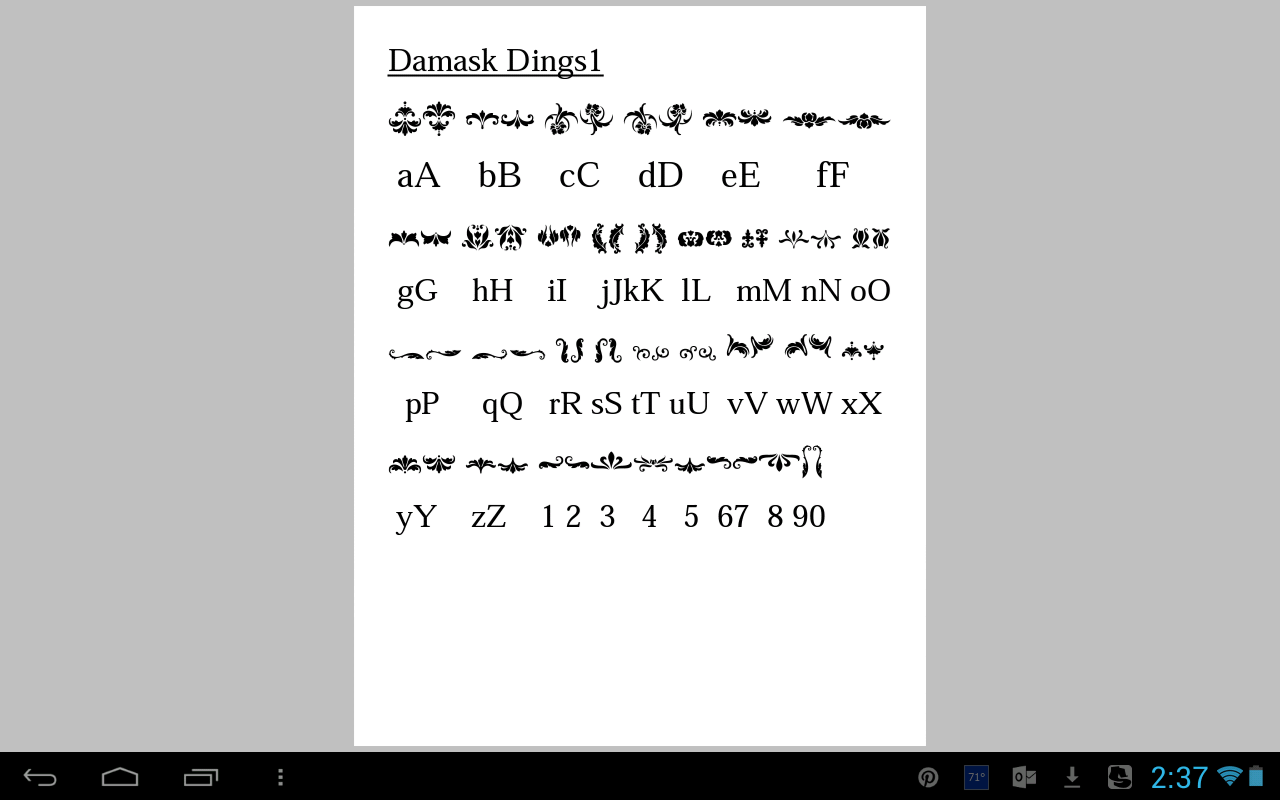
First of all I chose the letter A in the Damask Dings font (dingbat) and, in Word resized it to the size that I wanted. I made two copies of this…hang on and you’ll see why.
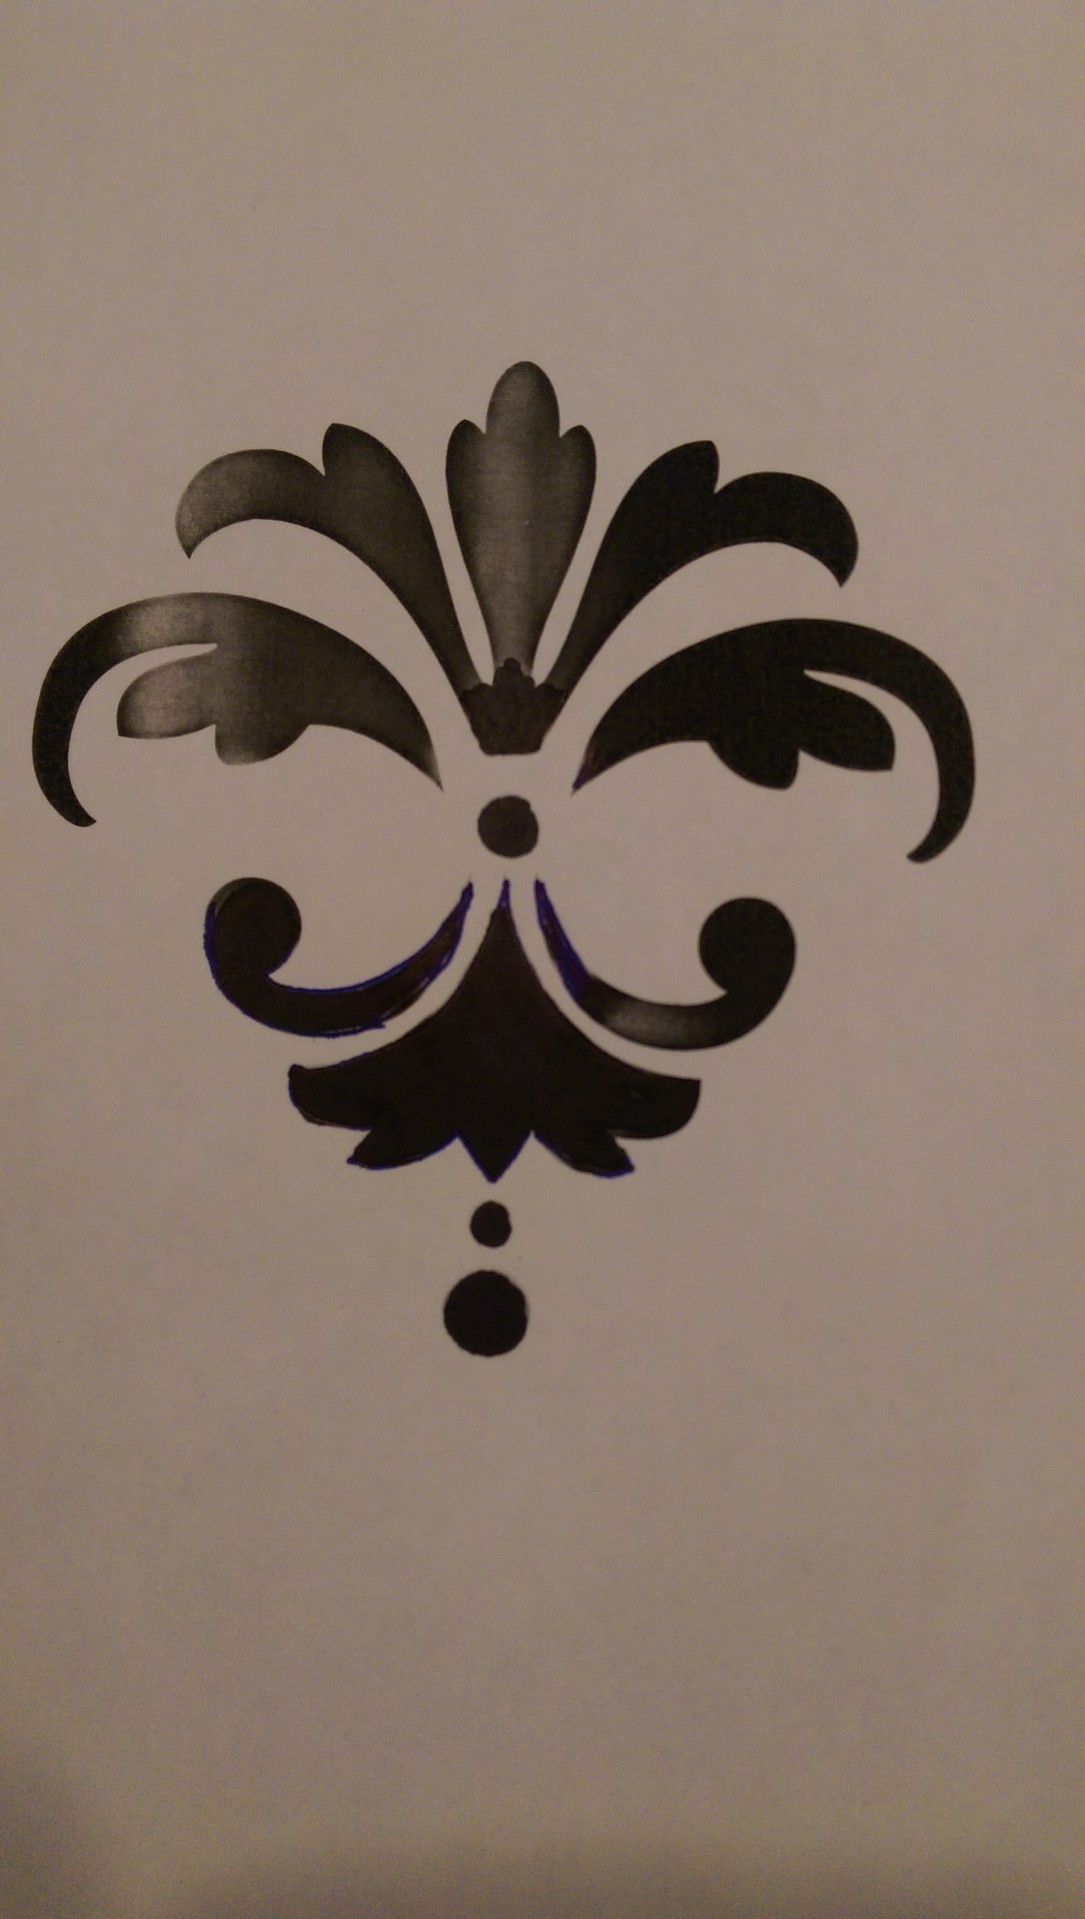
My printer is out of toner so I had to color in the lines a bit so you can see the image. See it? Good. Next I roughly cut around my design (only one of the copies), sprayed adhesive on the back and immediately stuck it on the foam board.

At this point I cut around my printed design, and here is where my second copy came into play: As I cut each piece out, I placed it on top of the copy (paper side up) so my placement would be exactly like the original. I ended up using a hole punch to cut out the smaller circles. I’m lazy you know! Actually it was to get perfect little circles.
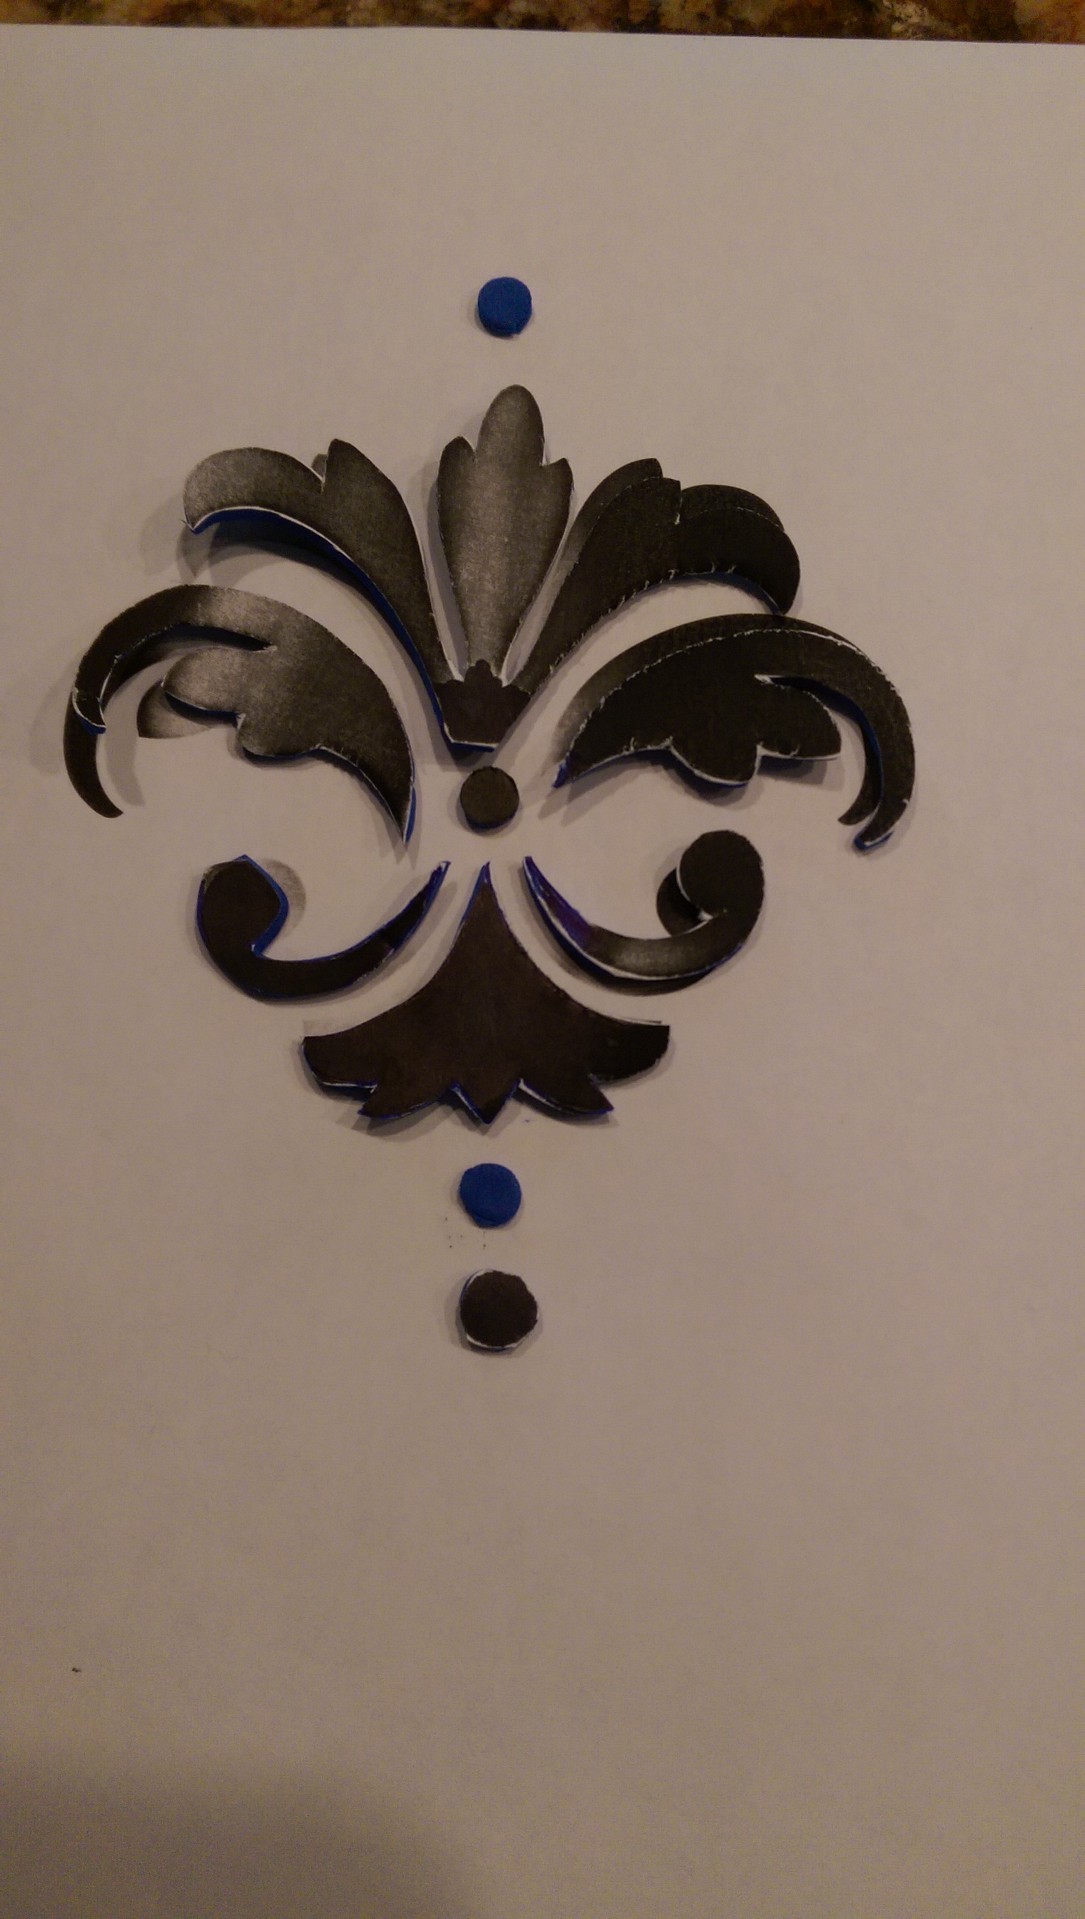
Next, I cut a piece of foam a bit bigger than the size of the design, sprayed some adhesive to cover the surface and then layed it down, sticky side down, on top of the image. This is how you capture the design in place. If it looks a bit wonky, you have a minute or so to adjust the pieces.
Now the foam backer is all sticky, what to do, what to do? Baby powder, of course! Sprinkle some on the exposed sticky parts, rub it in with your finger, then gently wipe the powder off:


Smooth as a baby’s bottom.
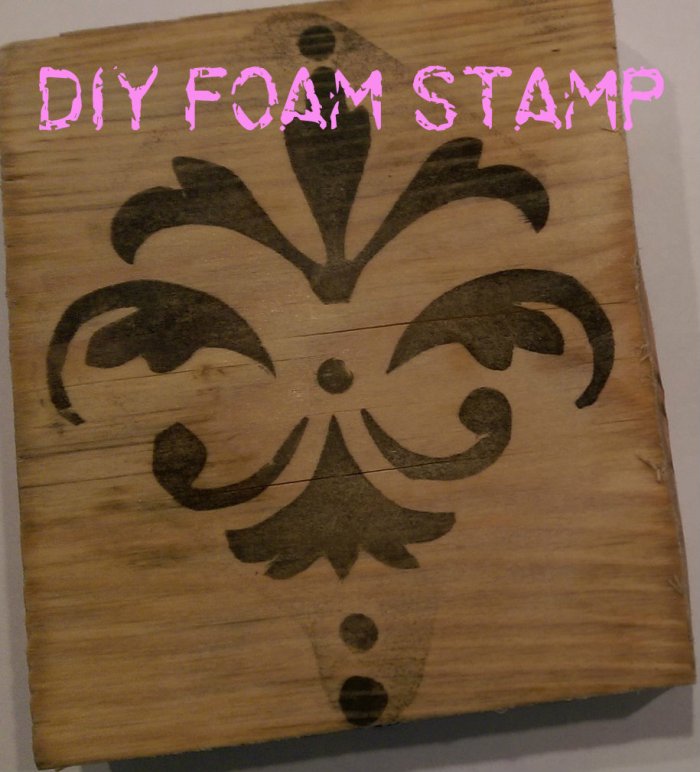
Before mounting the stamp, I inked it up and then stamped directly on the wood. After letting it dry for a minute I mounted the foam on the side opposite of the stamped image. This is where it would have been nice to have better quality foam. With this thin foam I just have to be very careful when inking. Kind of messed up the wood block, but it’s not the end of the world. As you can see, my stamp works just fine.

Made by ME! Squeal! (Did you hear that?!) Since there is a layer of paper sandwiched in there, I wouldn’t recommend washing the stamp under running water. To clean it, just stamp over and over on a damp paper towel until the color is gone.
I have a couple of really great ideas for using foam stamps. I promise to share them soon!
********* Linking up to these awesome parties!*********