Super Saturday Crafts 2016

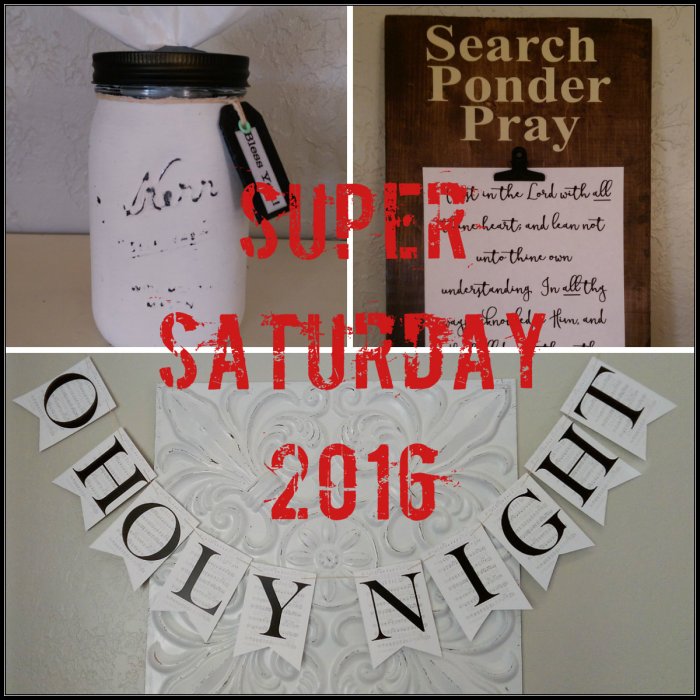
Super Saturday 2016

It’s almost Super Saturday again!

Super Saturday is my favorite crafting event and it is coming up in just 2 short weeks.  Last year I posted what crafts we did for our local Super Saturday and I figured that I would do the same this year.  Uggh.  I just realized that in that post I had promised a tutorial for the Scarecrow/Snowman craft that I made and I totally did not do that!  Shame on me! I will do that very soon.  This time I really mean it!  Promise!

***UPDATE: Here is the tutorial***

To decide on which crafts to make, I consulted my two Pinterest Super Saturday boards: Super Saturday Craft Day Ideas and my group board, Super SUPER SATURDAY Craft Ideas.  You should check these boards (my other boards too!) out for some awesome, awesome crafting ideas.  (I will link below to show the original crafts that I copied for this Super Saturday activity)

Now, on to this year’s Super Saturday crafts:

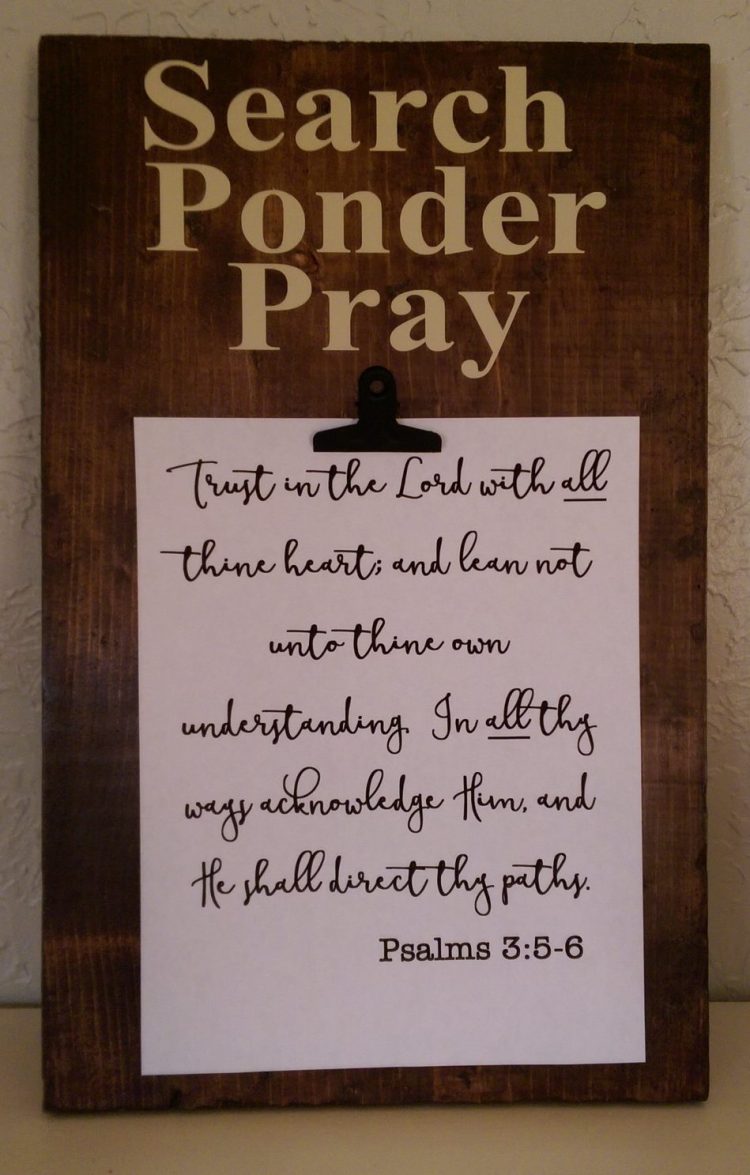
This first craft is what I will call a Ponderize Board.  The thought is that you take scripture verses or other quotes that you want to incorporate into your life and you print it up in cool fonts and post it on this board where everyone can see it often.  It can just be a nice thought to ponder or you can try to memorize, hence the name, Ponderize.  The great part is that you can easily change your chosen verse or quote, maybe change it out every week or month.  Or, keep it up forever.
wp_20161023_001

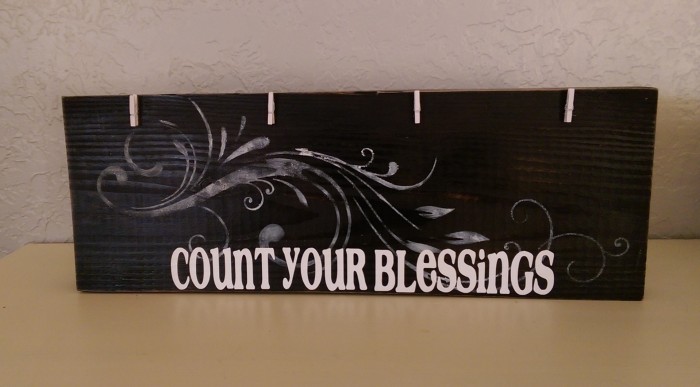
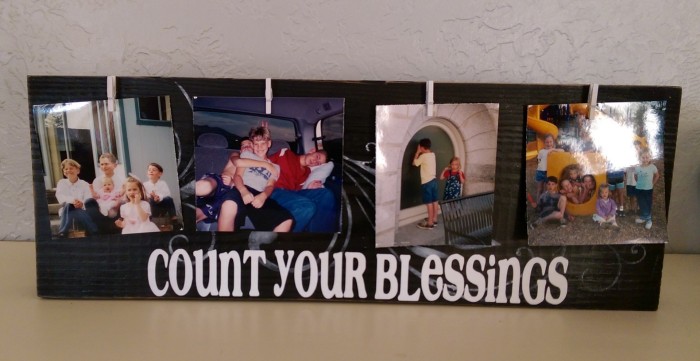
Next craft is a cute Picture Display Board.  I cut the rounded long edges off of 2 x 6 lumber so it can easily sit on a shelf, countertop, table, etc. and not fall over.  Tiny clothespins are hot glued in place to hold the pics.  The lettering is vinyl, (Café Rojo font) and I just used a stencil to add a little detail.
wp_20161023_003-1

wp_20161023_004-1

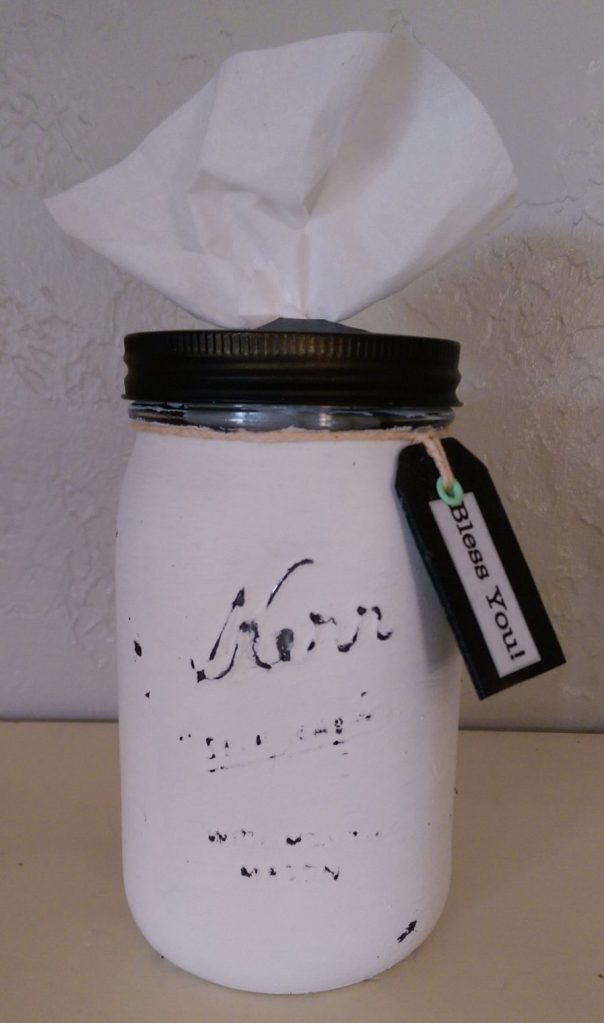
This Quart Jar Kleenex Dispenser turned out so cute!   Let’s face it, Kleenex boxes- no matter how stylish the print is- are really not that attractive.  To get this look, I first painted the jar with a dark color, then added a heavy coat of white chalk paint and sanded a bit to get the distressed look and to highlight the raised lettering.  You can click the “DIY Mason Jar Tissue Holder” link below for the tutorial on how to get the dispenser to work correctly.  This decorative jar is a really fun way to keep Kleenex’s handy:
wp_20161023_005

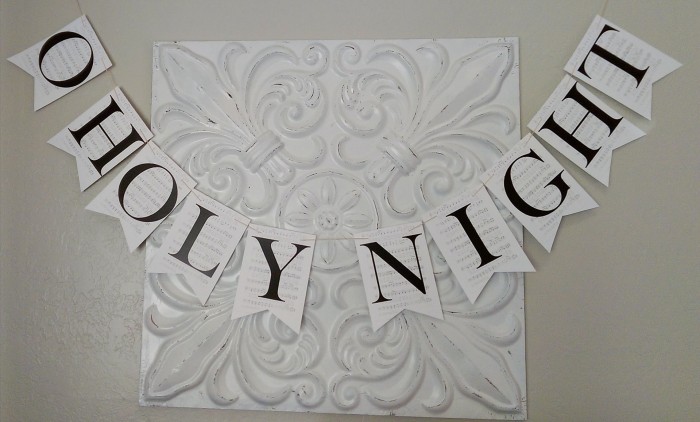
We will also be offering this O Holy Night Banner.  I was hoping to be able to download the banner letters directly from the site that I got the idea from, but the link wasn’t working.  I created my own version and had my local print shop print it up on cardstock.  If you want to print up your own set, here is the link for my version of the O Holy Night banner.  The top and sides of each page just need to be trimmed off (I removed the song title), the bottom cut into this banner-like shape and string added. Easy peasy!
wp_20161023_006-2

I’m sure that these Microwaveable Neck Warmers will be a Super Saturday hit.  They make fabulous gifts!  Look here for my tutorial.

DIY Corn Microwavable Neck Warmers

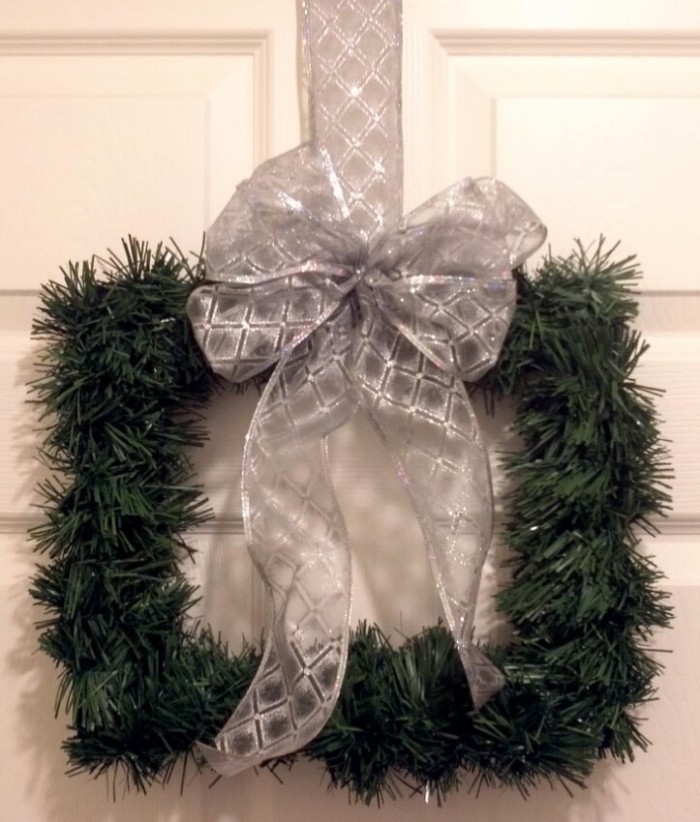
Lastly, during Super Saturday, we are going to do a demonstration to show just how easy it is to make a Square Wreath.  (Here is the tutorial.)
IMG_20141209_174922

Here are the images that inspired some of our Super Saturday craft choices:

Kudos to these awesome crafters!

Verse of the Week

Count Your Blessings Board

DIY Mason Jar Tissue Holder

O Holy Night Banner

Yep, Super Saturday is going to be awesome!

And, there you have it!  Our 2016 Super Saturday crafts.  What do you think?

Do you participate in a get-ready-for-the-holidays crafting event?  I would love to see what you are making!  Please send pics!  Maybe we will do them for Super Saturday 2017!


*********Linking up to these awesome parties*********


I was featured!
Fearlessly Creative Mammas


Easy Recycled Gift Tags


Recycled gift tags

It’s time for Christmas gift buying, gift wrapping and gift tagging.  Don’t you just love Christmas time?   To me, wrapping presents is fun and pretty relaxing, but I’ll admit that one of my least favorite parts of wrapping is tagging my wrapped gifts.  Am I the only one?  I always make sure to buy gift tags at the after-Christmas sales so I have plenty on hand, but the things make me crazy.  The plain ones are often, well…boring and the beautiful foiled ones always seem to repel ink.   Seriously, someone should test those things out before they sell them as gift tags.  It seems that if I can find a pen that actually writes on them, the ink always smears when I try to stick it on the package.   Urrgggh.

This year, I decided to make some more permanent tags.  I went as far as my recycling bin to find my main supplies-  these empty thin cardboard boxes:

Empty food cartons for gift tags

First thing that I did was to cut simple tag shapes, pairing two for each tag.  I made sure that the plain side faced out as I cut them, because really, who really wants a picture of a tri tip sandwich on their gift tag.

recycled cardboard gift tags

The first couple of tags that I made had a layer of flannel sandwiched between them:

As you can see, I used a tiny loop of tape to hold each side of the fabric/cardboard in place, making sure to line the cardboard up well.  Easy.  Next, I took it to my sewing machine and used a long, straight stitch around the whole thing.  I made sure to start at the center-top of the tag and overlapped a few stitches to secure the thread, knowing that the ribbon would hide the cut threads.  Once the sewing was complete, I trimmed the fabric to the actual shape of the tag.  For added effect, I frayed the flannel edges of one of my tags, and the other tag I snipped lots of tiny cuts along the whole fabric edge to create my own fringe.

After doing a couple this way, I got lazy and just ended up gluing the two pieces of cardboard together, skipping the flannel.  I think that I prefer this simpler look, actually, and it makes tag making so much easier and faster.  Once the tag layers were secured, I used my hole punch at the top.

Of course I could have hand-written the names on these, but instead I went to my computer and found some fun, bold fonts which I printed in large sizes and glued on my tags.  I used white paper, but colored or lightly patterned paper would be fun, too.   Glitter, stickers, and other embellishments would spiff these up even more.  Really, the sky’s the limit on what you could do with these.   You can have all of your tags exactly the same, with only the names different, or you can color code for each child/recipient, or you can make each tag totally different.

Gift tags made from recycled carton cardboard

You might think that, with the rush and fun and craziness of Christmas morning unwrapping that these tags will just get tossed in with the other trash.  Maybe…maybe not.  These gift tags are actually very study and feel substantial in your hands.  I don’t think that they will easily get mixed up with tossed gift wrap and bows.  I’m going to tell my children to save them so I can use them next year…and the year after that…and the year after that, etc., etc. .

What started out as trash will be avoiding the trashcan for years to come.  That’s the plan.  Now, I just need to invade my recycling bin again to make a couple dozen more tags.

So, do you have any empty cereal, crackers, or other thin cardboard boxes in your trash right now?  I think it’s time to rescue them!


*********Linking up to these awesome parties*********


Grandpas Art and Pixlr Express

“Grandpas are just antique little boys”.  I just love that saying.  Isn’t it so true?  Having a dad who is an antiques dealer, I grew up surrounded by antiques and since he is an active grandpa 43 times over, I wanted to make some sort of printable of this saying.

Baseball just screams “little boys”, so I started out by looking for free baseball mitt images on Stockvault.net.  This is the image that I chose:

stockvault-baseball-glove105487

Next, I went to my new favorite online playground, Pixlr Express.  This free online image editor is different than Pixlr’s full-blown site and super easy to figure out.   After messing around with “Adjustment”, “Borders” and “Type”, this is what I came up with:

Grandpas Antique

Just in time for Father’s Day.  What do you think?  Antique-y enough?

If you haven’t done so yet, shuffle on over to Pixlr Express.  It is so much fun!  Like a day at the ballpark with grandpa.


********* Linking up to these awesome parties!*********