Easy Floppy Bow (Using a Blouse Sleeve)

Remember this pillow that I made using a blouse that I recently bought at a thrift store?

IMAG00055 (2)

Well, I promised that I would show you how I made the floppy bow.  Remember?  I hate to break promises, so here we go.

For this bow, I used the sleeve portion of the blouse.  See here?

IMAG00076 (2)

First, cut off the cuff, like so:

blouse sleeve1

So far, so good?  See that fancy slit?  That is what helps make this easy bow so, well… easy.  You’ll see.

Now, just cut your fabric so it is slightly wider than you want your bow to be.  Basically 3 quick snips, don’t over-think it…it doesn’t have to be perfect.  Turn the fabric inside out and pin it, making sure to secure that slit well.  Then simply stitch the ends like so:

IMAG00080 1

Now here is where that little slit makes life easy.  Remove the pins and turn that baby inside out through the slit.  No need to sew it up, it is going to be hidden in the back of the bow.  You may notice that one side of the bow is a little wider than the other.  Since the fabric is so floppy, it really won’t be noticeable when you are done.  Trust me, it will be okay.

Now grab that cuff and cut it in half lengthwise

IMAG00081 (2)IMAG00082 (2)

Position this knot to form a bow and either sew to your desired tightness, or just add a touch of hot glue.  Trim the ends off then add a hair clip if wanted.  Done!

IMAG00091 (2)

IMAG00092 (2)

IMAG00054

Yep…that was pretty easy!


DIY: From Blouse to Pillow in 10 Minutes Flat

Do you have pillow forms hiding at your house?  Maybe in your garage?  Closet?  Craft room?  Yeah, me too.  And when I say “pillow form”, I am also referring to ugly throw pillows that just need to be updated.  Like the ugly hunter green checkered pillow that I adored in the 90’s.  It has been hiding in the garage for the last 10+ years.  Well, I resurrected it today with this:

IMAG00038

I know what you are thinking… that is one stylish blouse.  Am I right?  Or am I right?  Or am I right?  The fabric is a really shiny rayon/polyester mix that doesn’t photograph well, but you get the gist.  This blouse came from my local, small town thrift store that likes to do deals like “as many clothes as you can stuff in a bag for $2” sales.  Yep, I shoved this in my bag, knowing that I wanted it for the fabric only.  I wanted to see if I could use it to make some of these silk flowers:

IMAG00169


Unfortunately, my gray shiny blouse was an epic fail for that project.  Caught on fire!  Luckily, I was near the kitchen sink.  I know that polyester fabric melts, so I just “Bing”ed the question, “Is rayon flammable?”.  The answer, “Yes. Very much so.”.  Perhaps I should have checked before I lit it with a candle.  Hmmm…you learn something new every day.

I couldn’t let the blouse go to waste, I mean, it cost me a quarter.  I got my thinking cap on and thought of my ugly hunter green checkered pillow hiding in my garage and out it came.  Remember this pillow tutorial where I made a heart-shaped pillow out of a sweater with buttons?  Same concept here.  I just cut out two rectangles just a bit bigger than my pillow form using the front and the back of the blouse and then sewed around all four sides.  No need to leave an opening  so I could shove the form in and hand sew it shut.  No way… that is where the buttons come in handy.  Check it out:

IMAG00055 (2)

Can you see how I made the buttons (which were purposely hidden on this particular blouse) off center.  Much better than sticking them smack-dab in the middle.  Don’t you agree.  I made a floppy bow using one of the sleeves and just safety pinned it on.  That way I can reposition it later if I want to.  I will show you how I did the bow some other time.  Promise.

Since it is a rectangular pillow, it can sit either way:

IMAG00054

Now you can see why I just pinned the bow on… I might want to change the position depending on which direction the pillow faces.

I seriously spent more time getting my sewing machine set up and then put back away than I spent making this simple pillow.  You have GOT to try one for yourself.  Resurrect an old pillow of your own.  Time to do some blouse shopping.


DIY: Super Simple Satin Flowers

SuperSimpleSatinFlowers

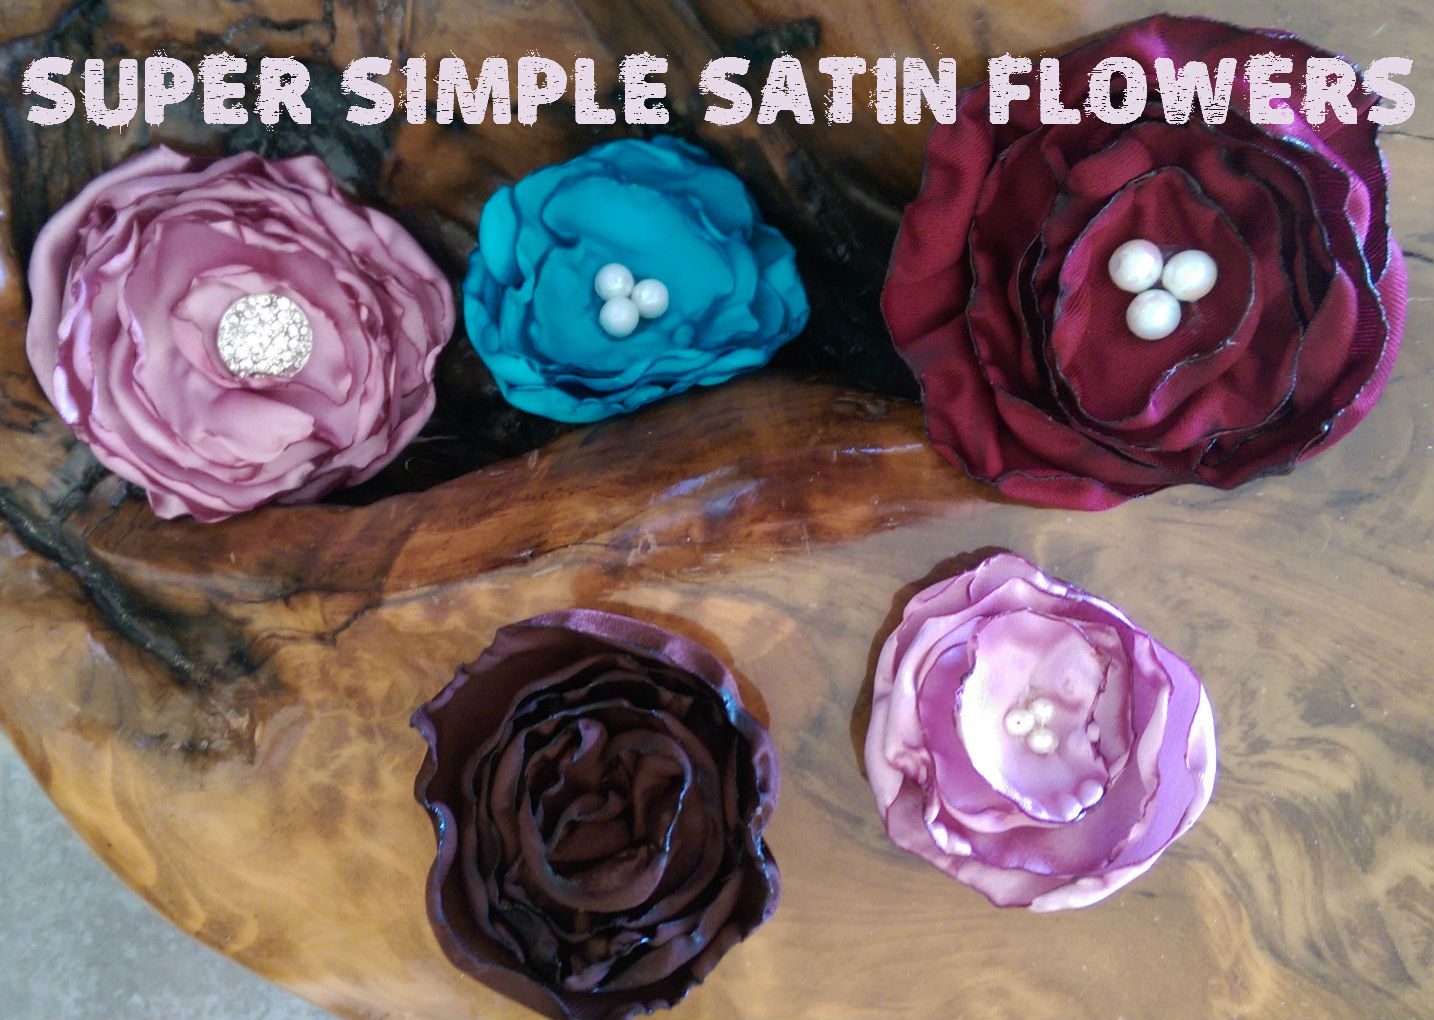
There is something incredibly awesome about being able to take a flat piece of fabric and turn it into something 3 dimensional, useful and beautiful.   I don’t consider myself to be an expert seamstress, but I still love to create with fabric.  I’m in no way the inventor of this simple satin flower, but I thought that I would share how I make them.

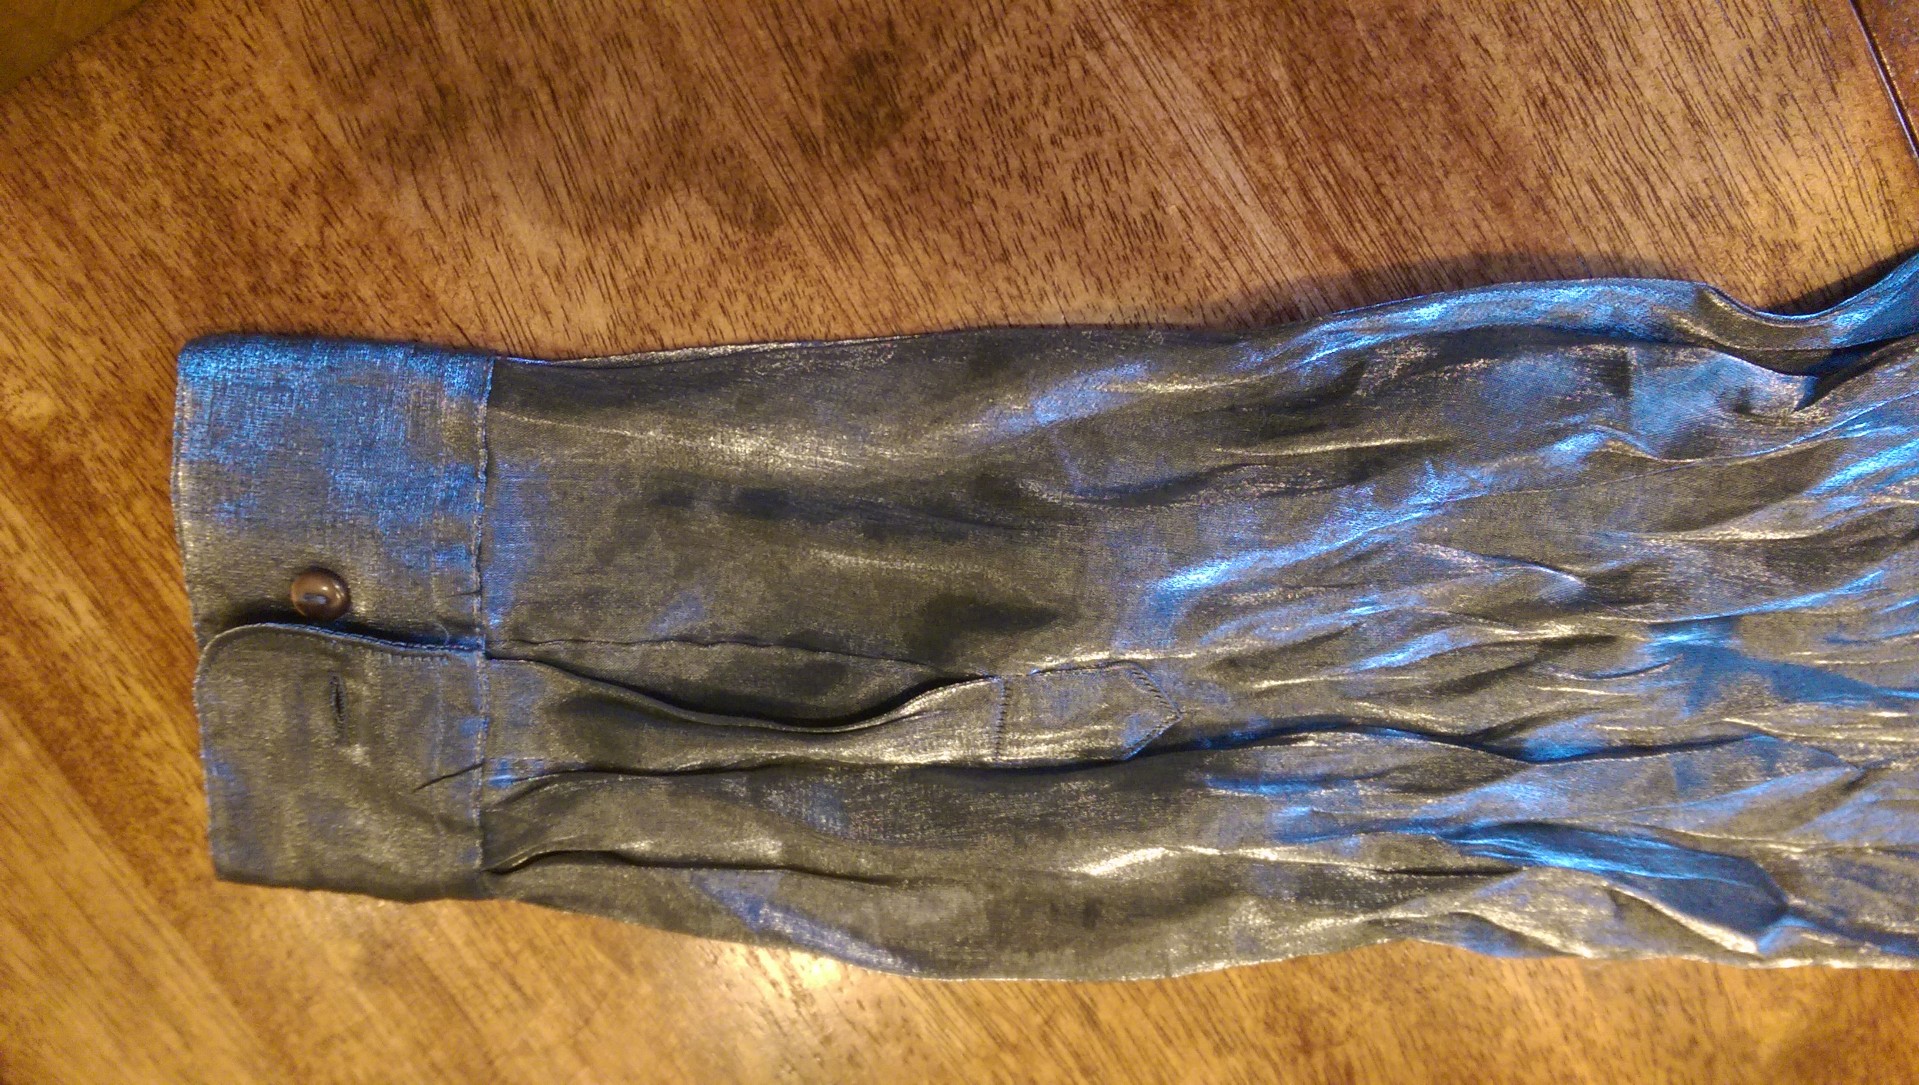
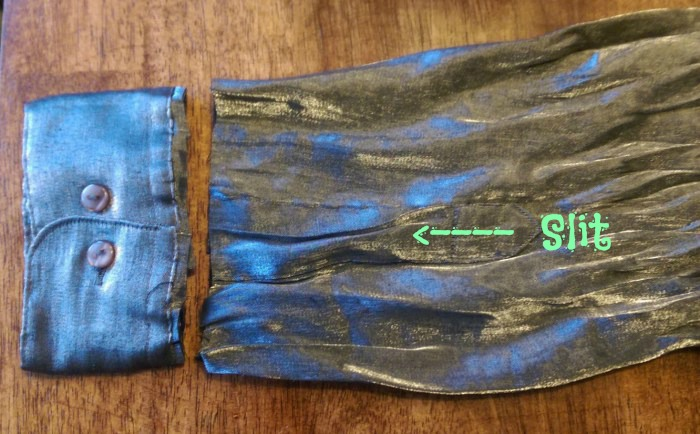
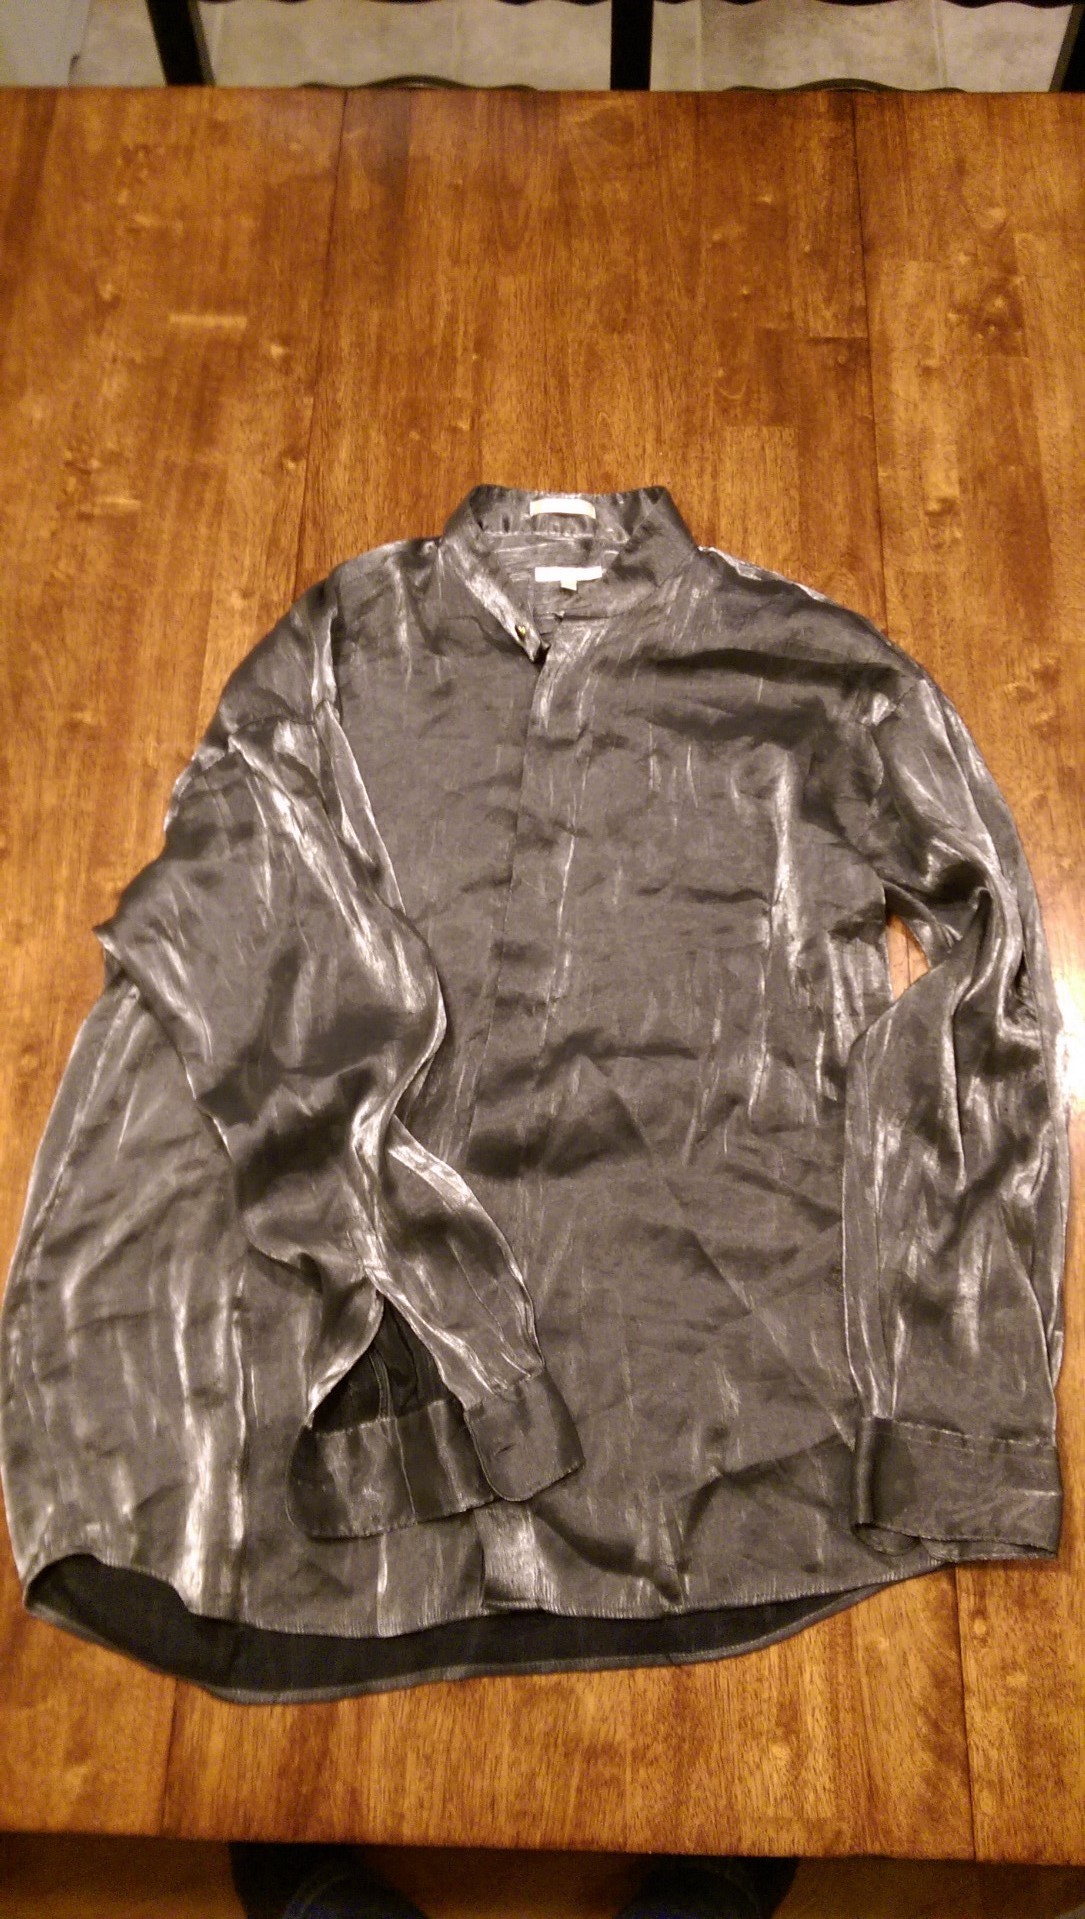
First of all, you will need some sort of a polyester satin-like fabric.  You can find it everywhere.  Since you don’t really need very much fabric for each flower, it helps to check the remnants section of your fabric store.  I have even cut up items of clothing to make these.  Check out your own fabric stash.  Or, someone else’s fabric stash…with their permission, of course.  Seriously you only need a tiny bit of fabric.  How much depends on the flower size that you want.

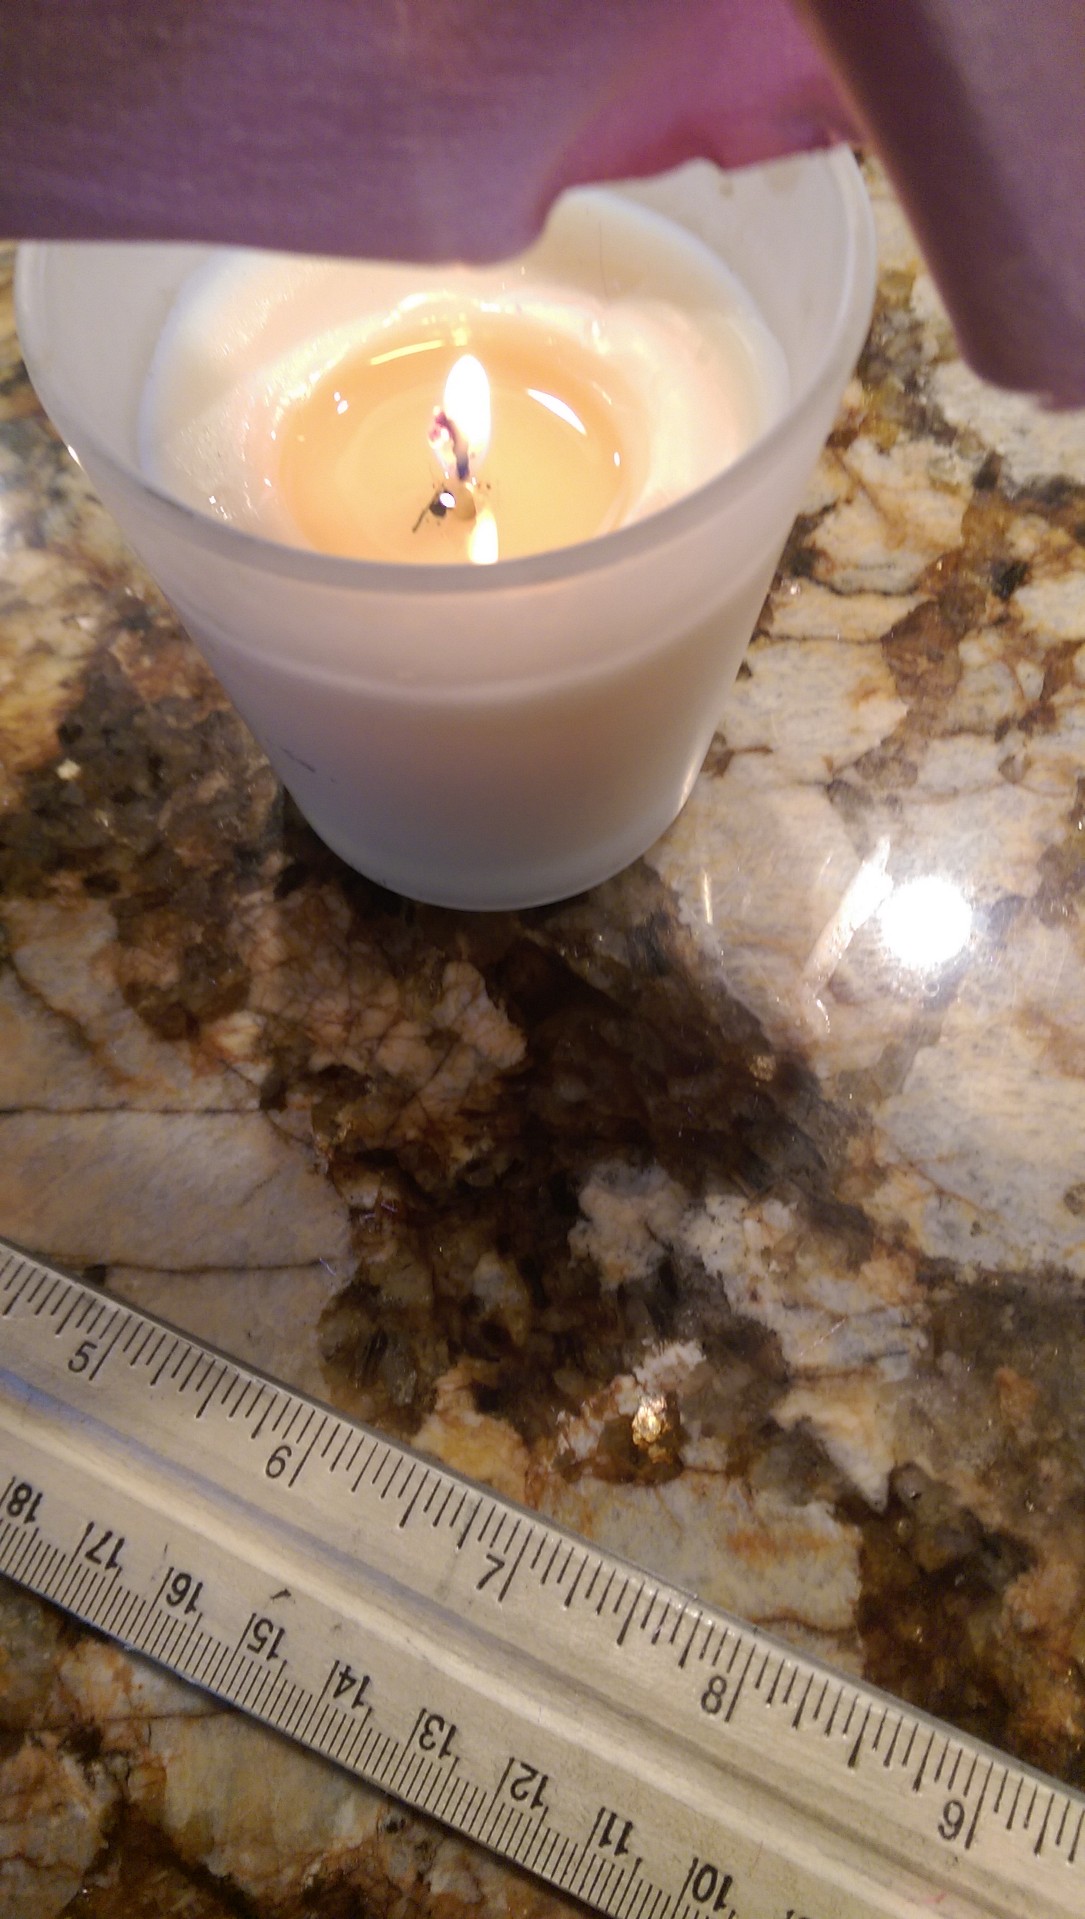
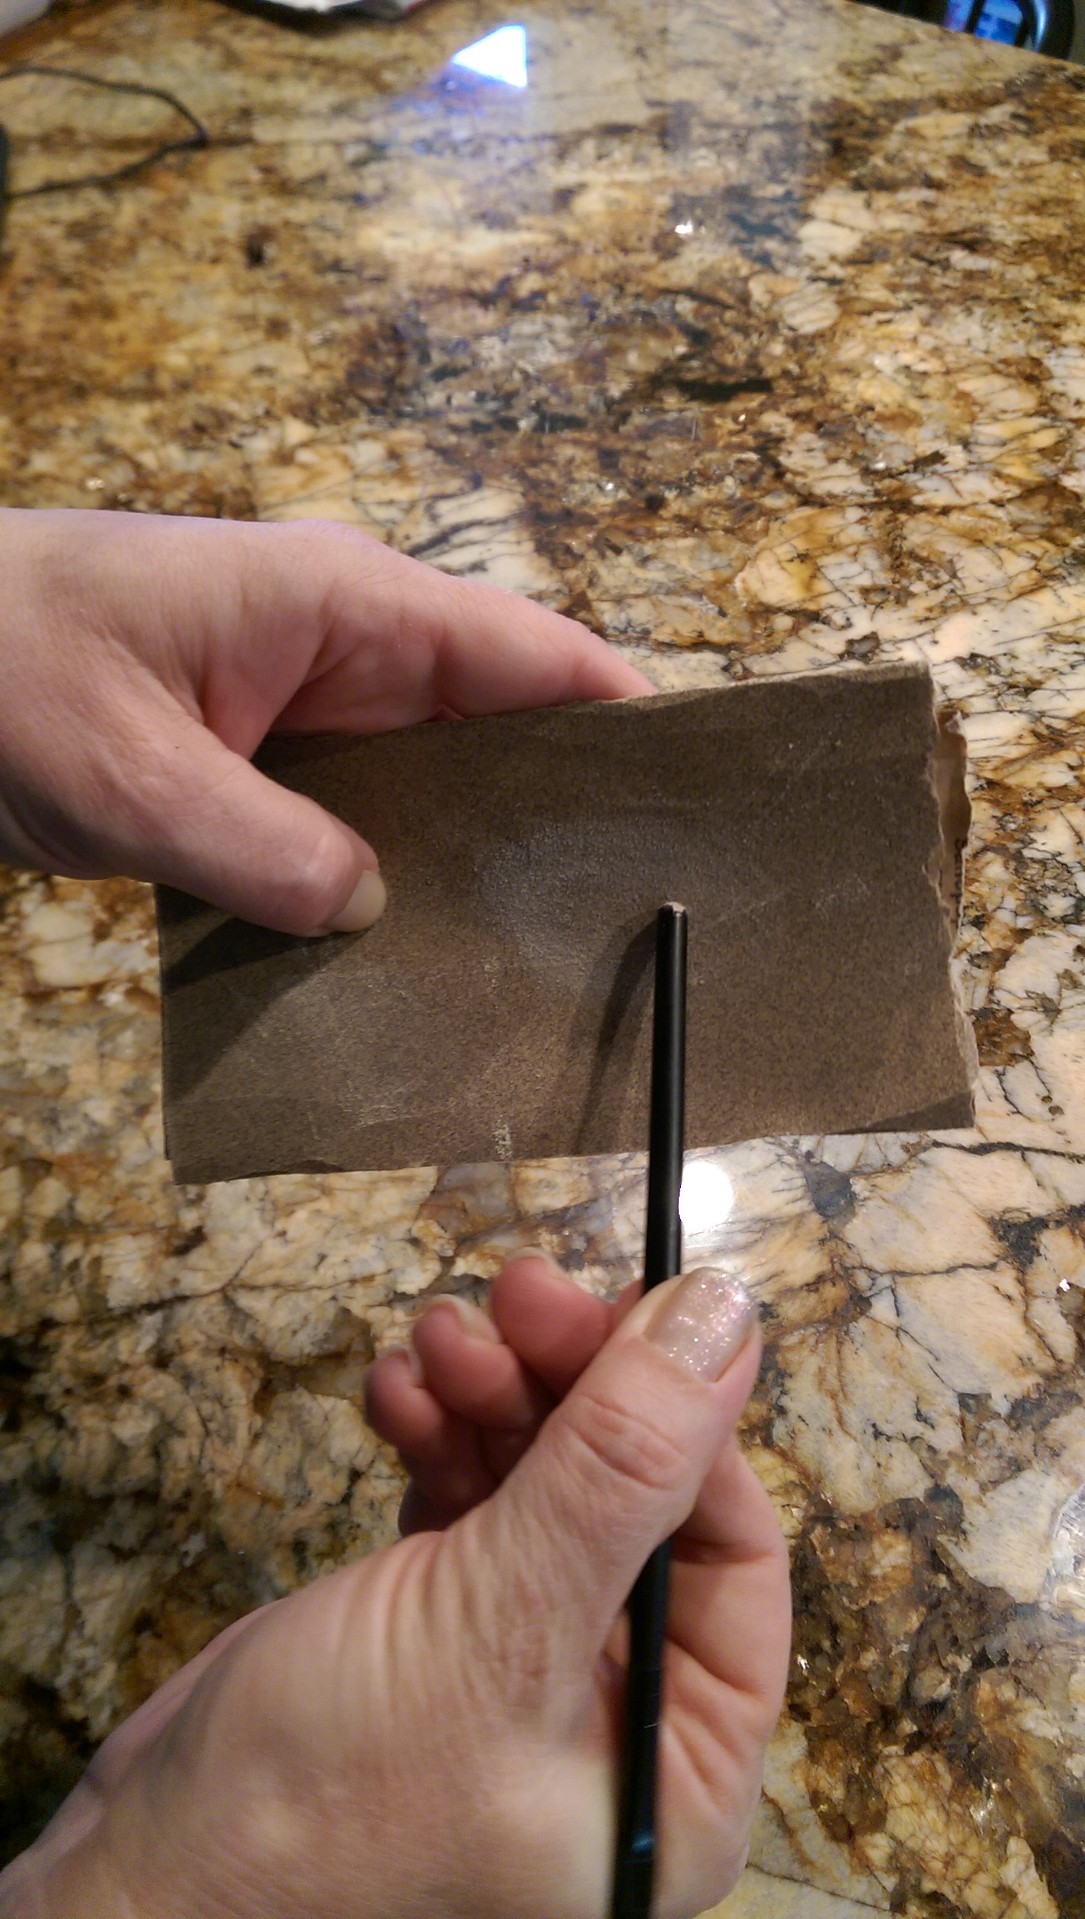
I had a few different fabrics that were satiny that I quickly found they weren’t polyester. To see if a fabric is polyester, just place an edge of the fabric above (not into) a candle flame.  Polyester will melt on the edge, which is just plain neat-o.   This melted part will darken in color, which makes a pretty cool effect.  The fabric will pucker and bend, making the previously flat fabric more flower petal-like.

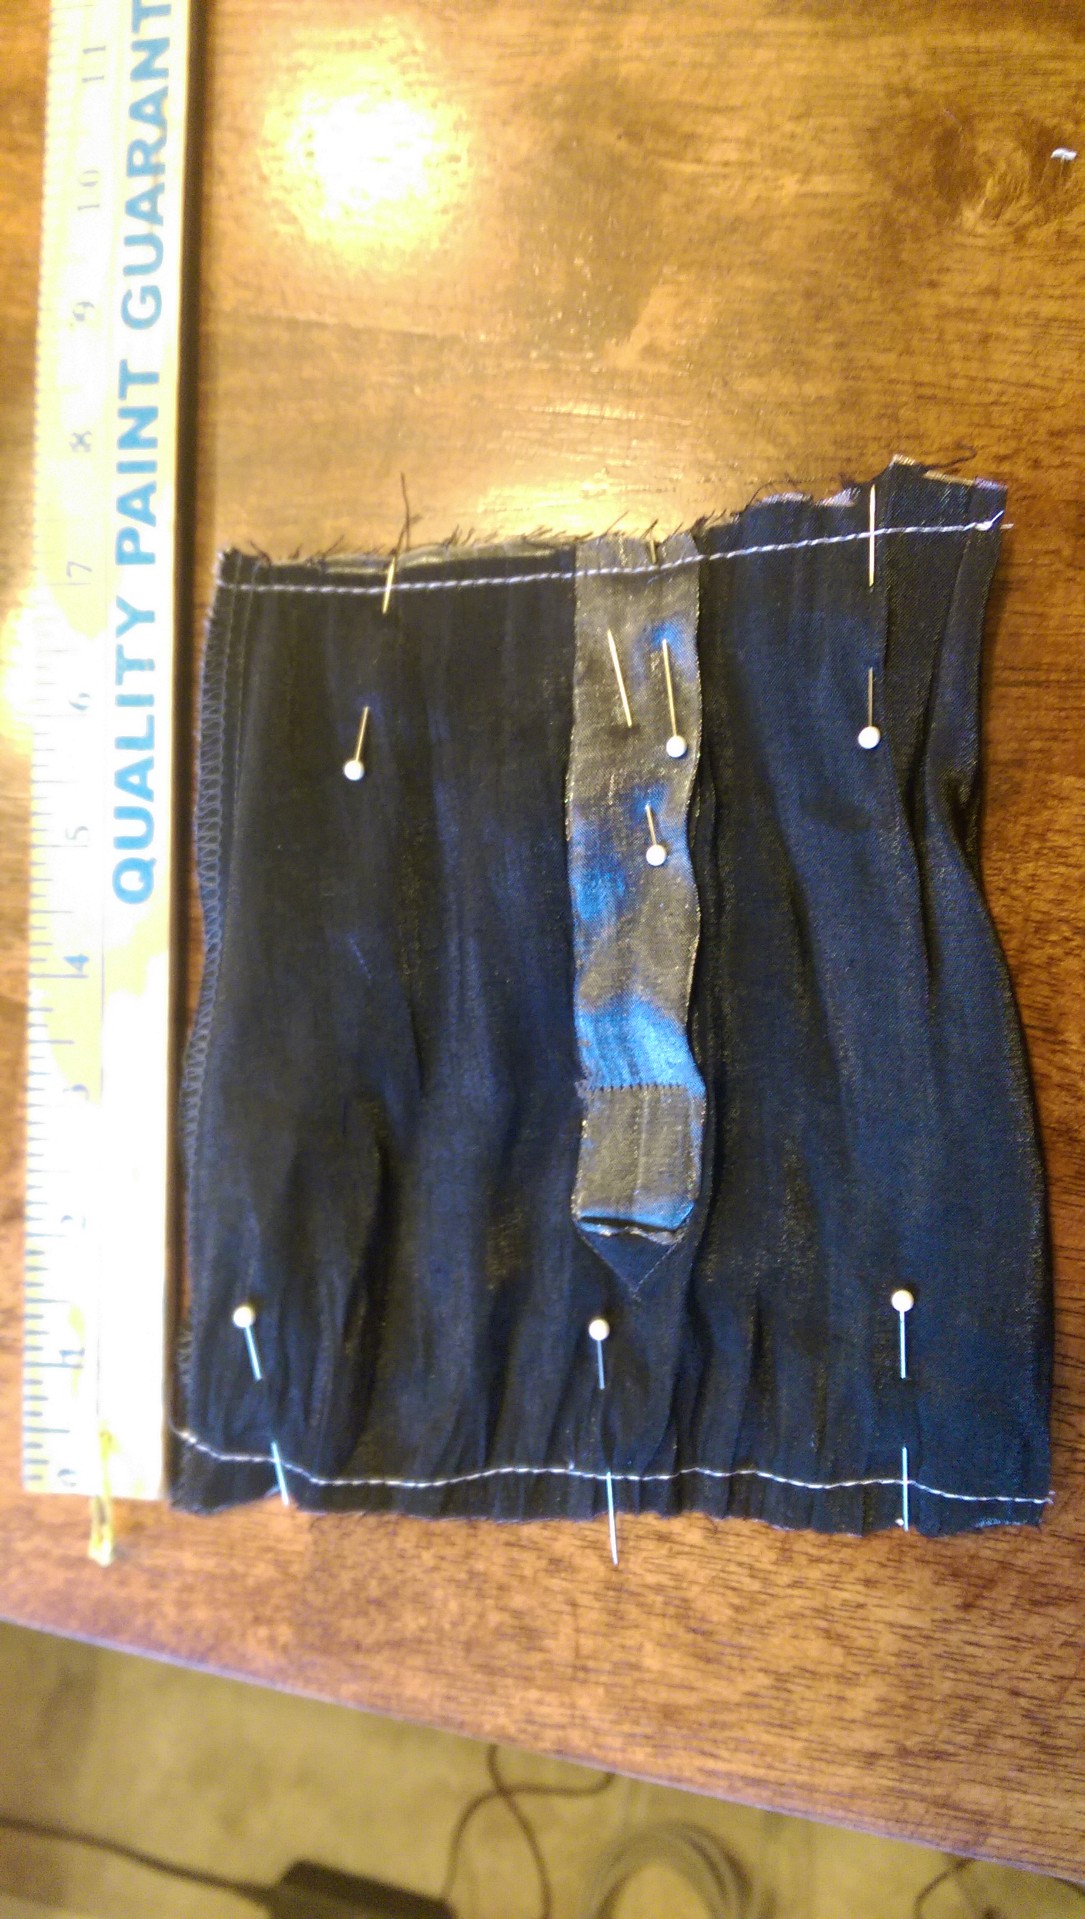
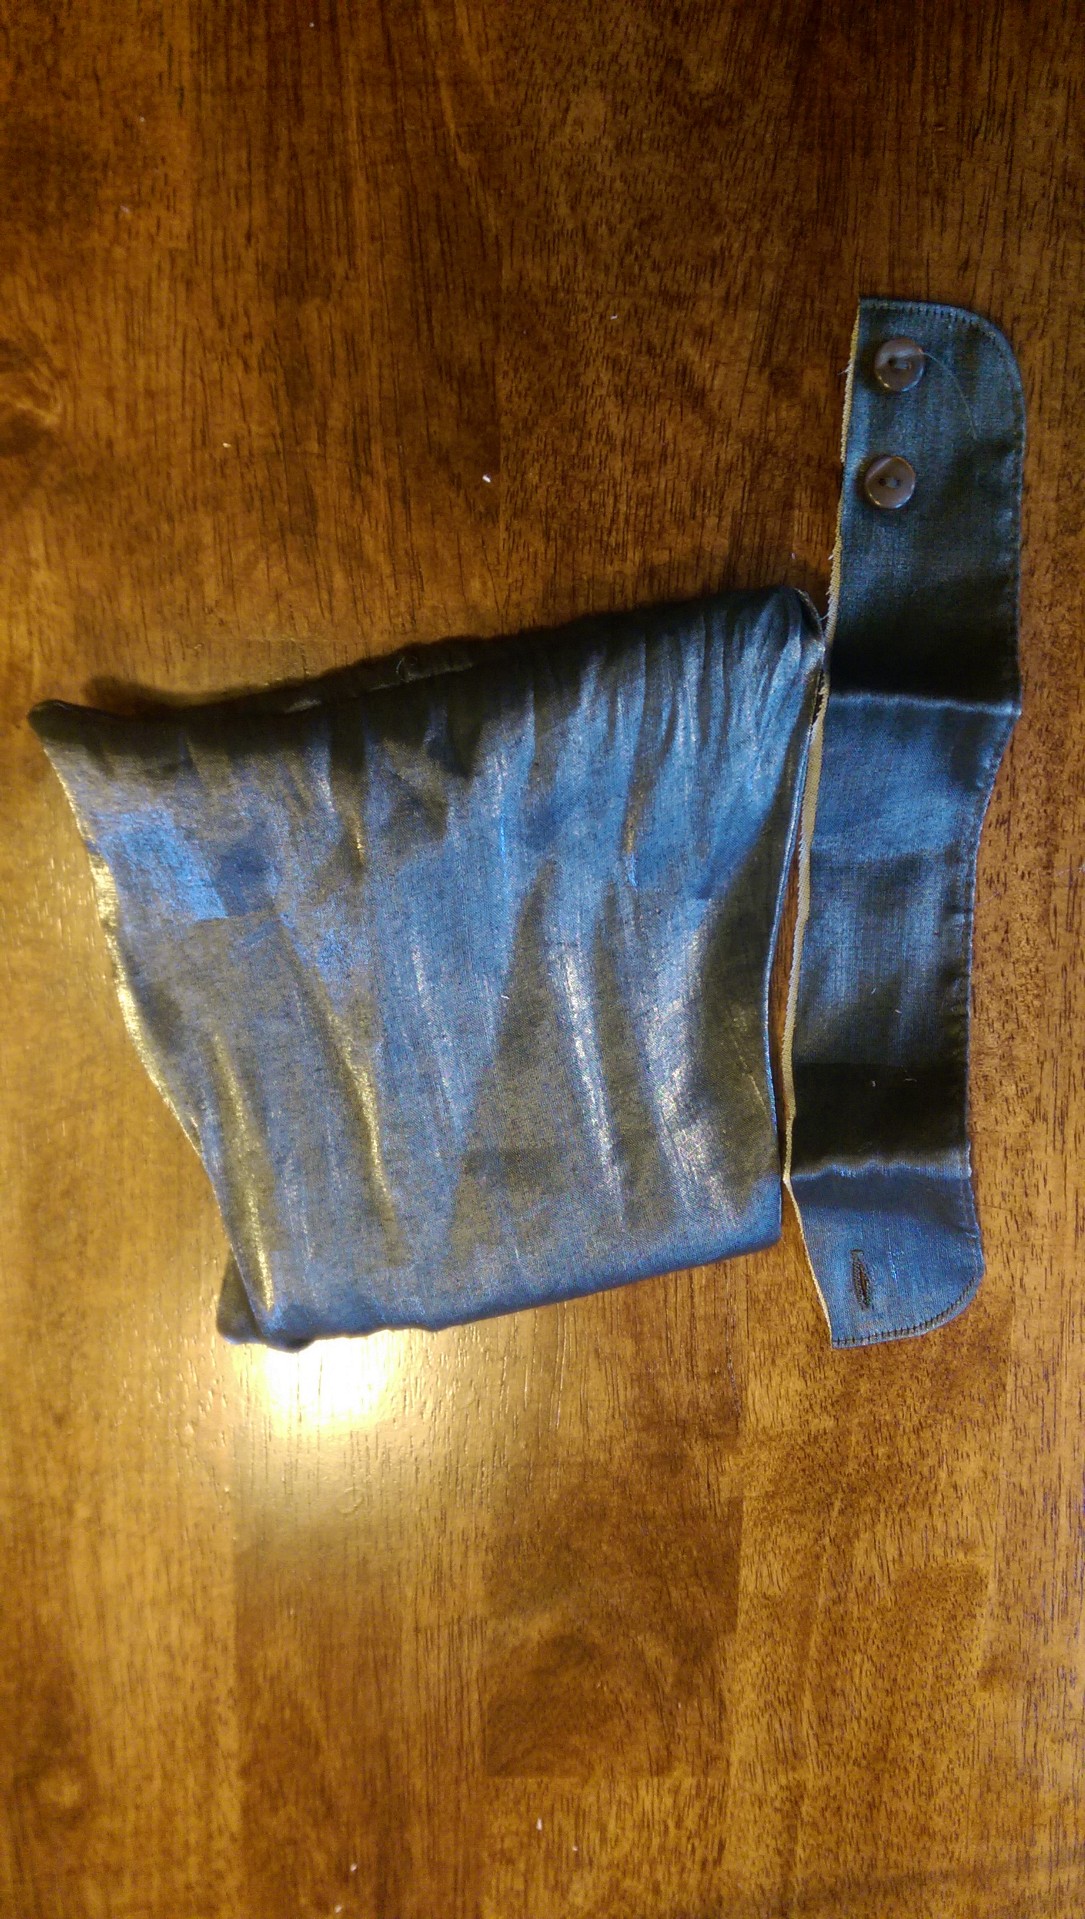
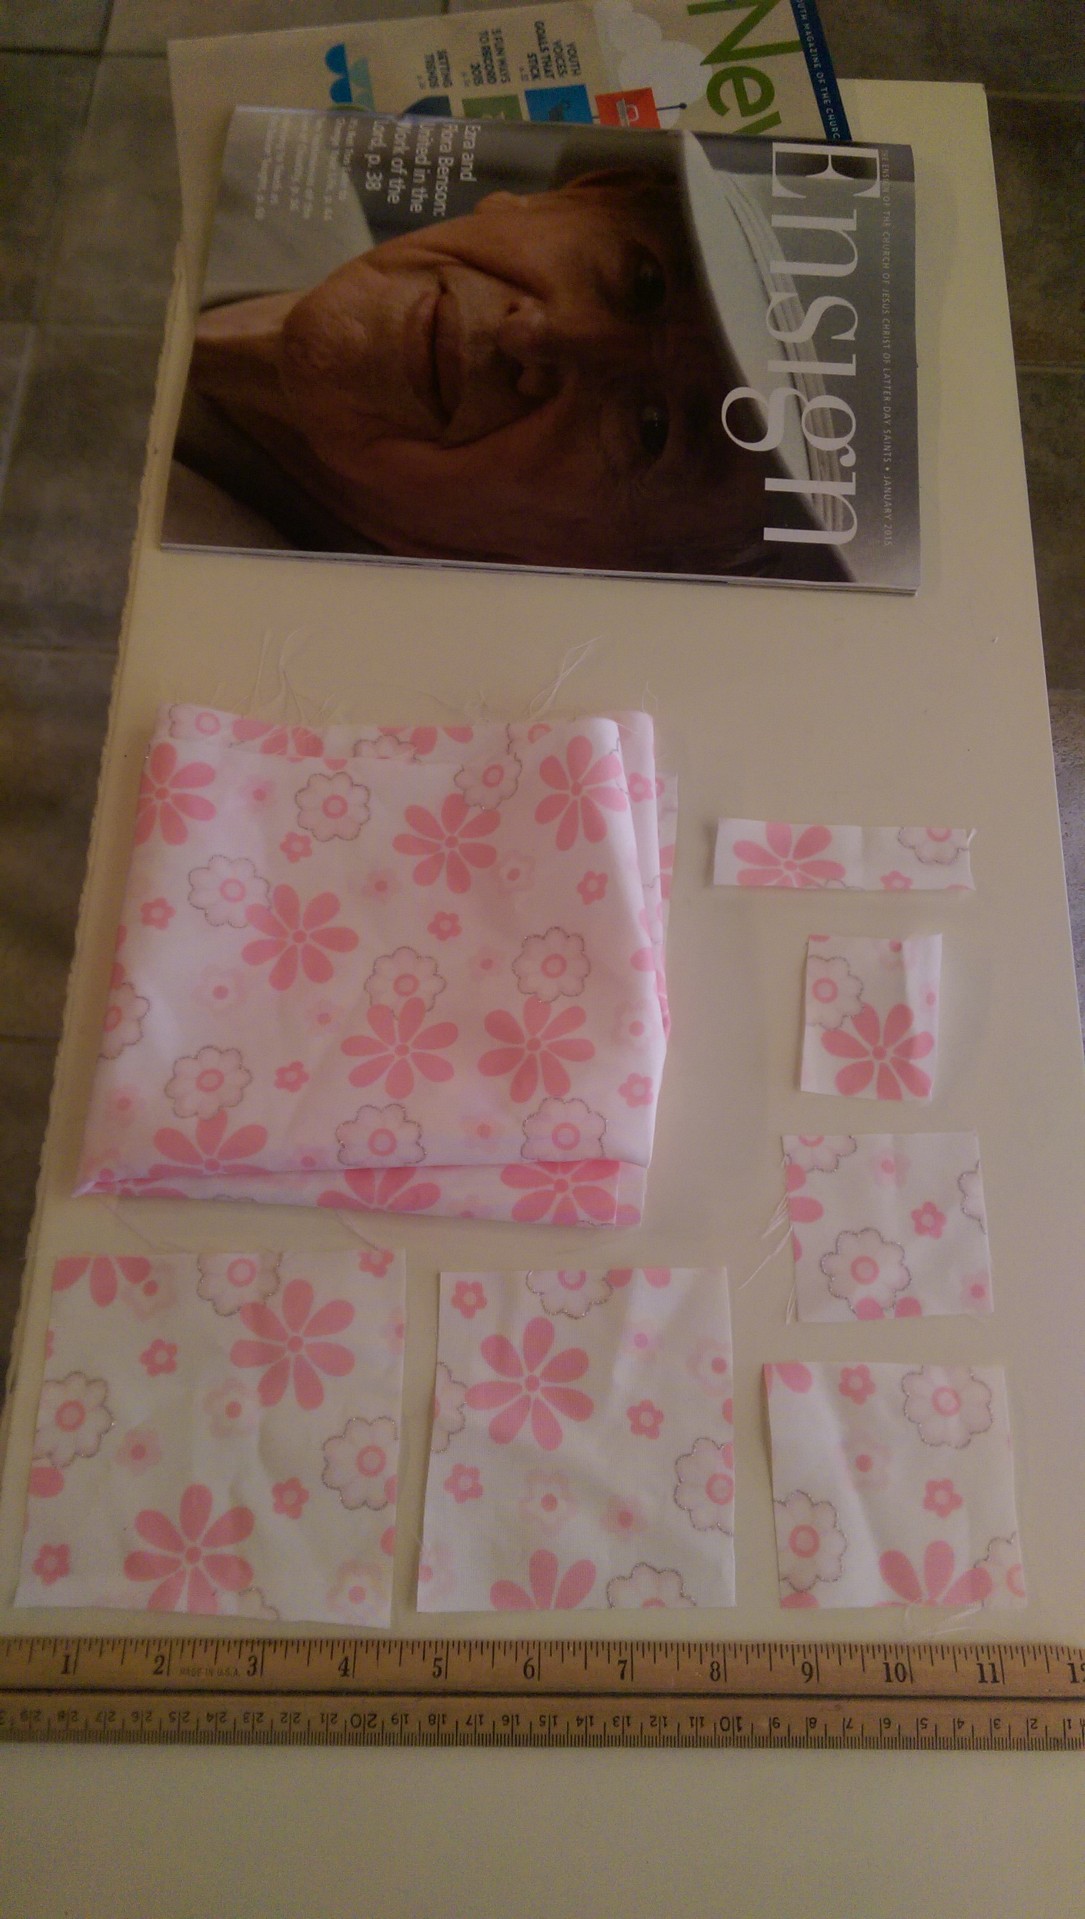
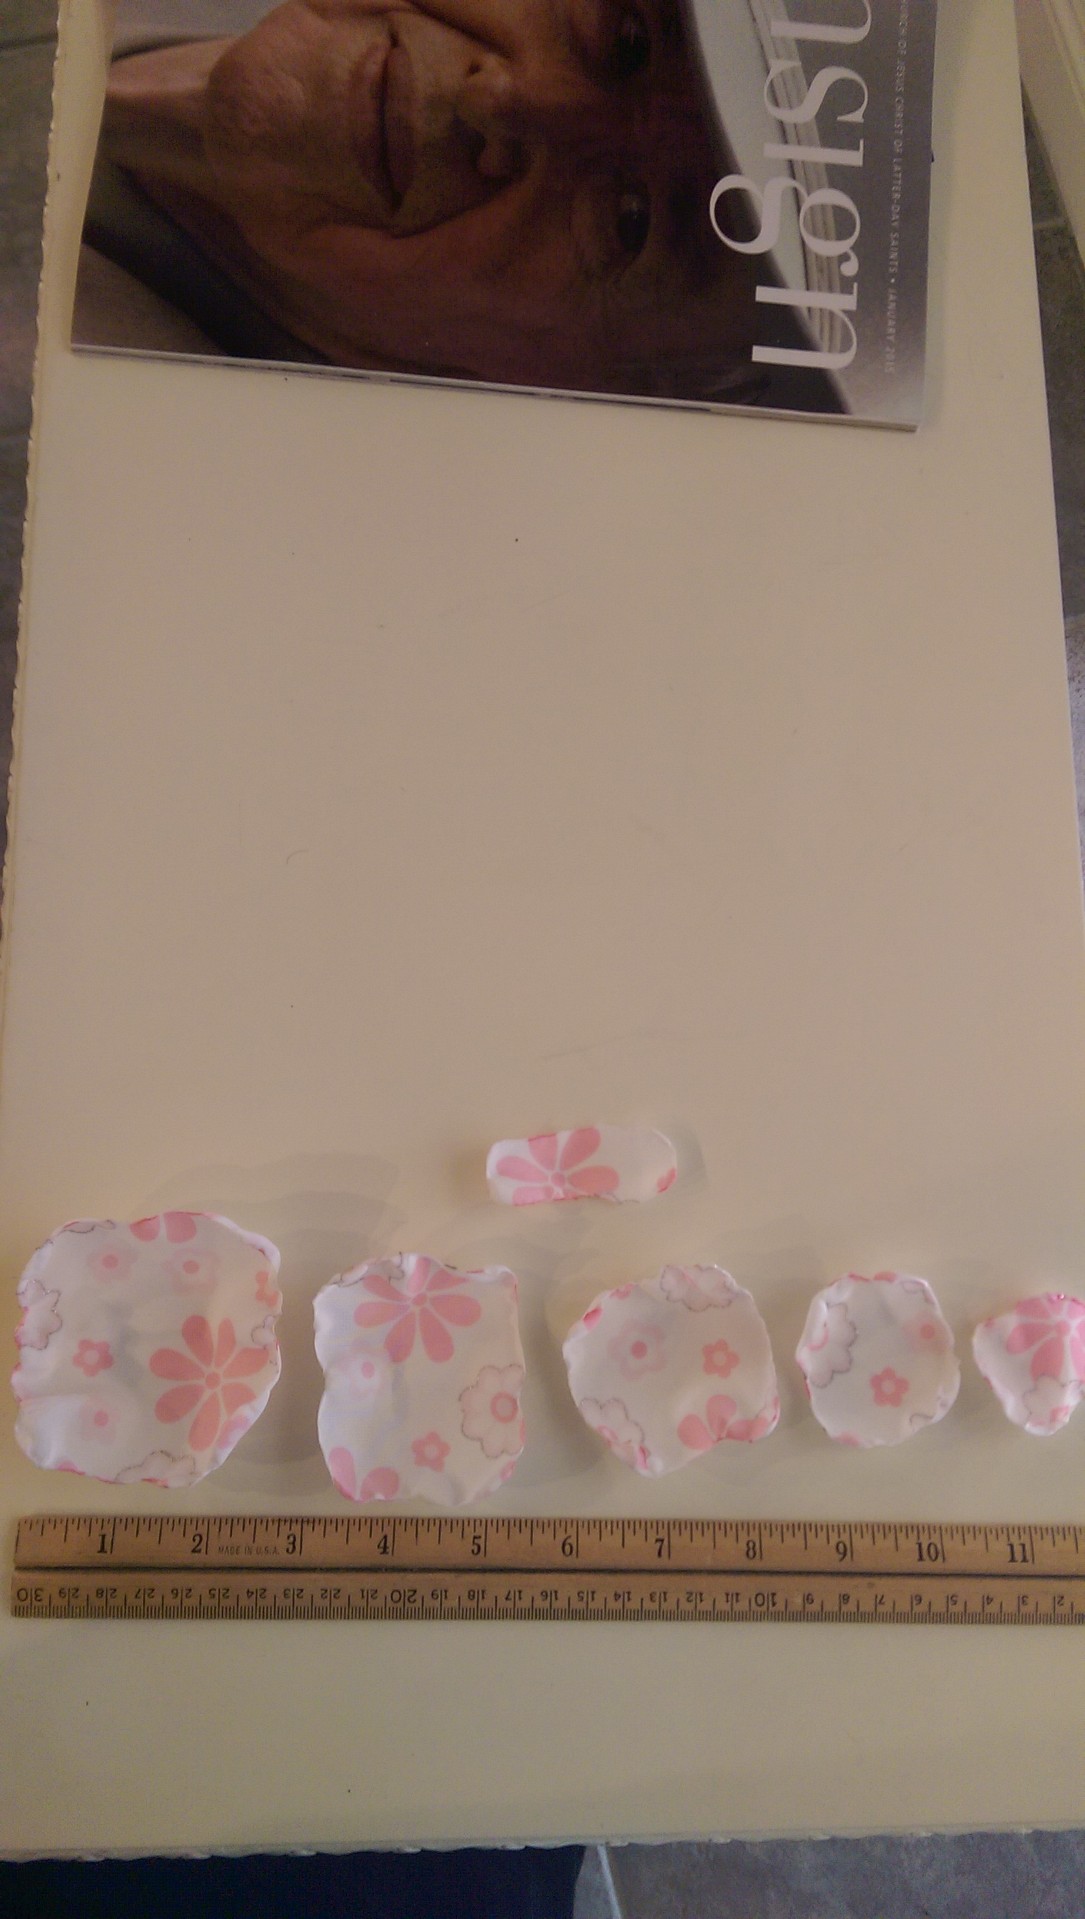
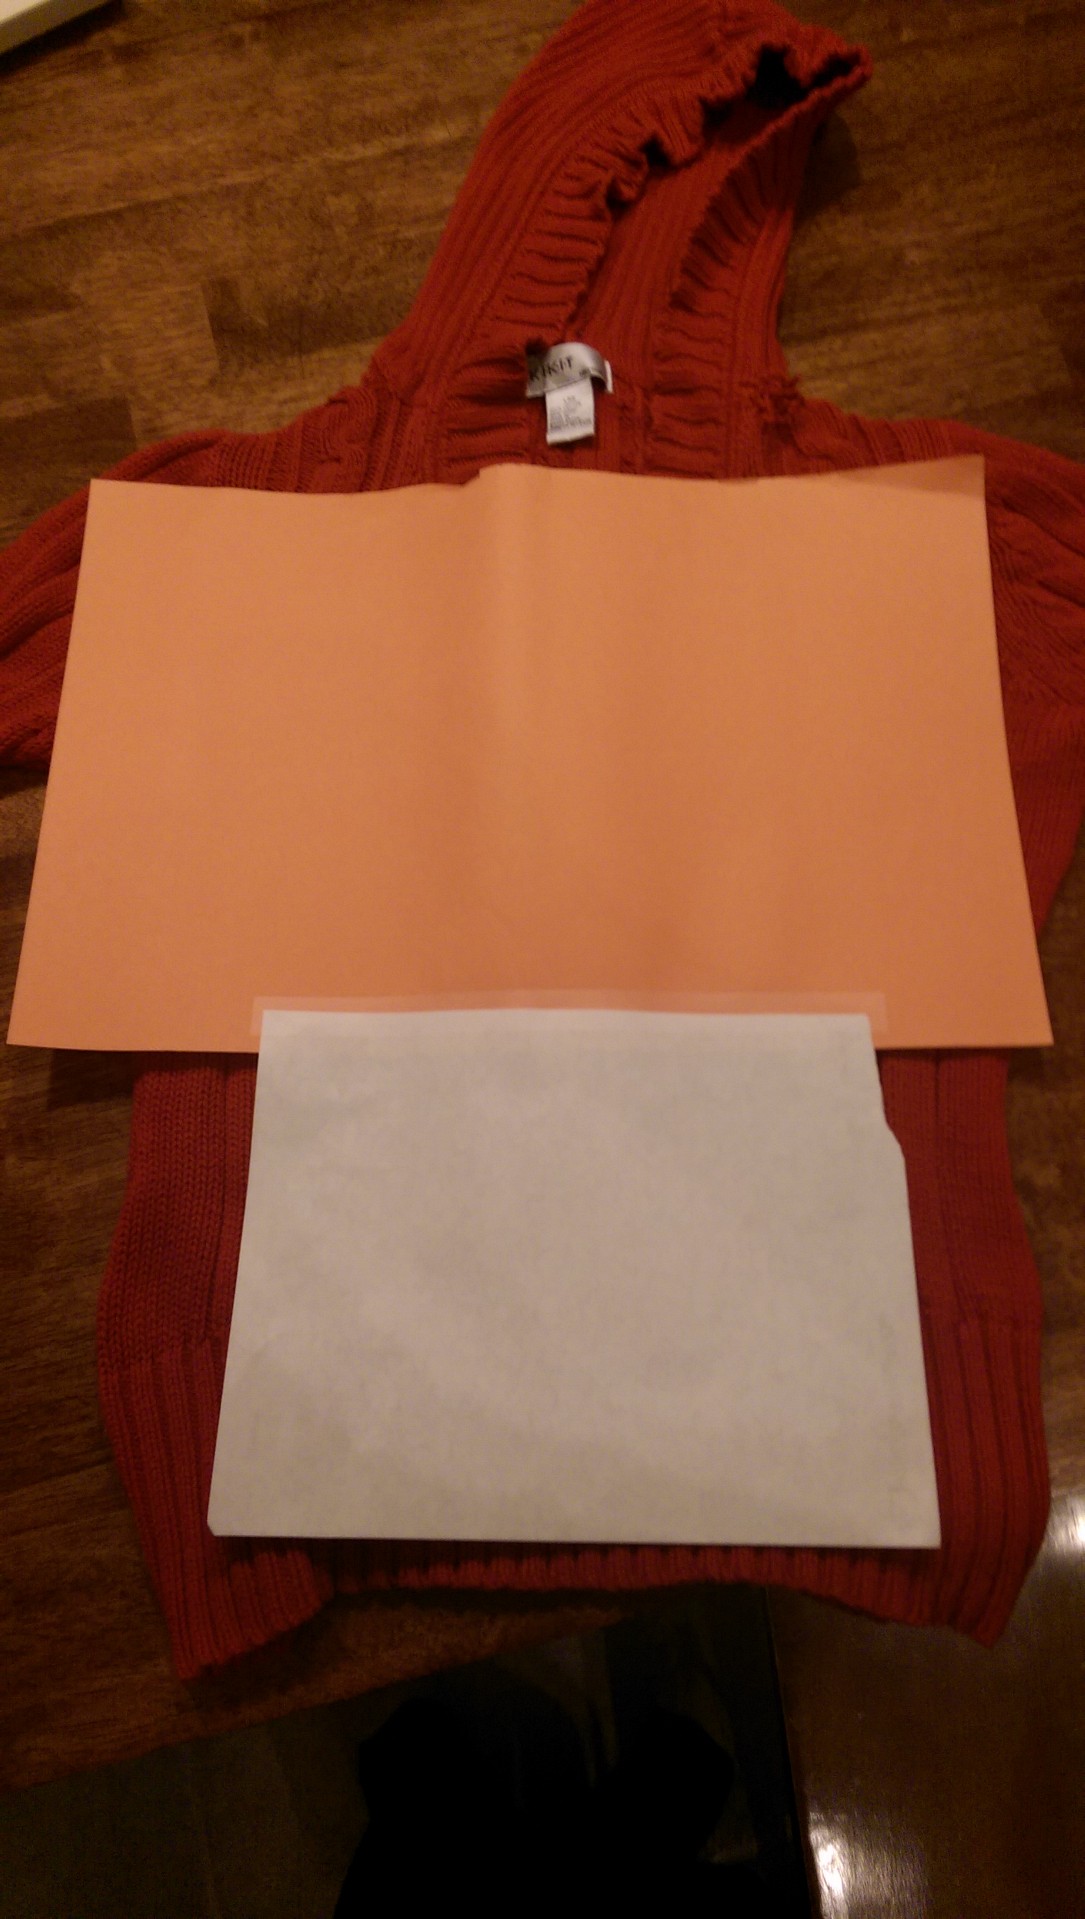
To get started, cut out your fabric.  If you are a perfectionist, you might have a problem with this, because it really doesn’t matter how you cut the fabric.  I usually just roughly cut squares, but circles or cloud-like shapes will work.  Play around with it…that’s half of the fun.

For each flower you will cut 4 or more shapes in descending size and a thin rectangle for the back so you can attach a hair clip.  The more layers you add, the fuller the flower will be.

IMAG00094

IMAG00095

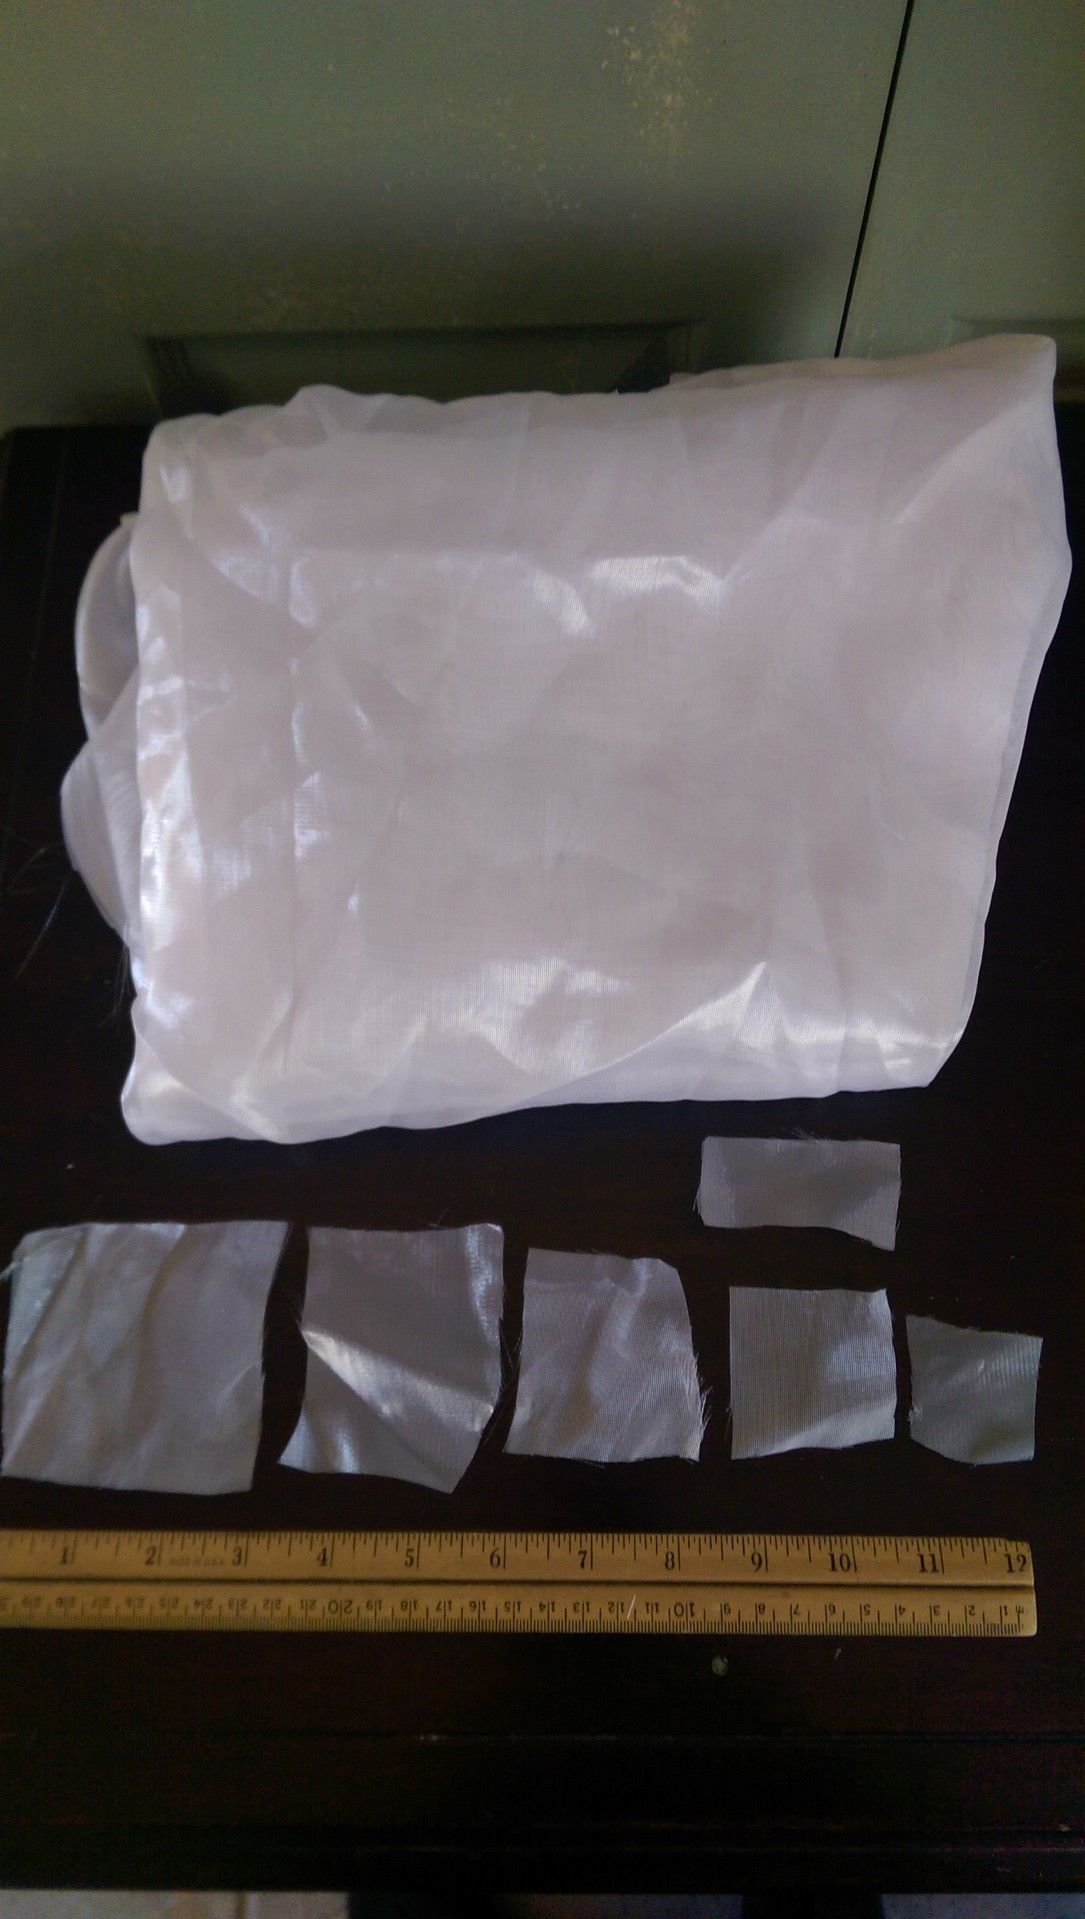
See how imperfect my cuts are?  I will admit that the white fabric isn’t satin, it is more of a sheer fabric, but it must be polyester because it melts.  It is fun to see what fabrics will work.

Next step, grab a candle.  I prefer small-ish candles in jars.  Think dollar store.  I’m not going to lie… when I first started making these, I just used the flame on my gas stove.  Works seriously fast.  If you are worried about fumes, I haven’t really had a problem with this… maybe do it under the stove vent.

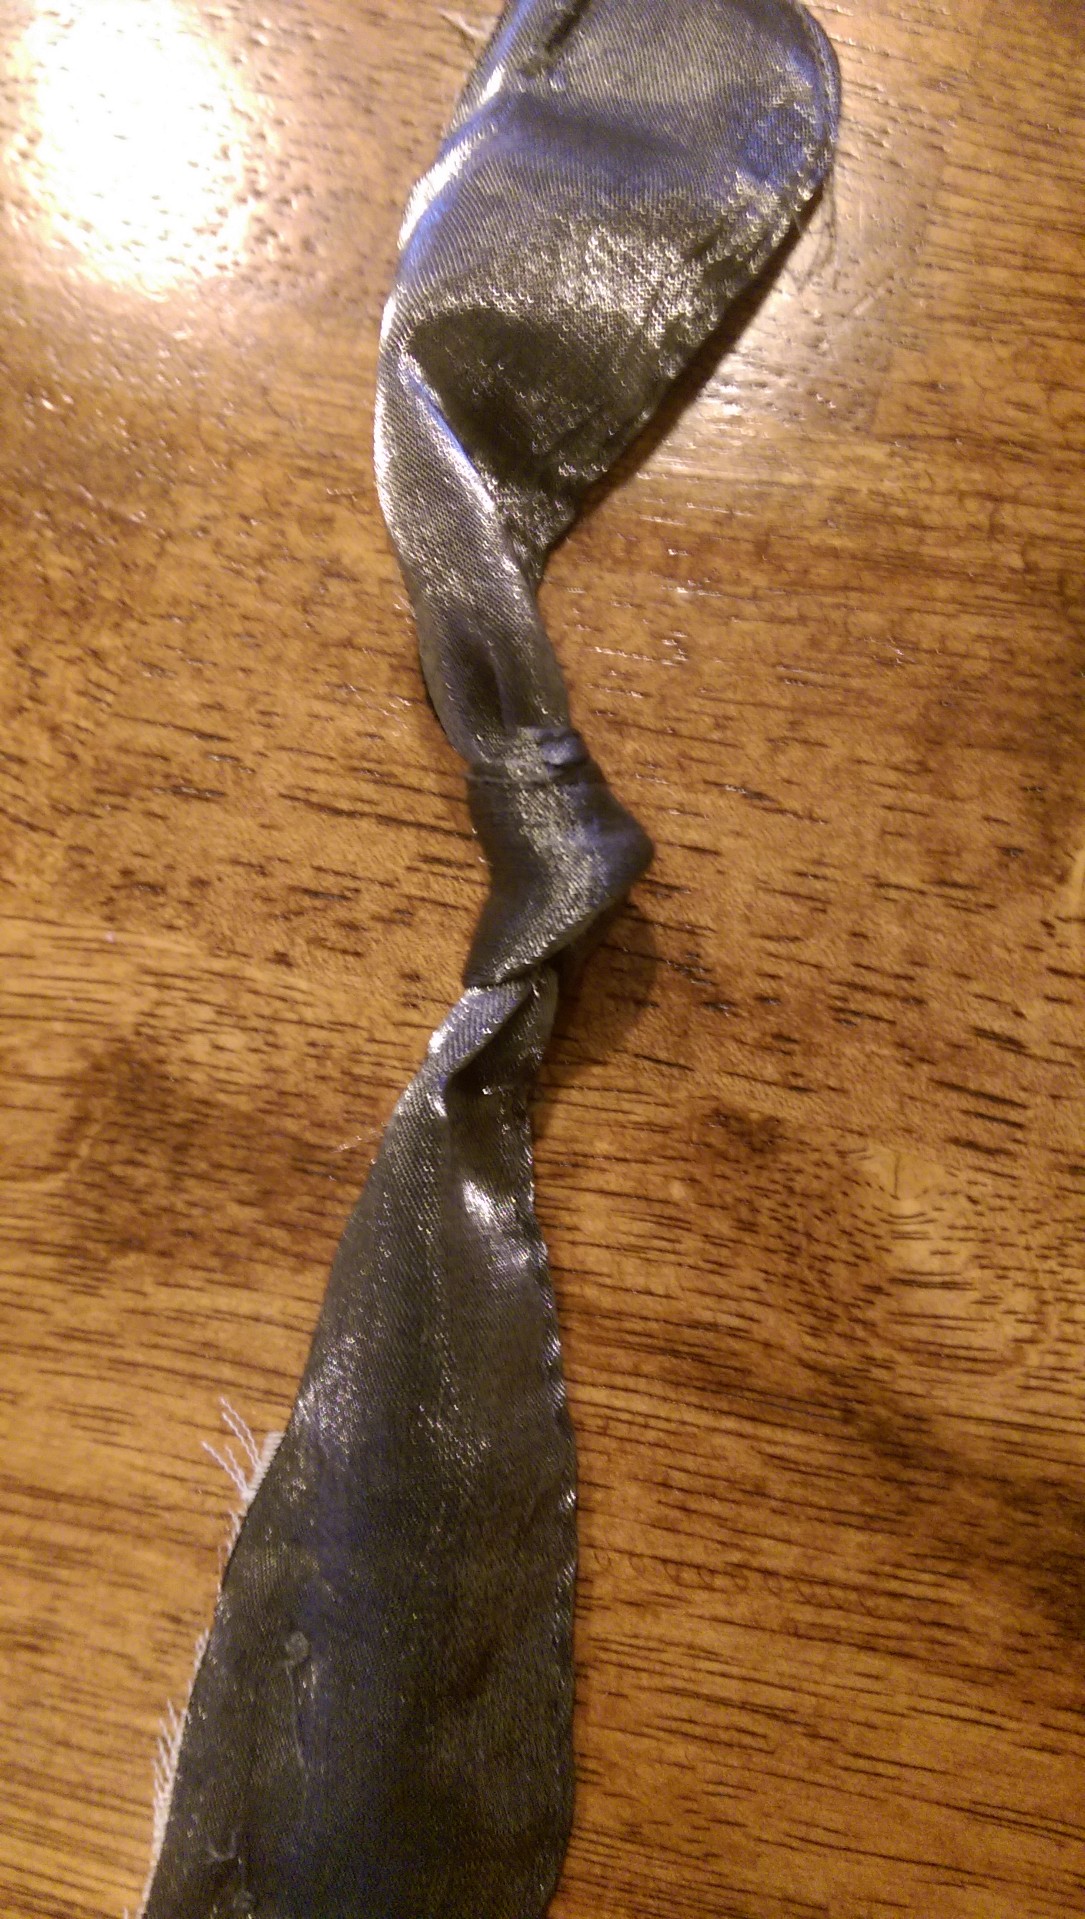
The process is simple.  Run the entire edge of each piece of fabric above- not inside- of the flame.  As you get going, you will notice that there is a hot spot and that is where you want to place the edge of your fabric.

IMAG00149

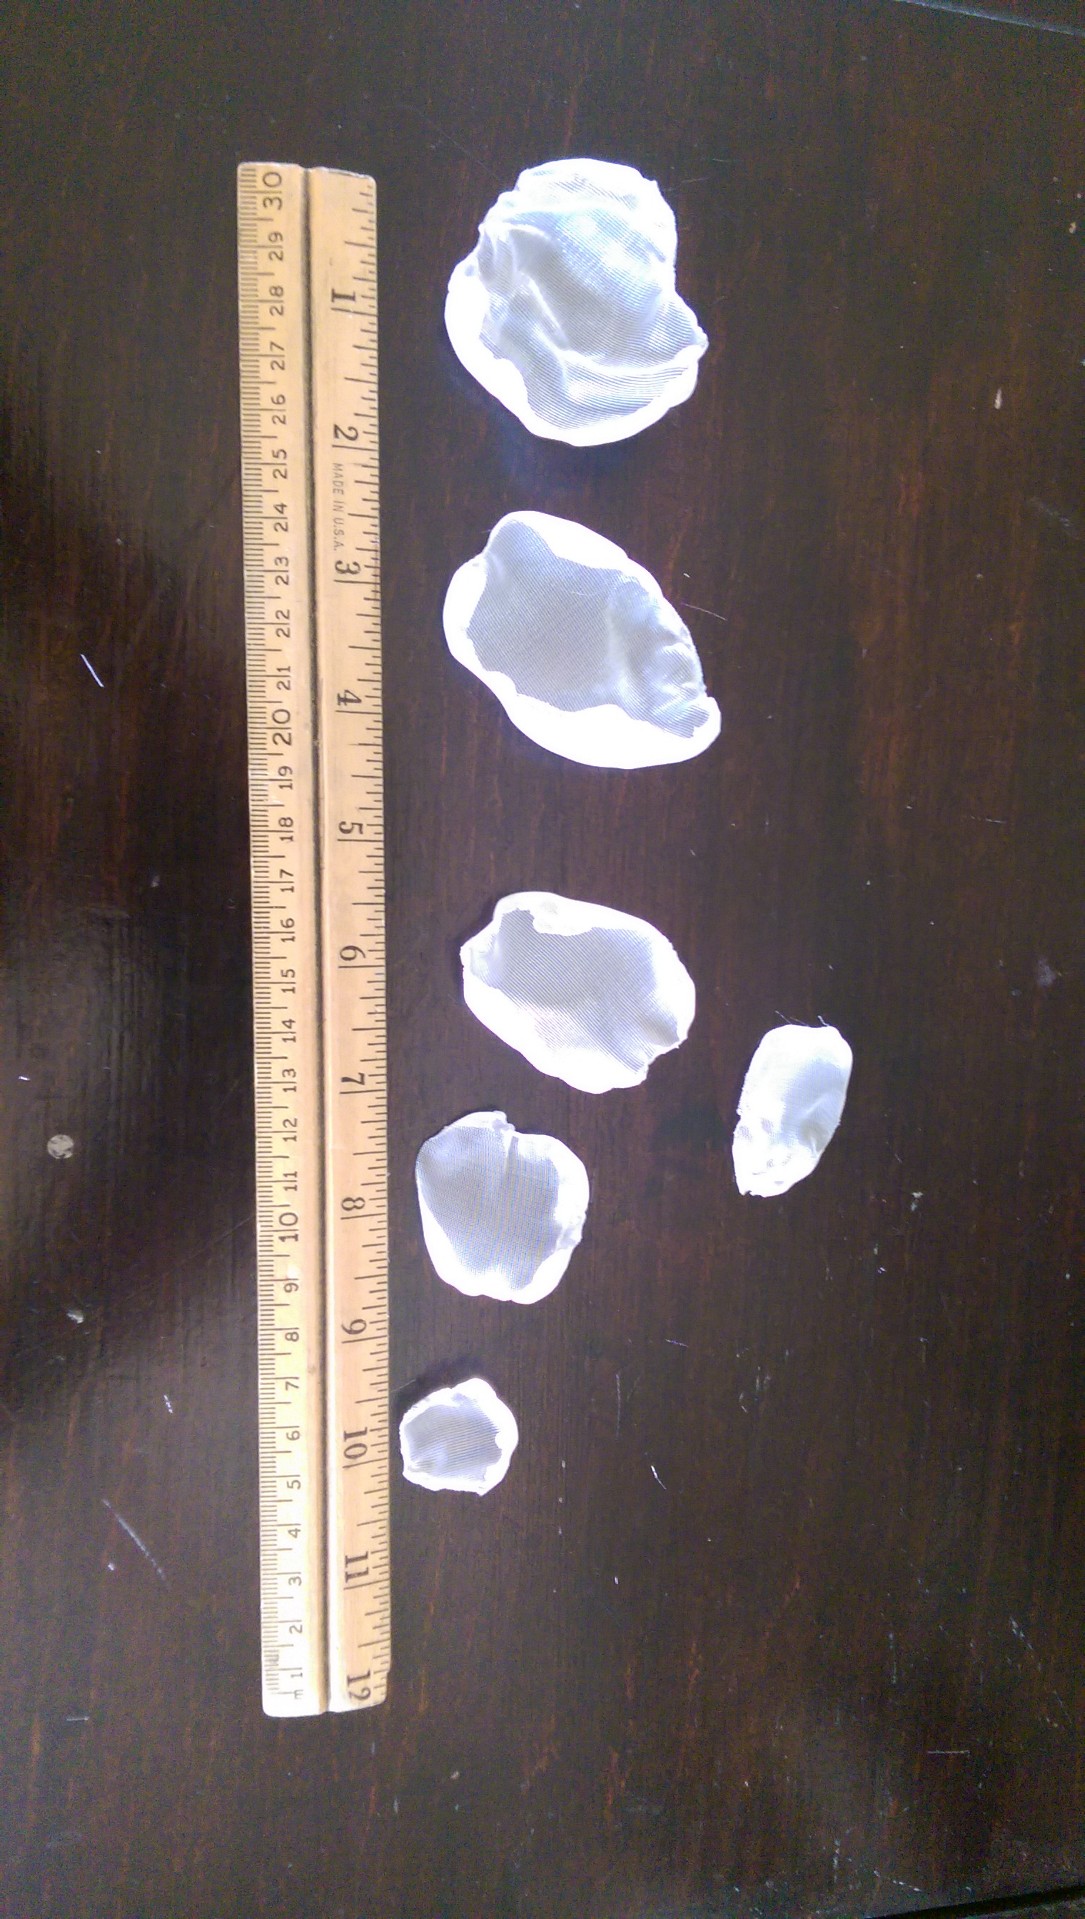
The fabric will curl up as it melts, and that is great.  I like to have the shiny side of the fabric facing me as I do this, but play around and see what works for you.  The cool thing about the square edges is that they seem to disappear, get rounded, as they melt.  I like to mess around a bit and even allow the heat to “cut” in a bit.  Experiment with it… it is seriously fun.

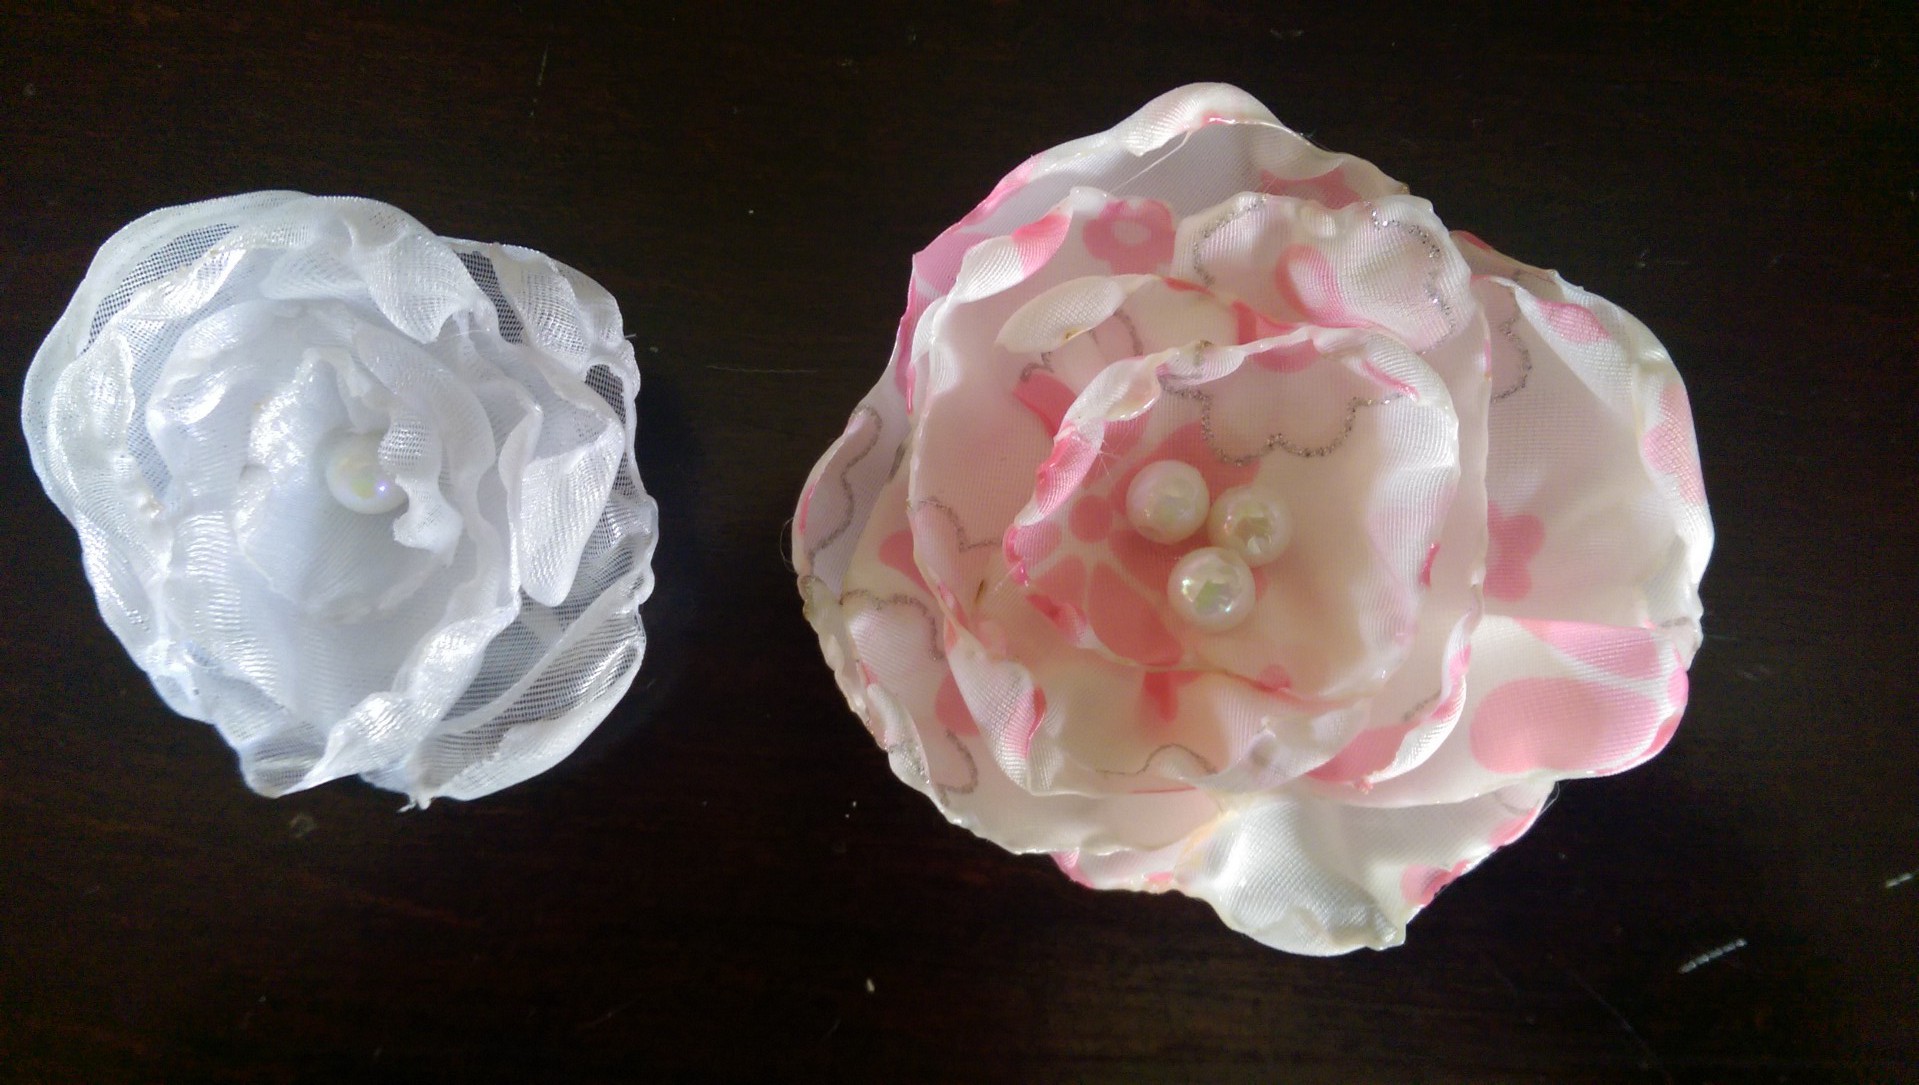
Here are my same pieces, after melting the edges:

IMAG00098

IMAG00099

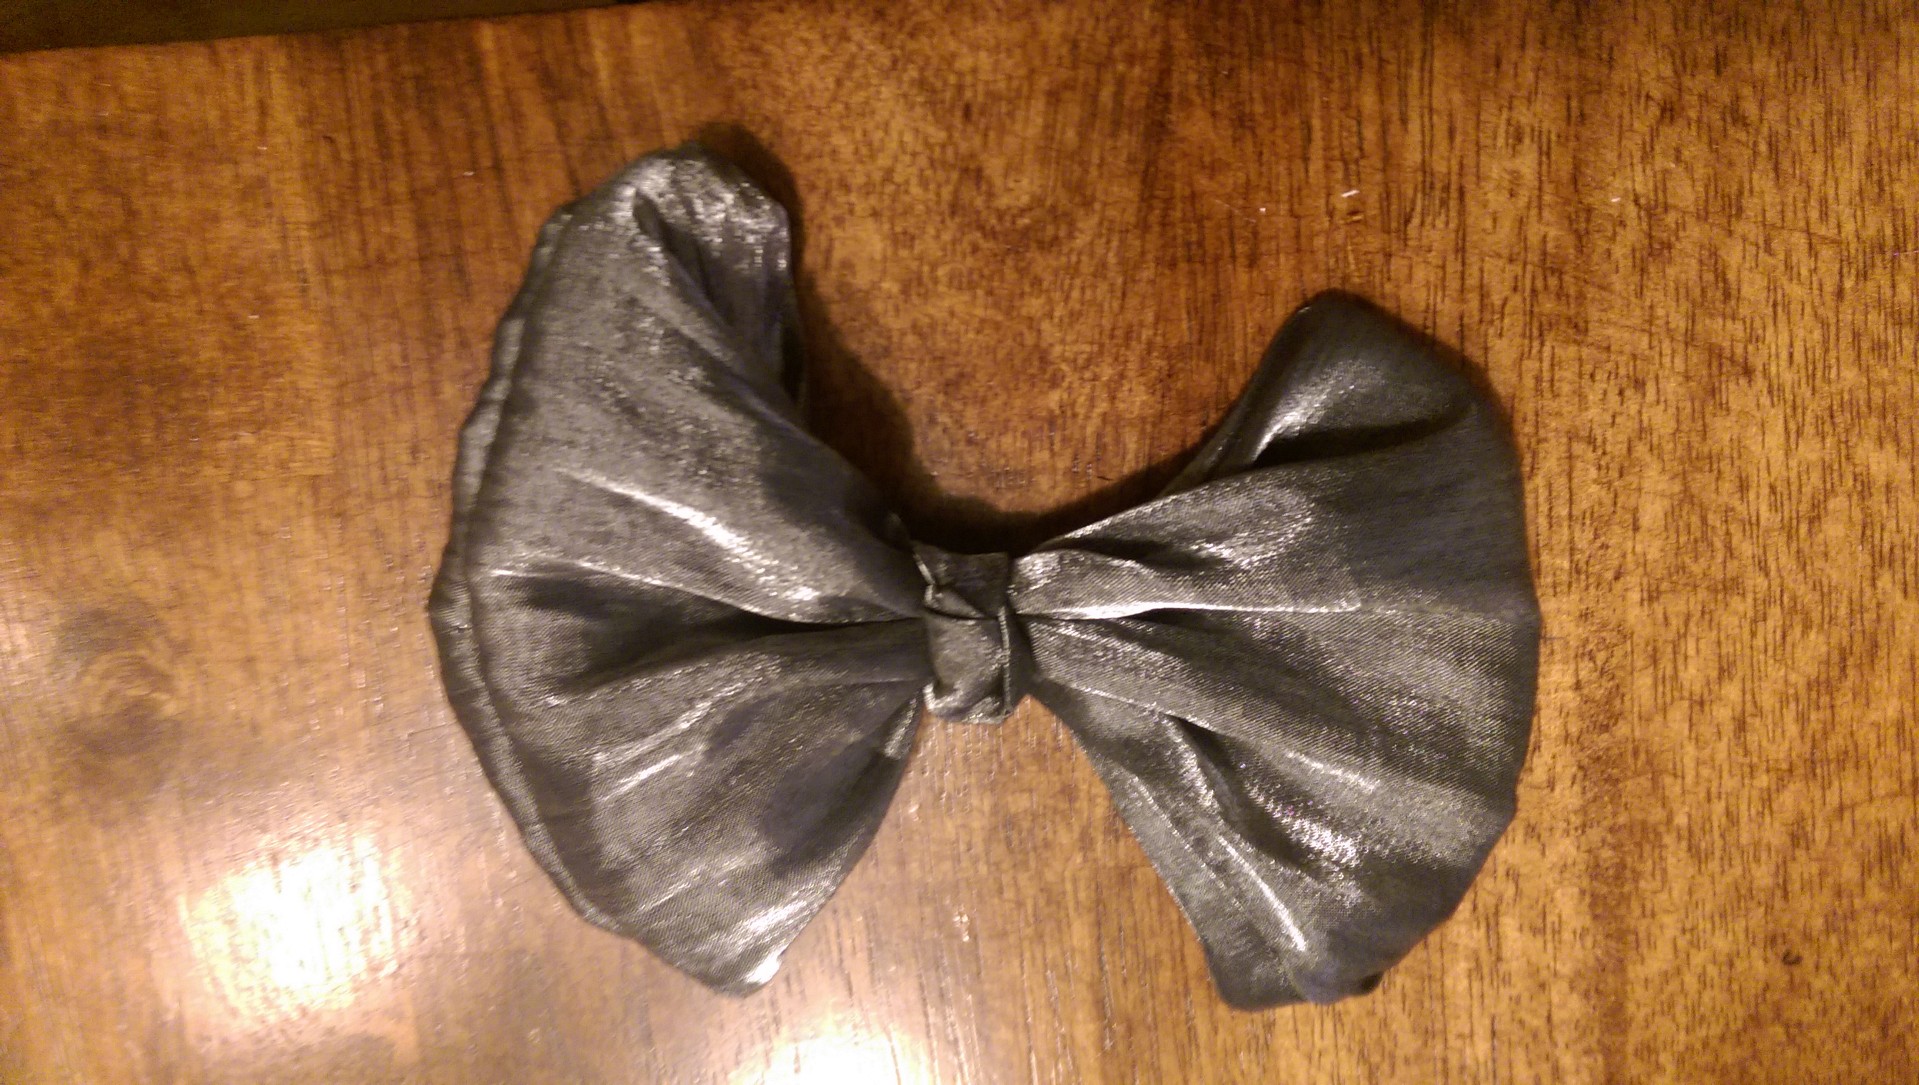
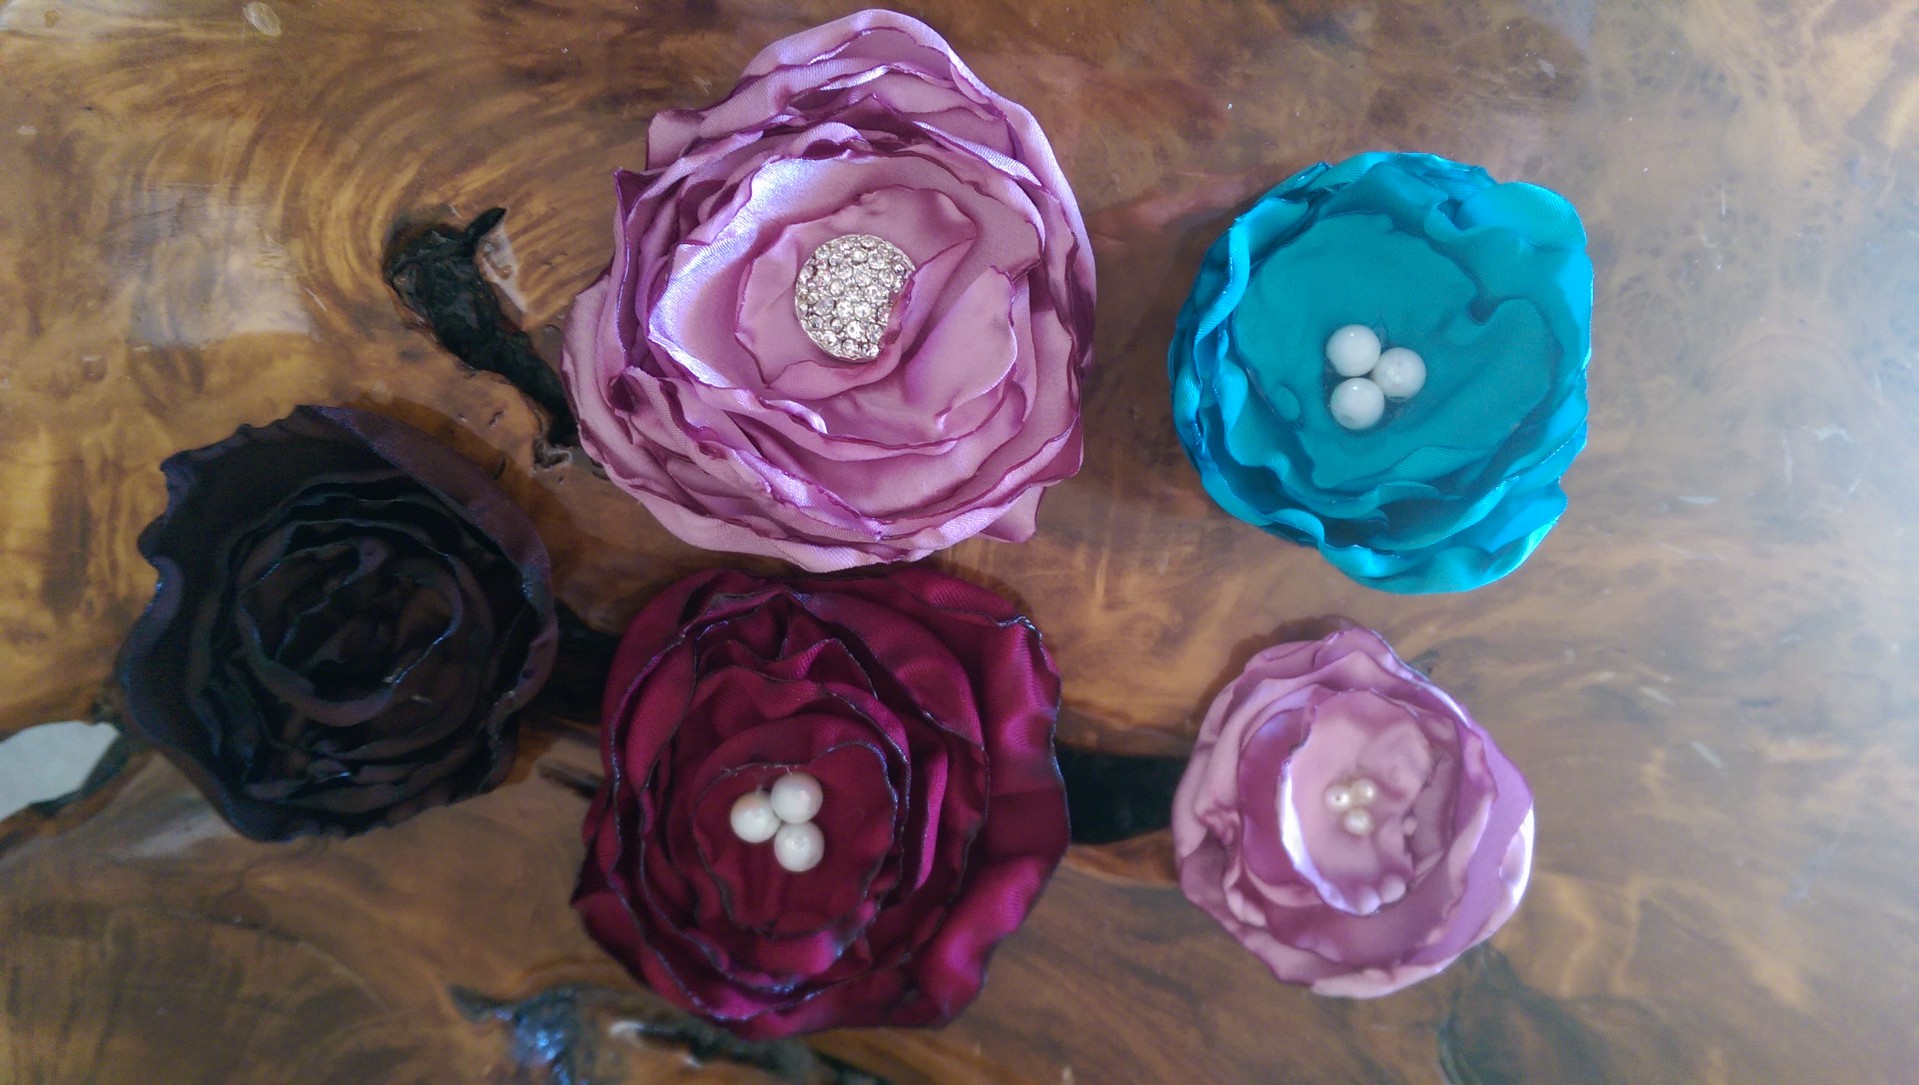
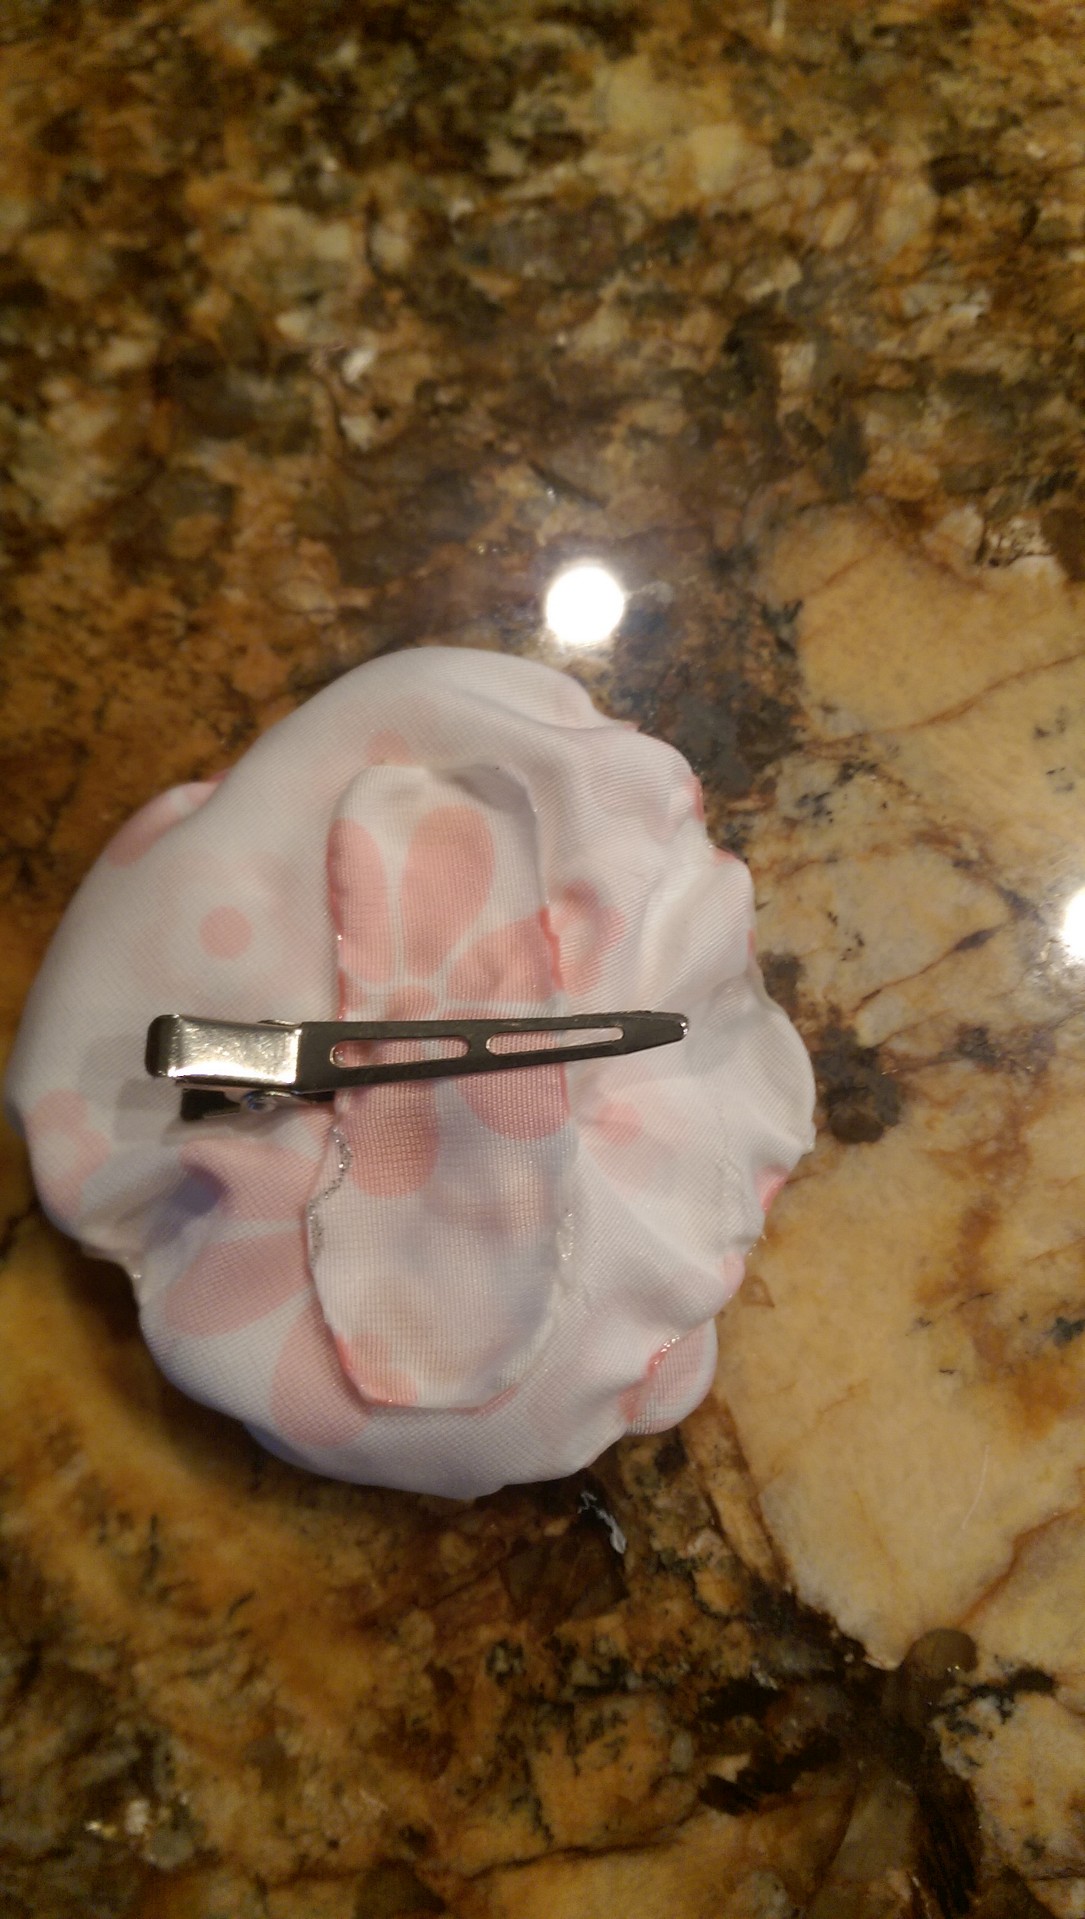
Now it is time to layer the pieces.  Start with the largest one first, add a drop of hot glue to the center, then place the next smallest piece, and so on until you have used all of the pieces except for the thin rectangle that goes on back.  For the center, you can get creative with buttons, gems, beads, whatever.  As an alternative, just scrunch up a couple smaller melted pieces of fabric to form the center of your flower (see brown flower at the top of this post).

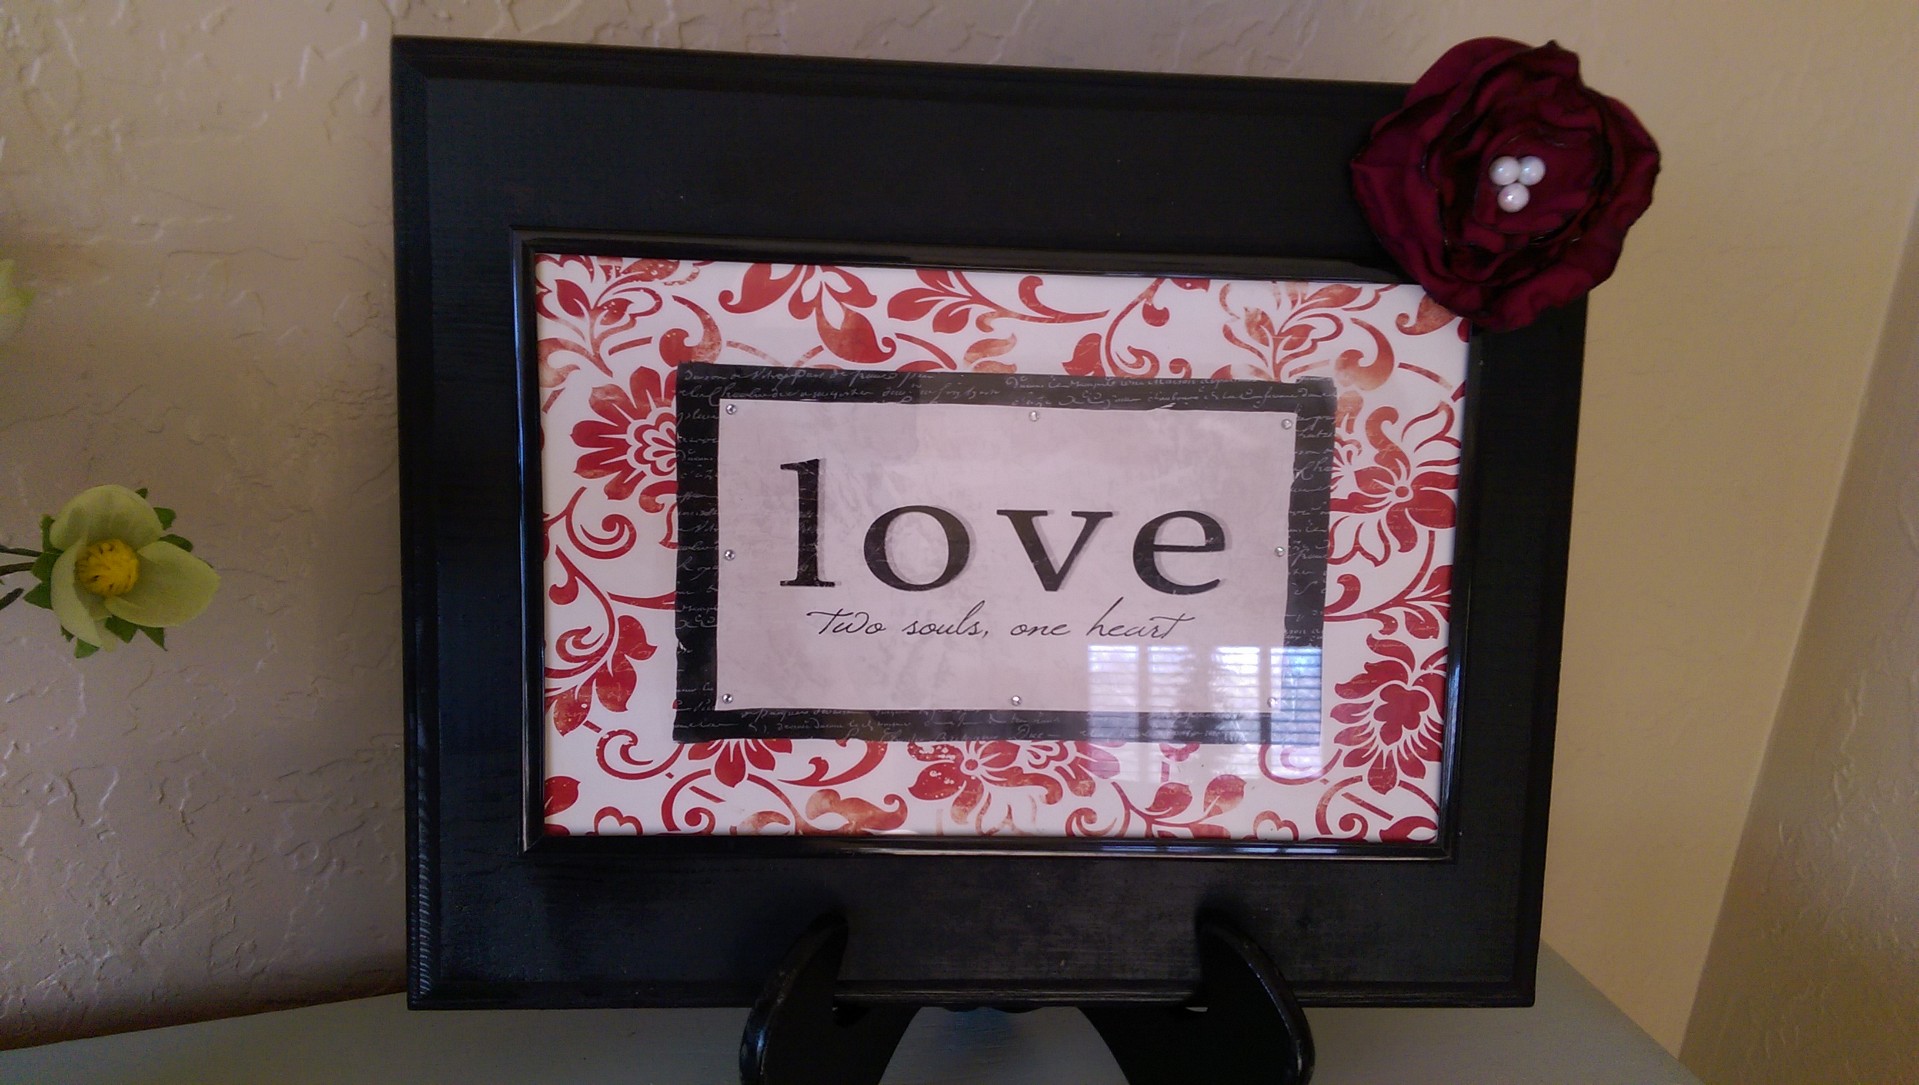
Of course you can be done right here and just hot glue the thing on a frame or pillow or whatever, but if you want your flower to be a hair clip or easily moveable, add a hair clip to the back.  Michaels has them, but a beauty supply store (Sally’s) seems to have them cheaper and of higher quality.

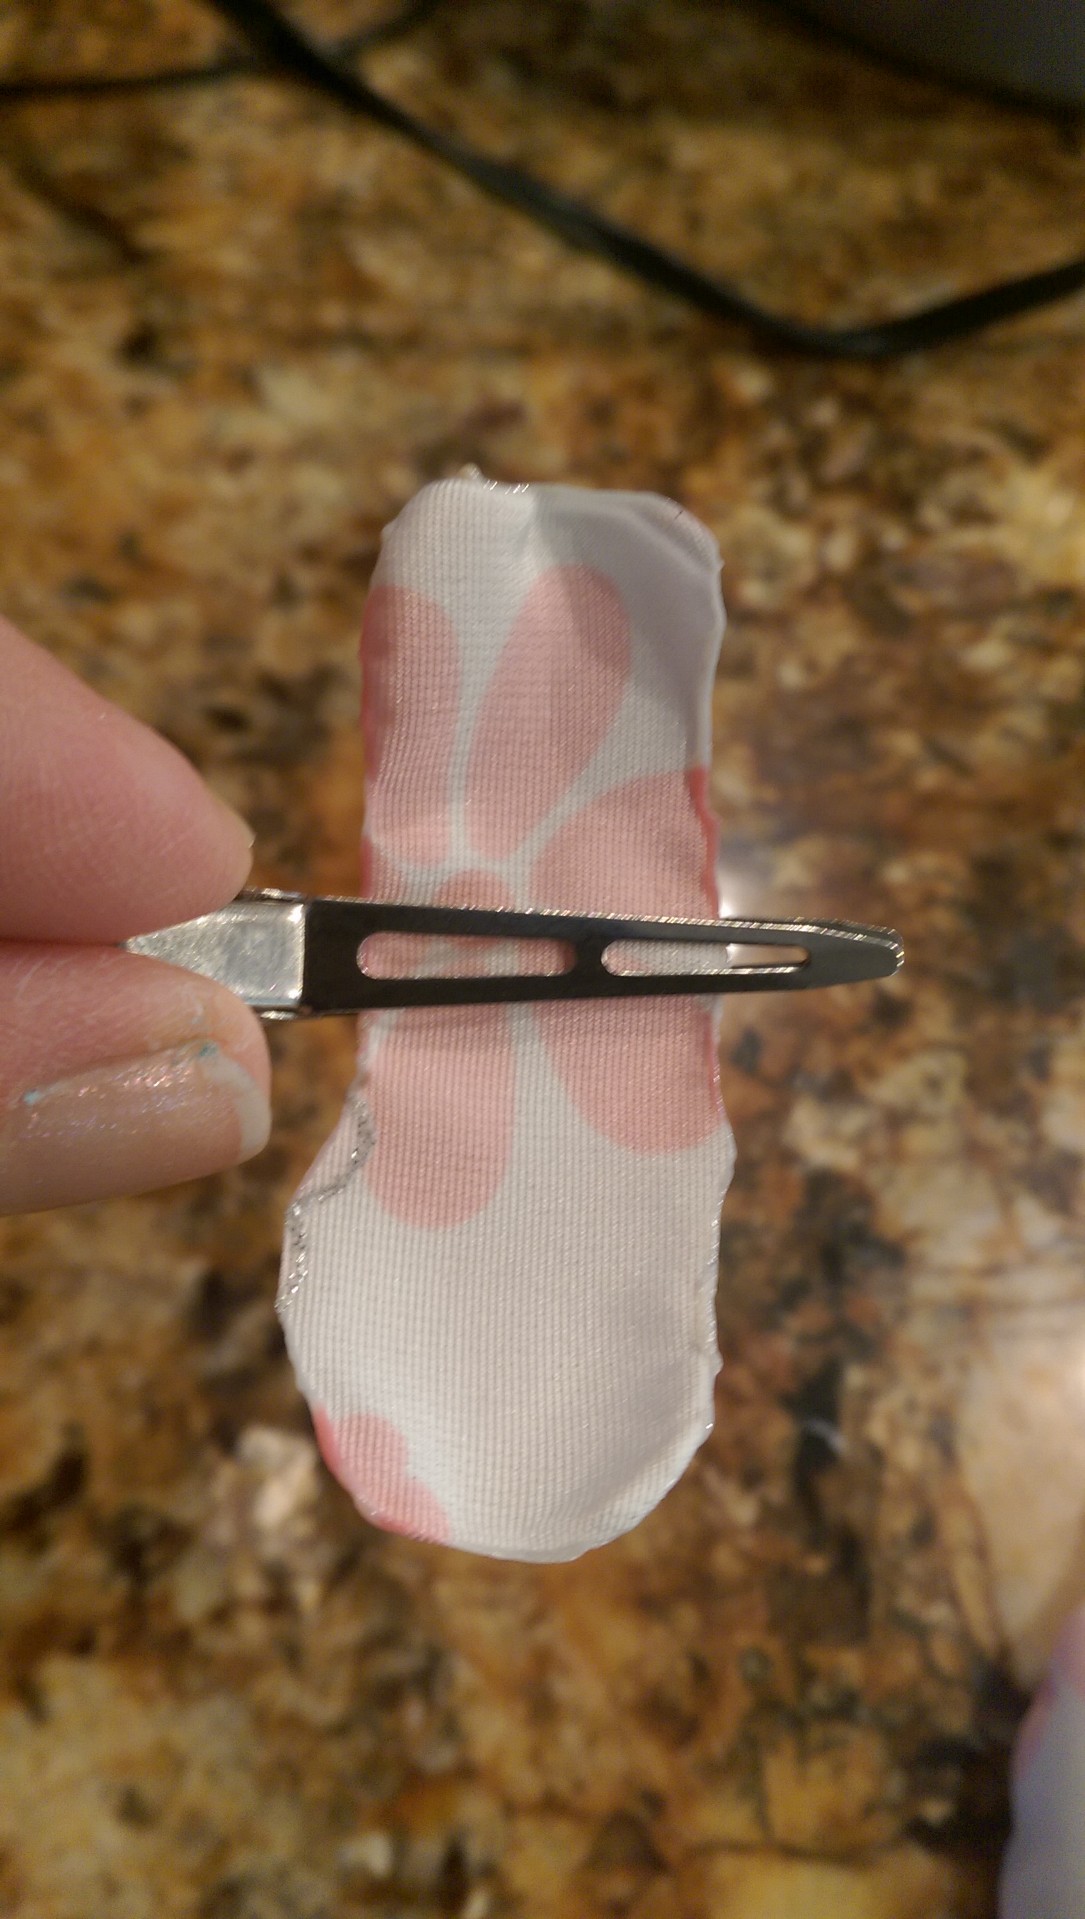
To attach, clip the center of your melted thin rectangle piece, with the flat side of the clip facing down, then glue onto your flower like so:

IMAG00101    IMAG00102

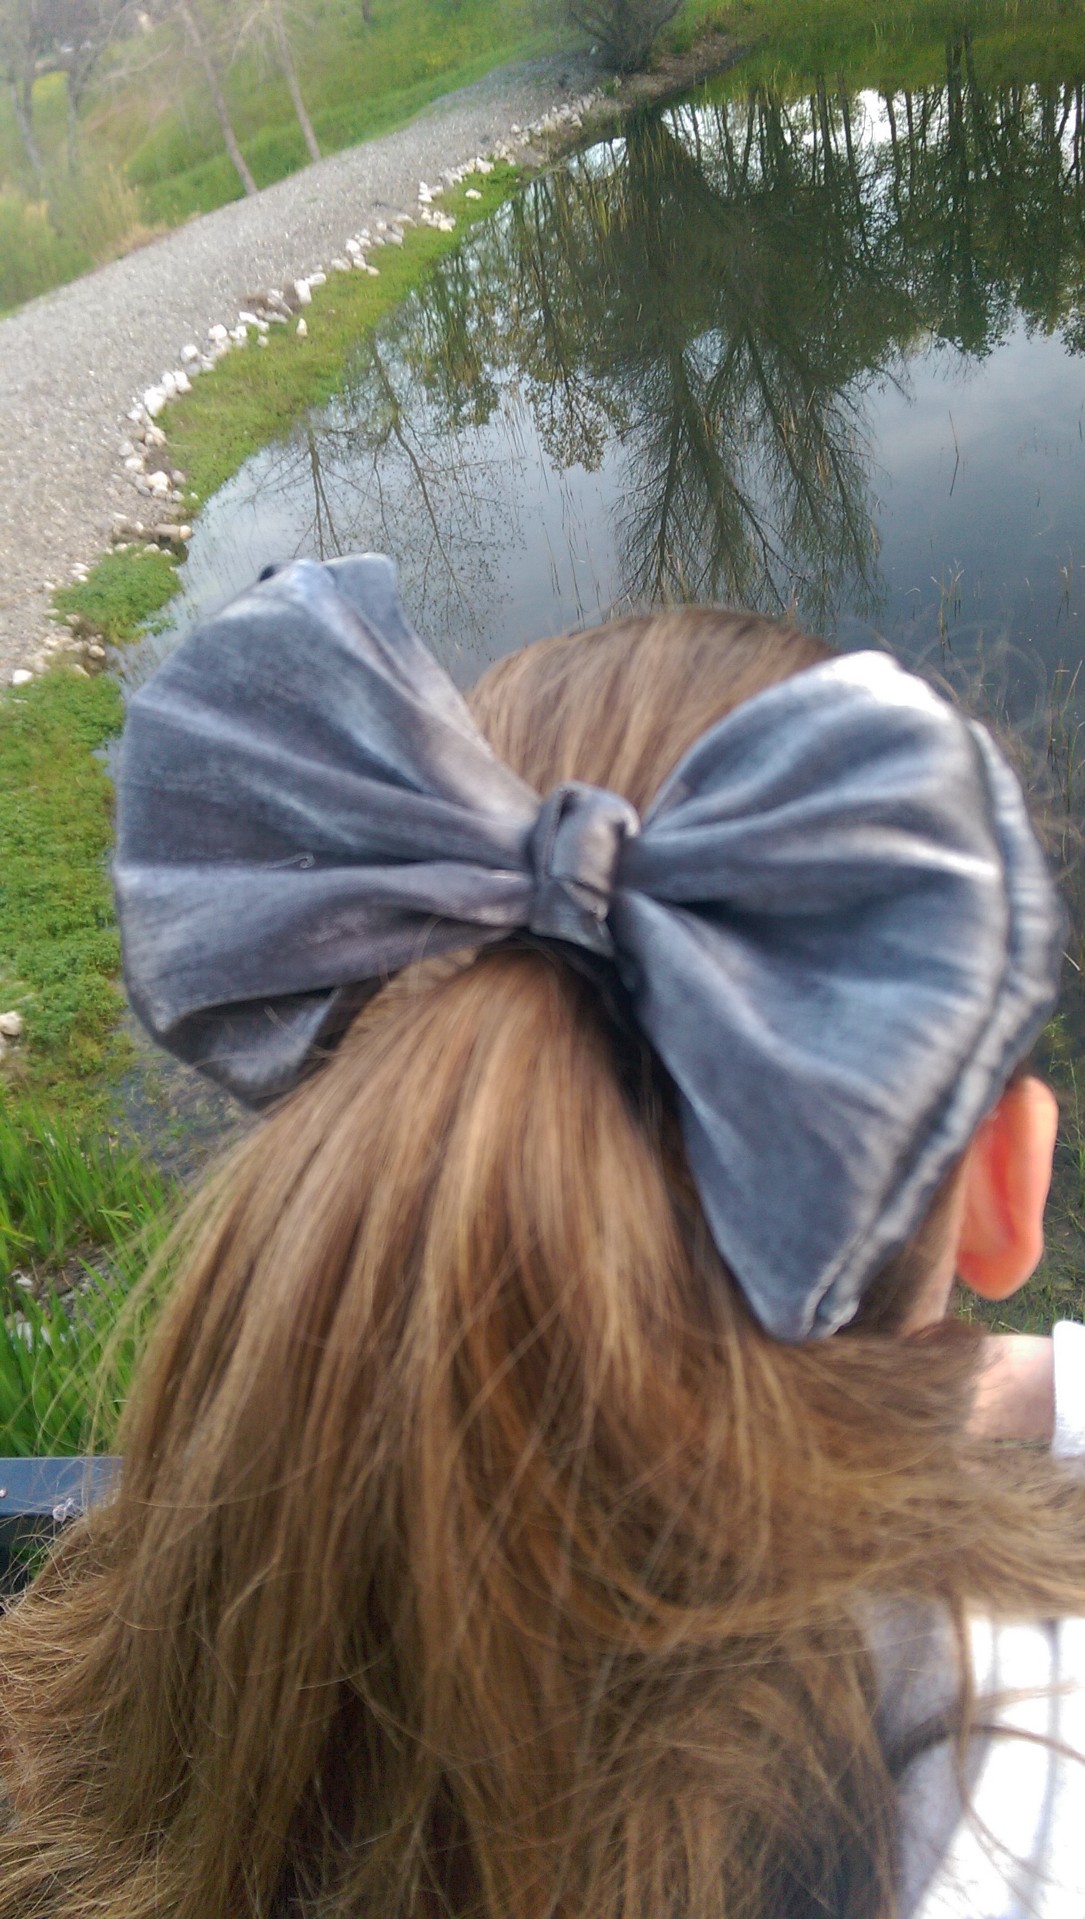
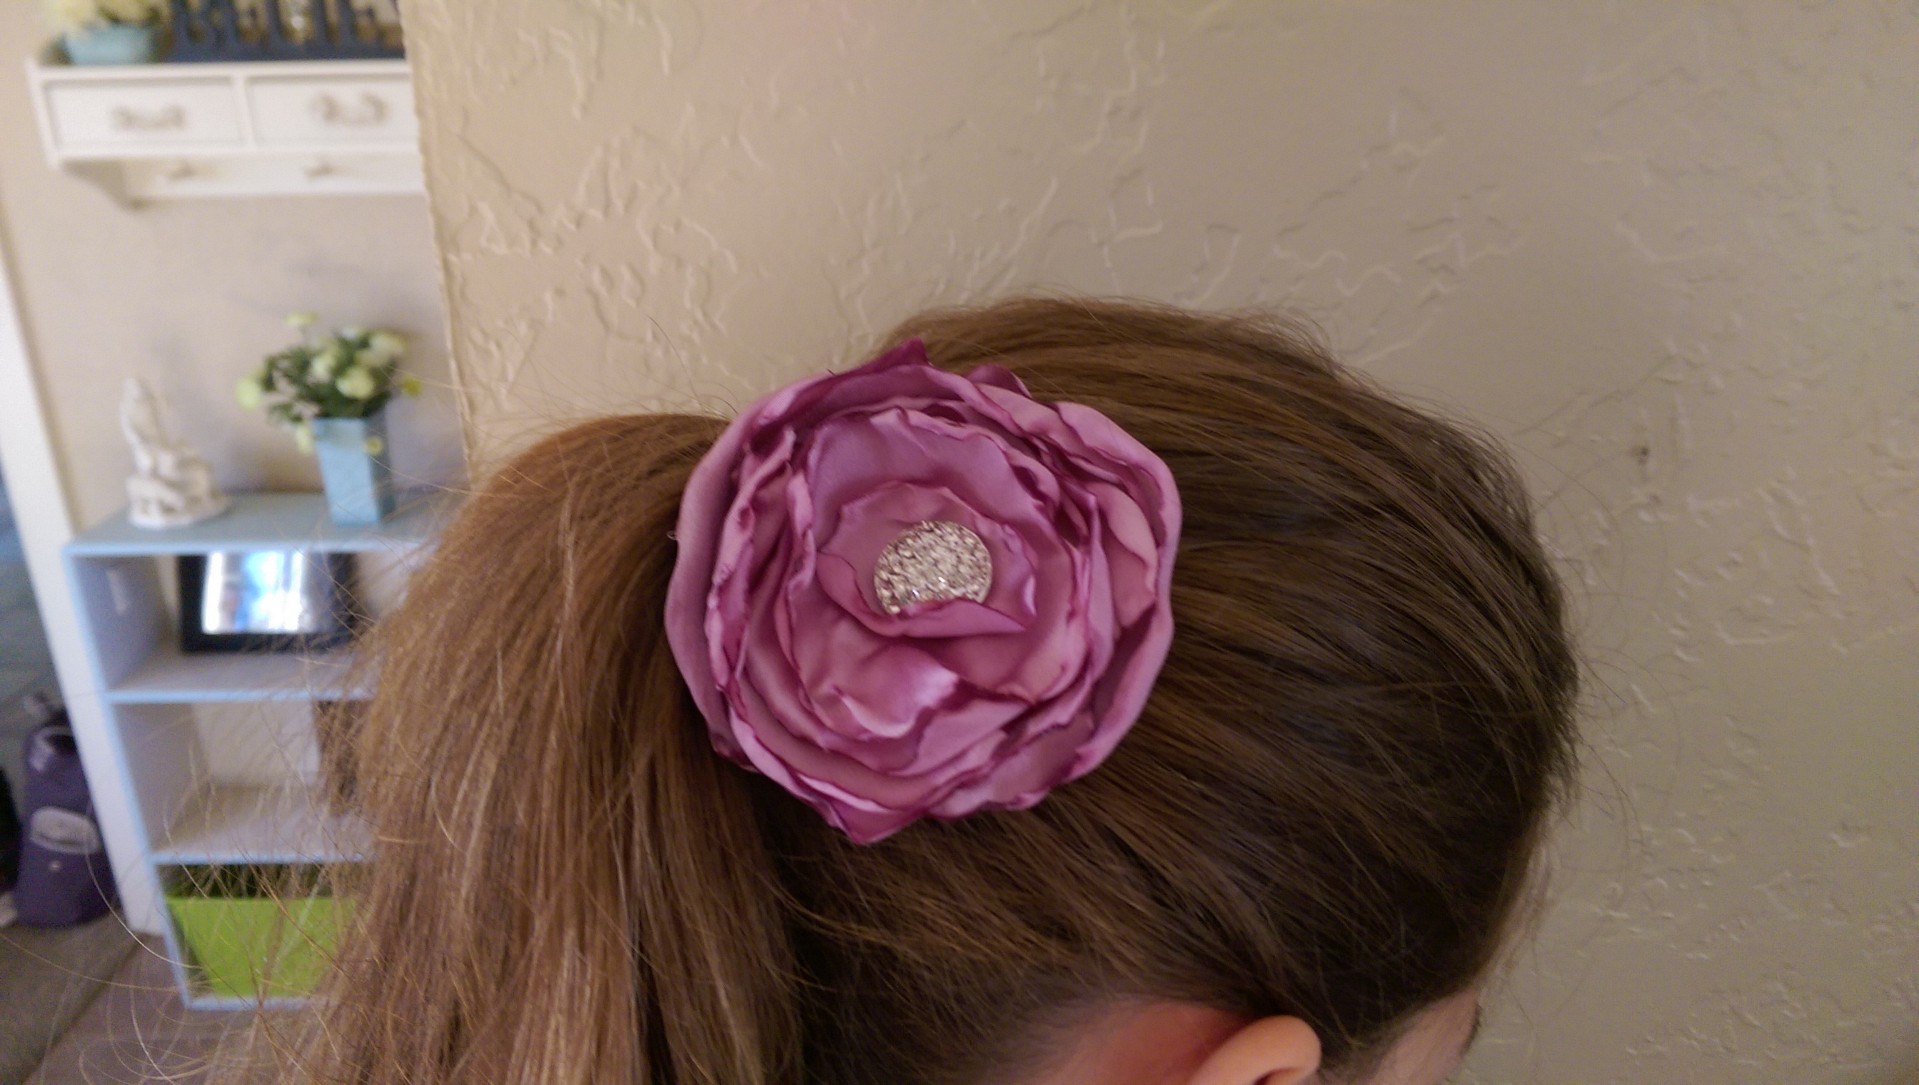
Now flip it over, ooh and ahh over it, run to the mirror and put it in your hair and admire it…

IMAG00105

…or grab the closest nearby child (with this excitement, it doesn’t matter if it is a girl or boy… well, I’m sure it matters to the boy).  Doesn’t it look great?

IMAG00180

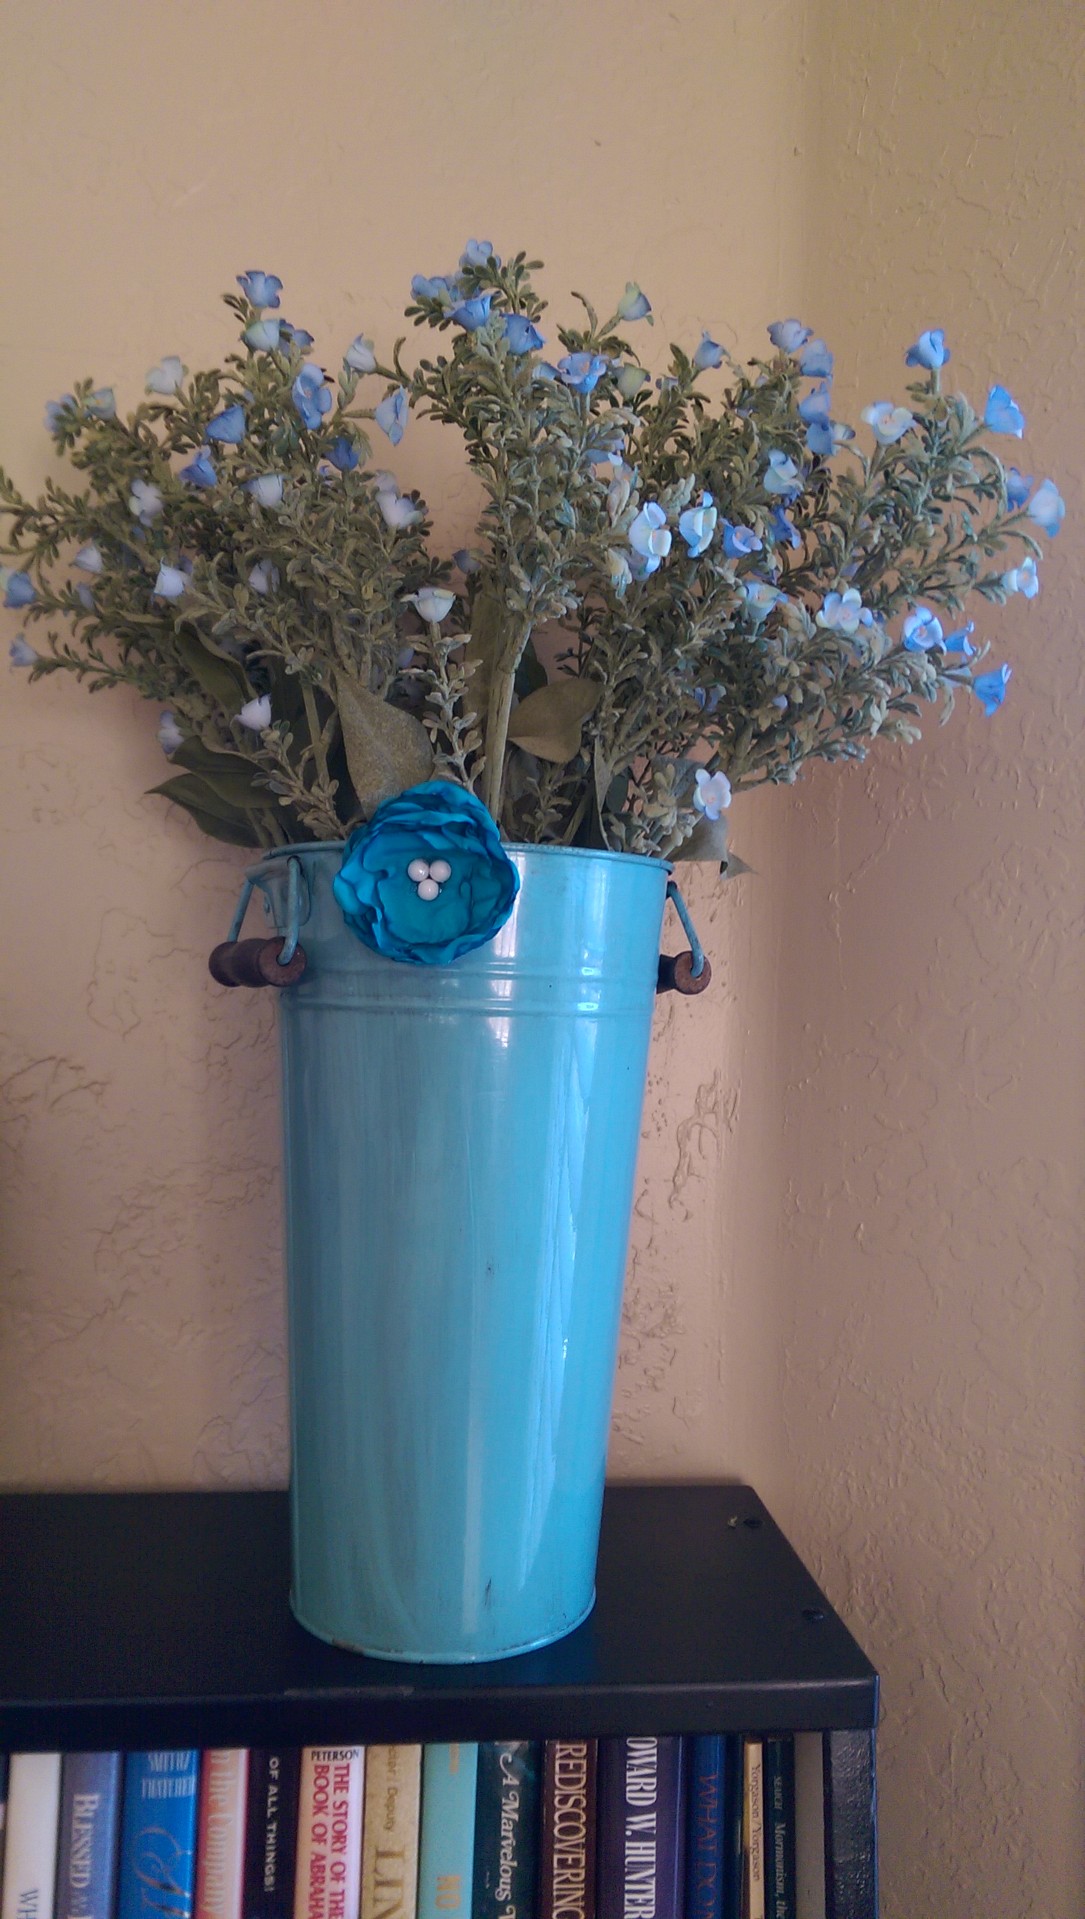
What else can you do with these beautiful flowers?

IMAG00178  IMAG00181

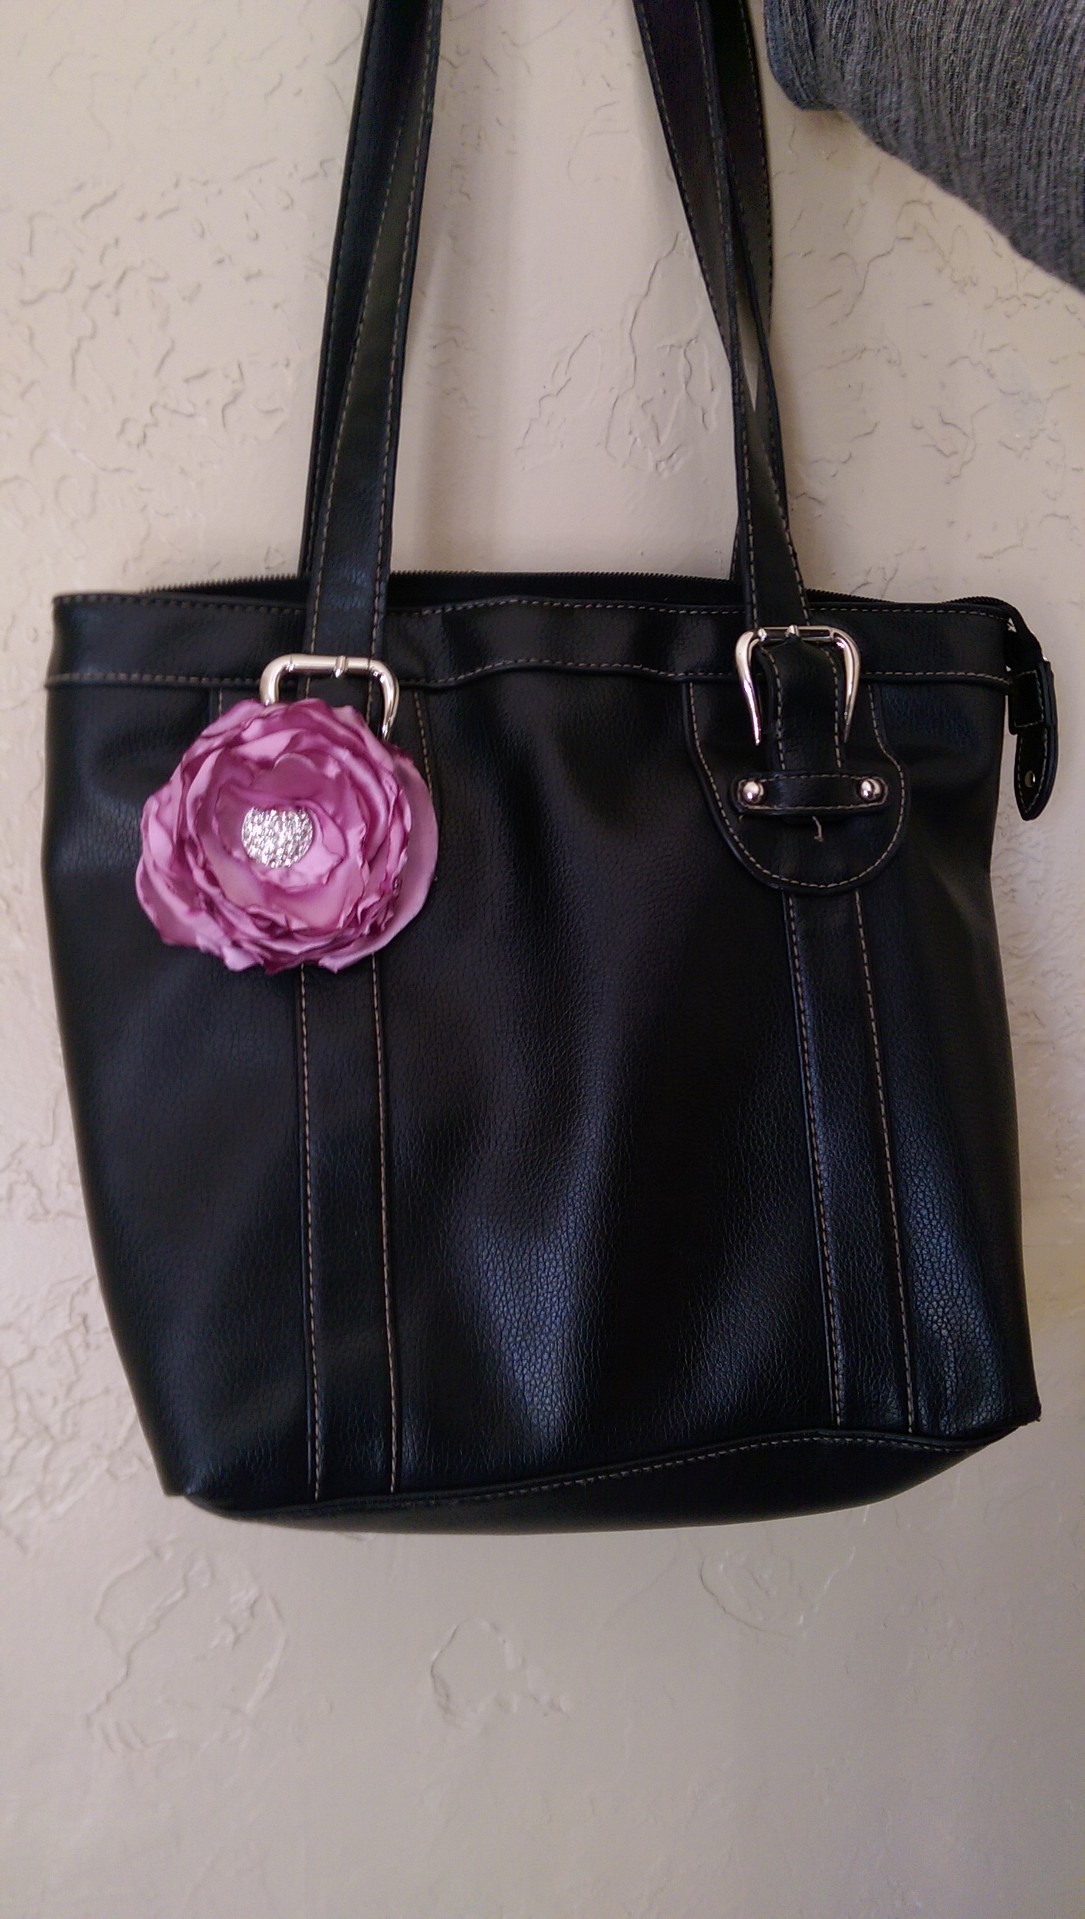
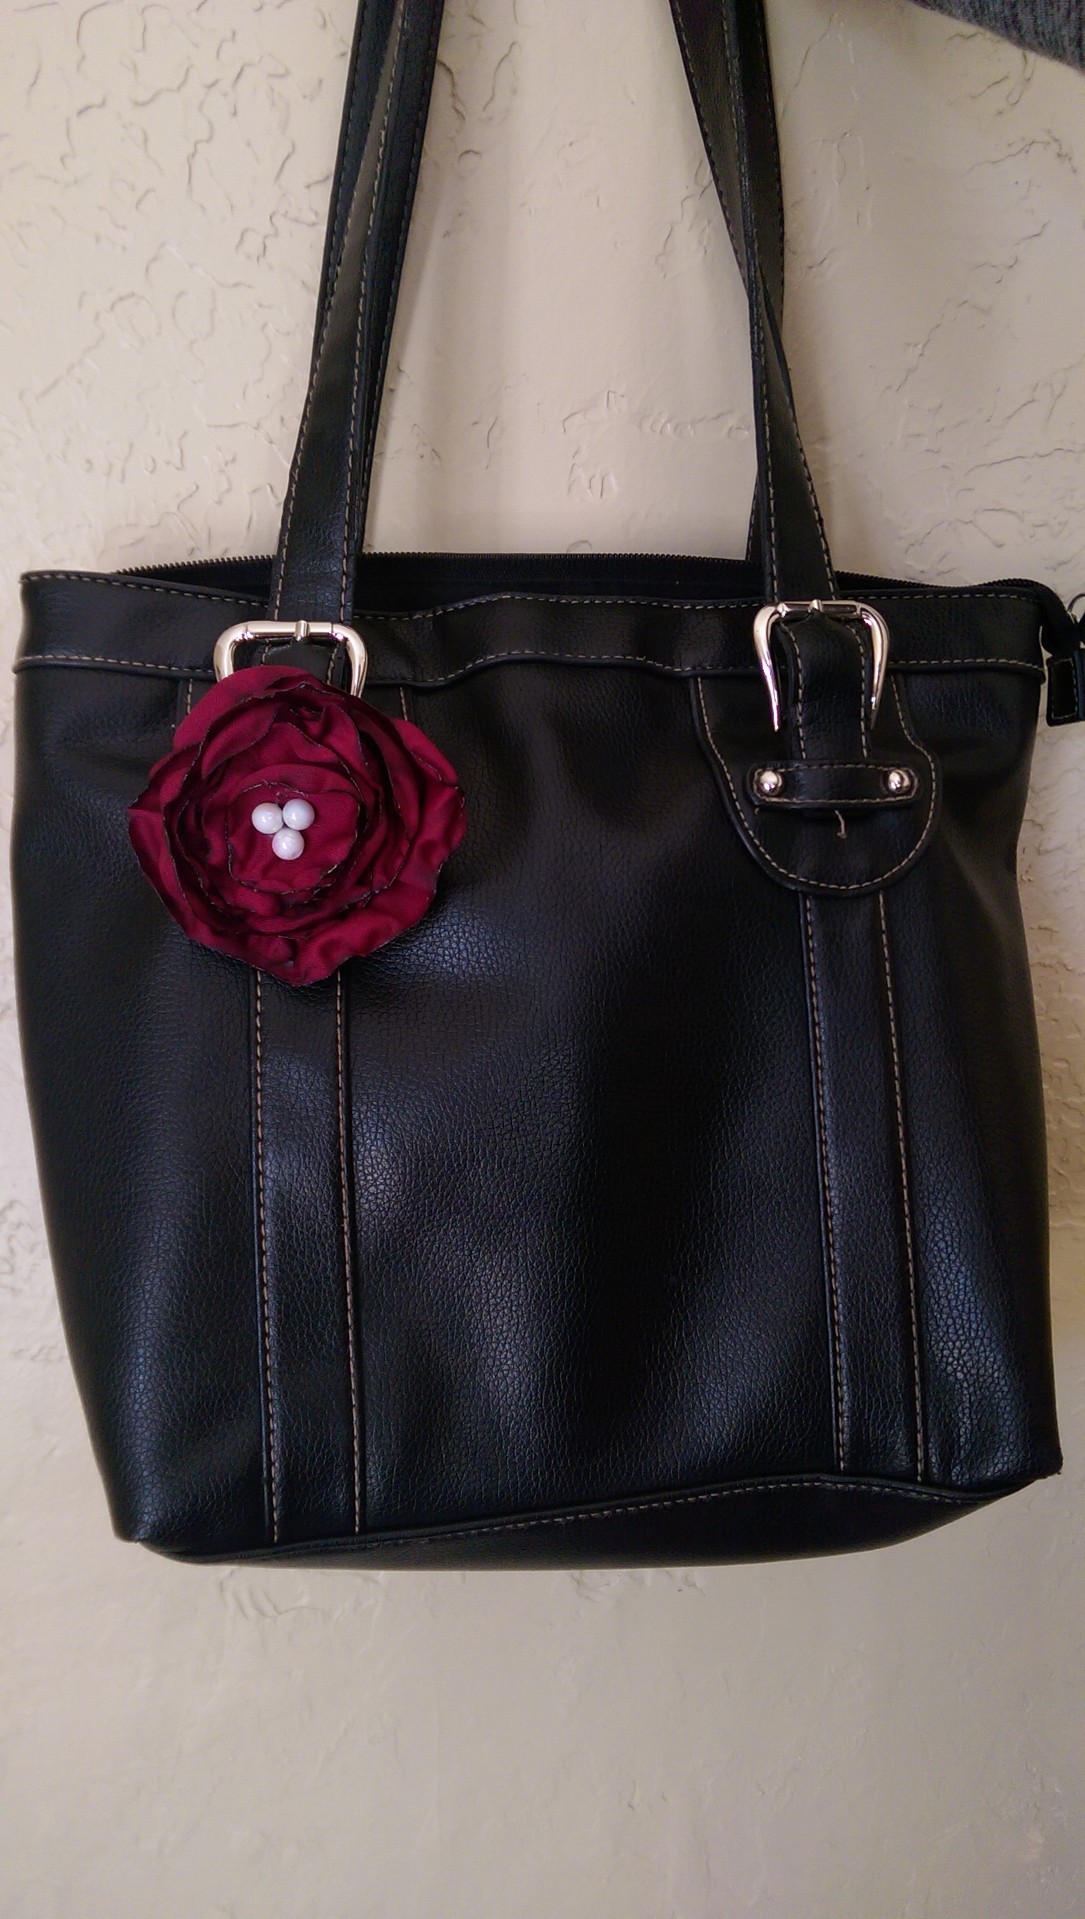
My Scriptures bag that I take to church gets changed out regularly now:

IMAG00183    IMAG00182

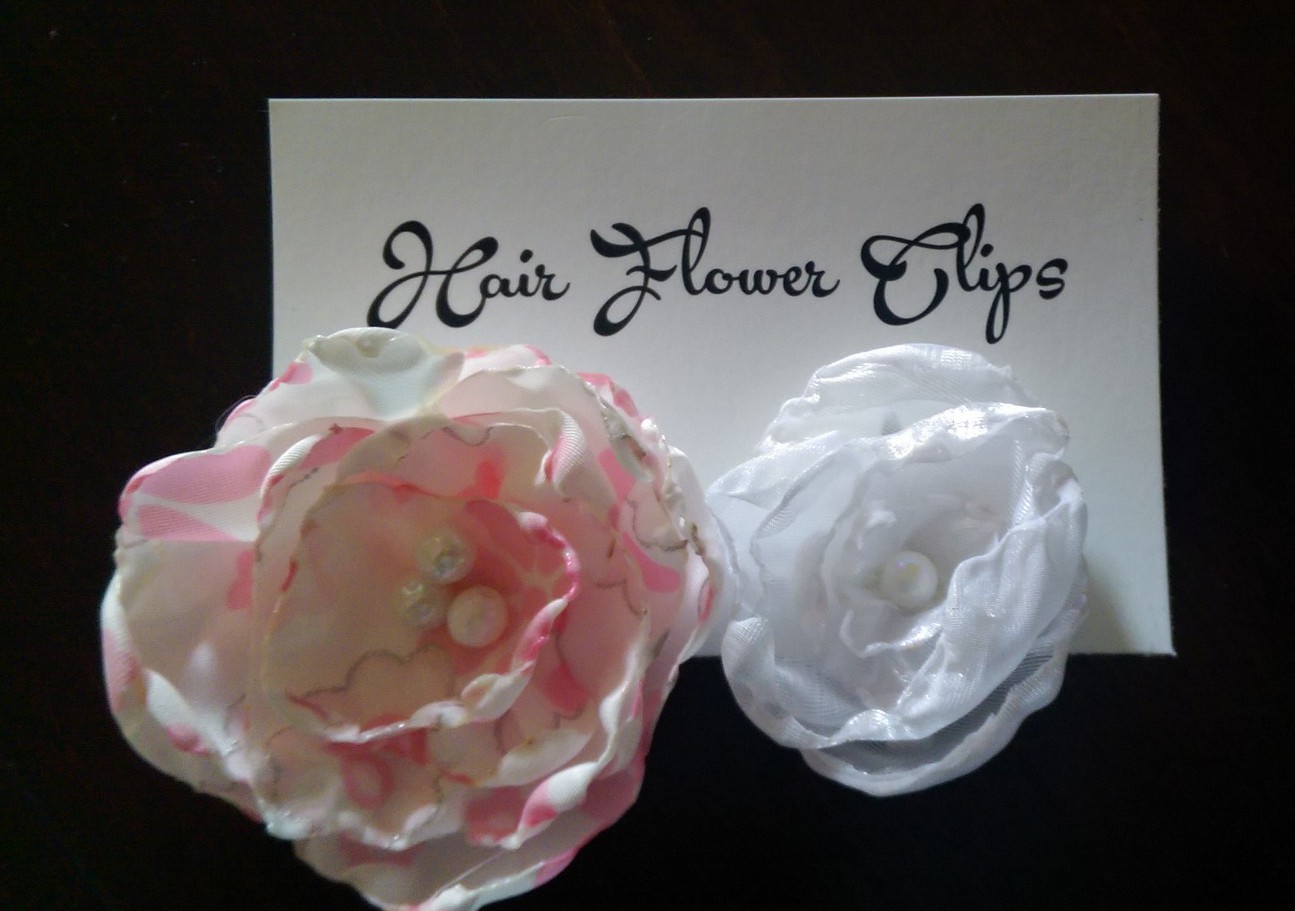
Here’s how I packaged a pair that I made for a baby gift:  I just printed up the words on cardstock and cut to size.

IMAG00106


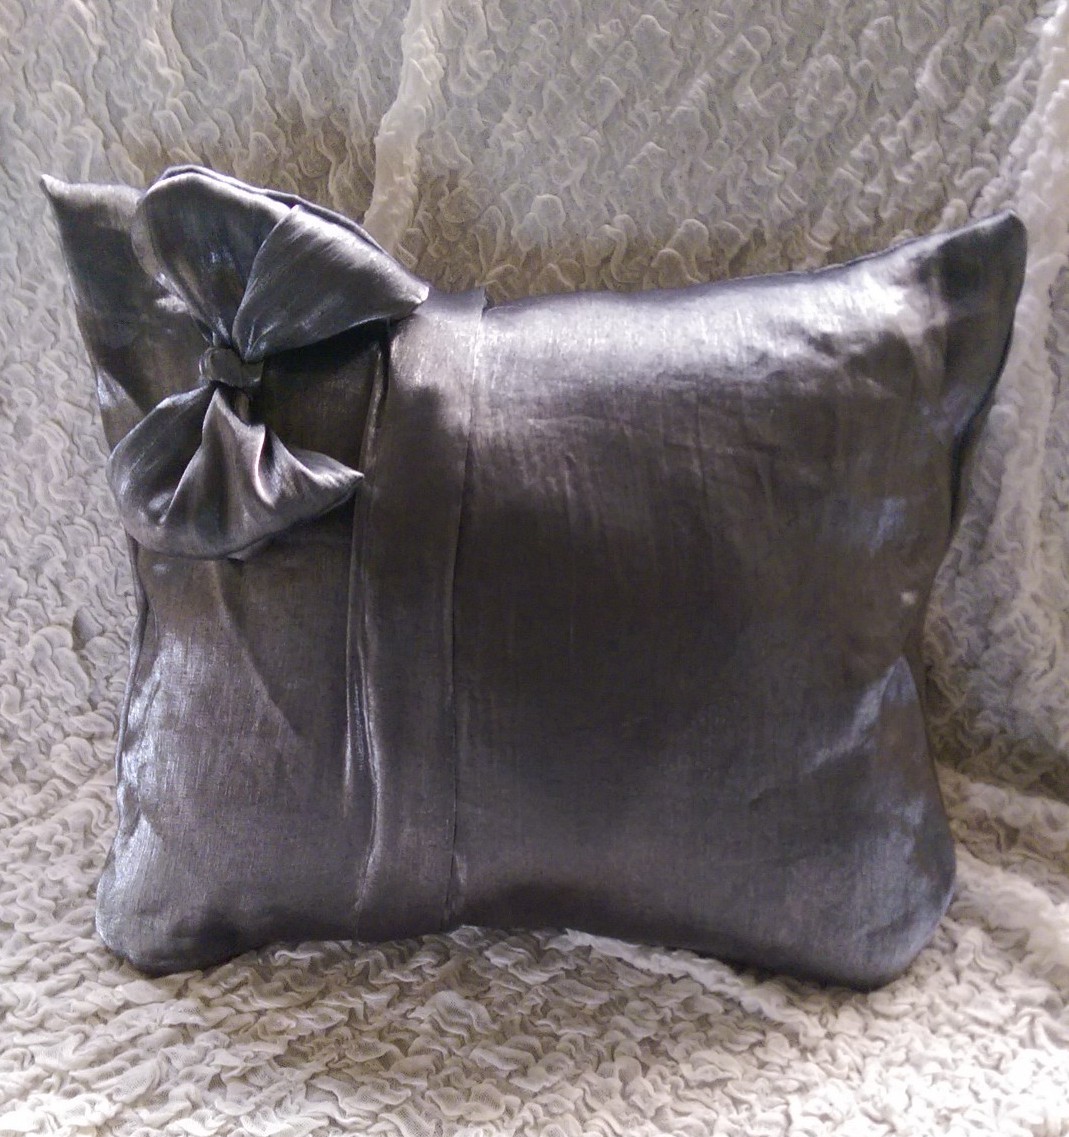
Classy, huh?  Or you can make it the “bow” on your gift.  Get your thinking cap on… I know that you will come up with a hundred ways to use these awesome flowers that you made.  What was once a boring, flat piece of fabric is now an awesome accessory.  How simple was that?

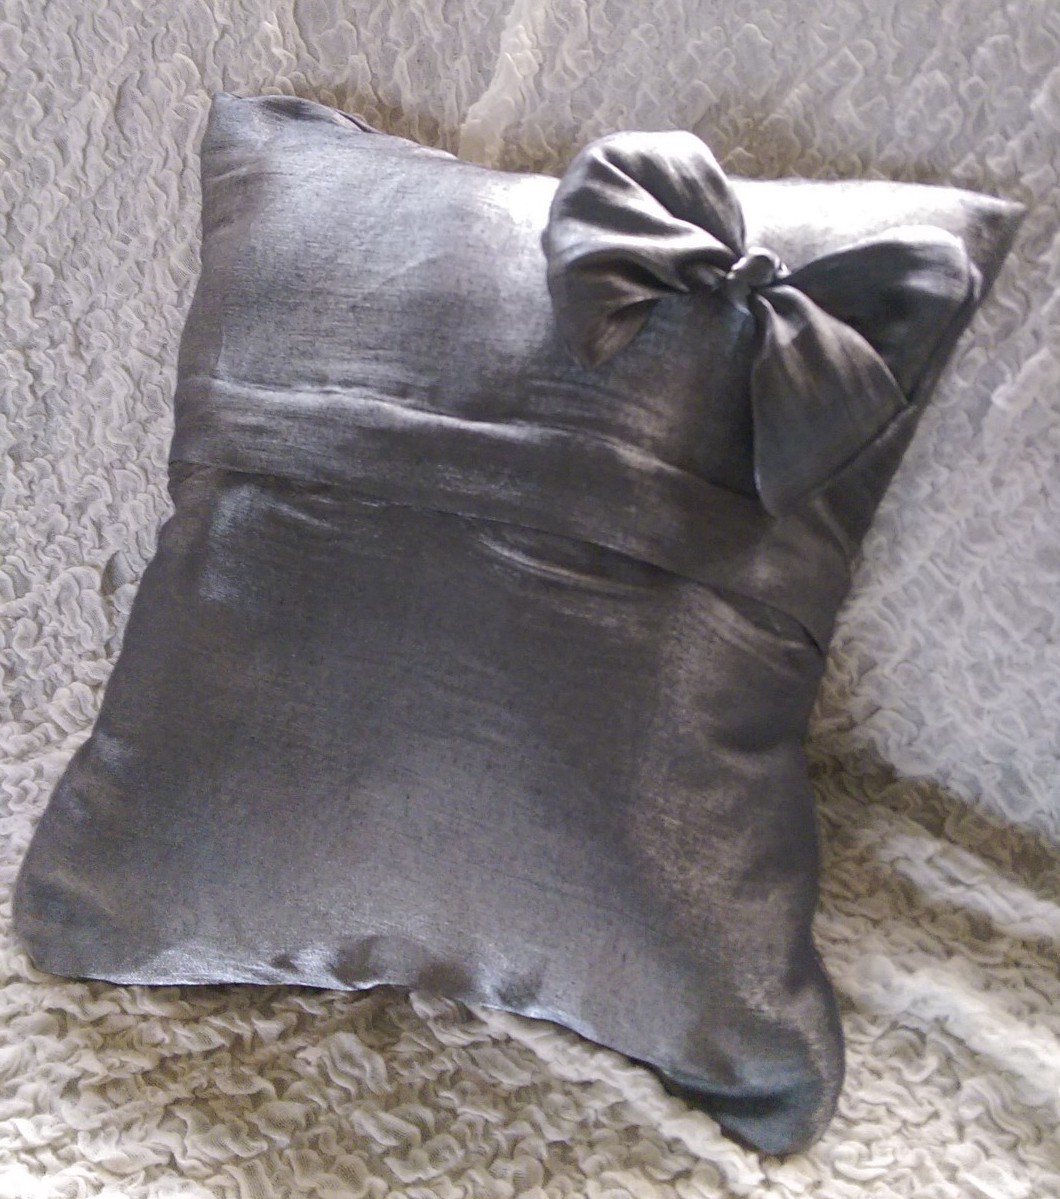
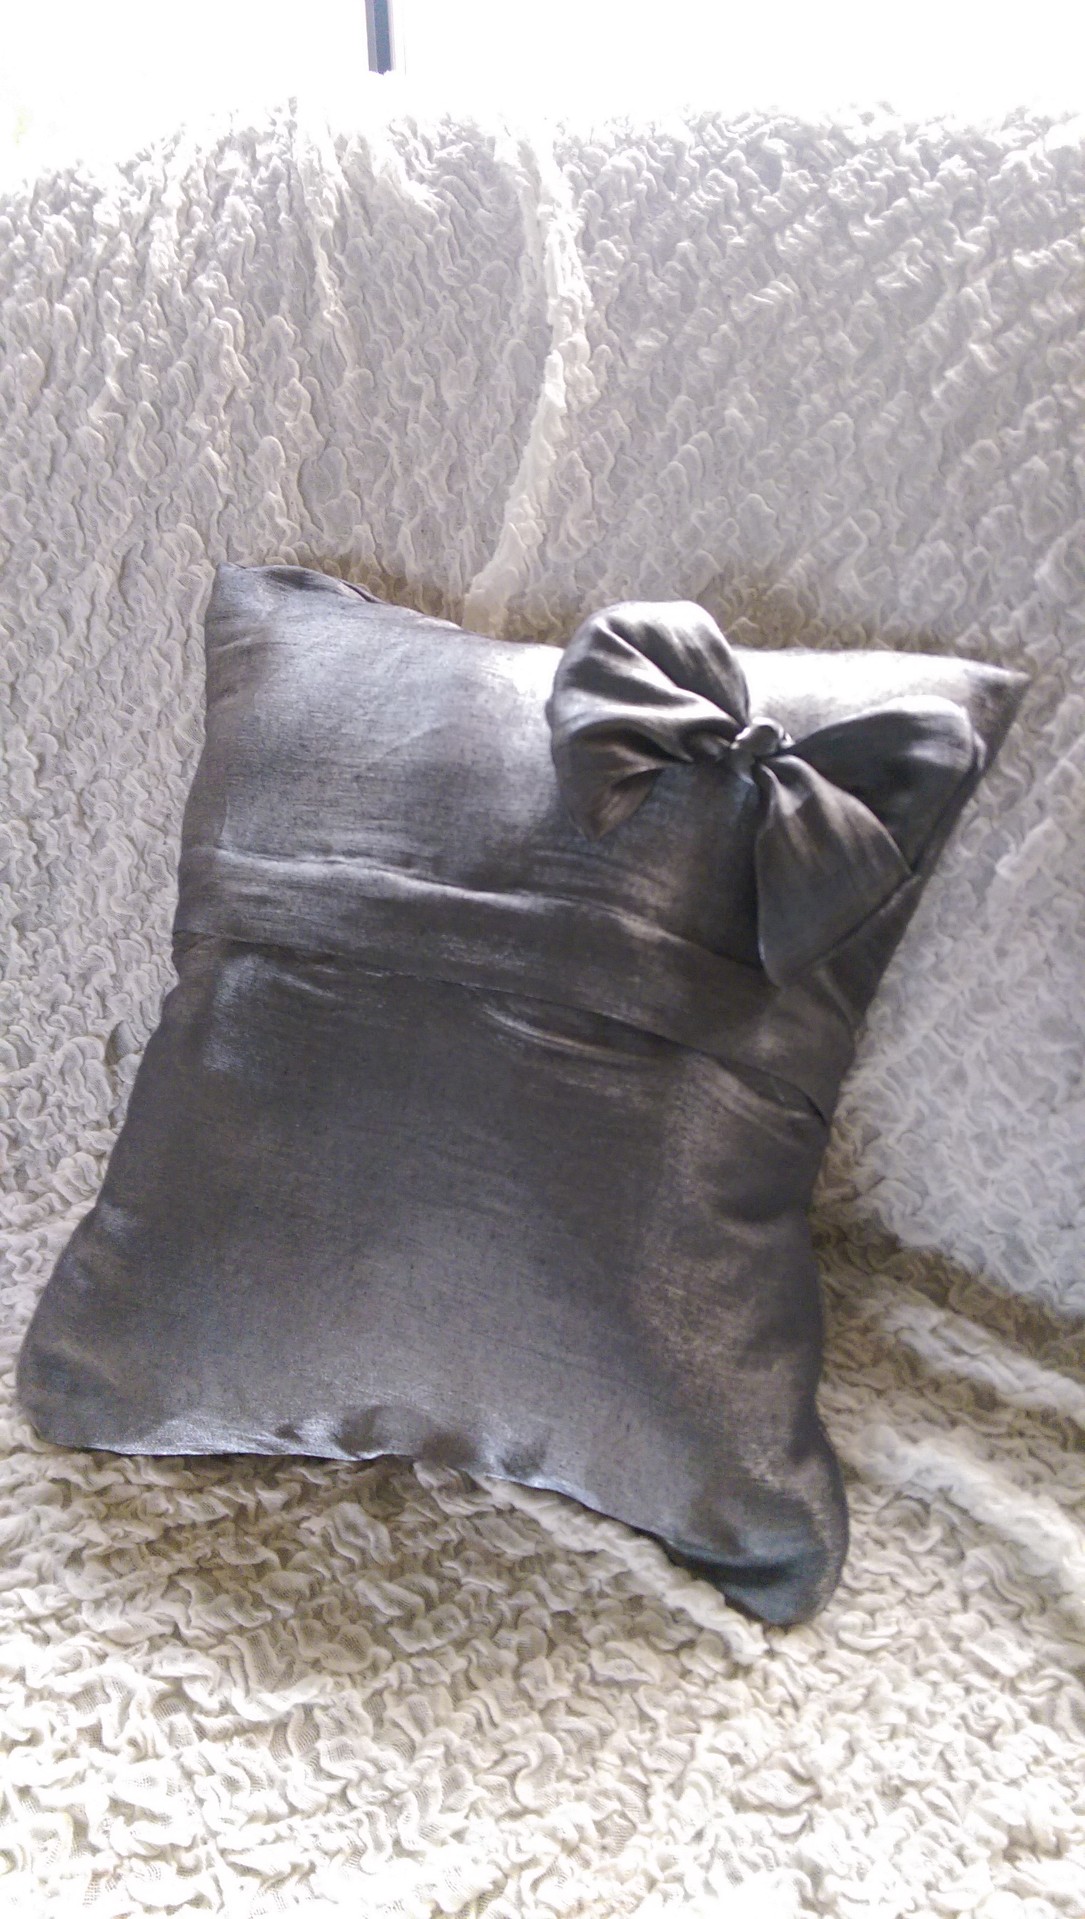
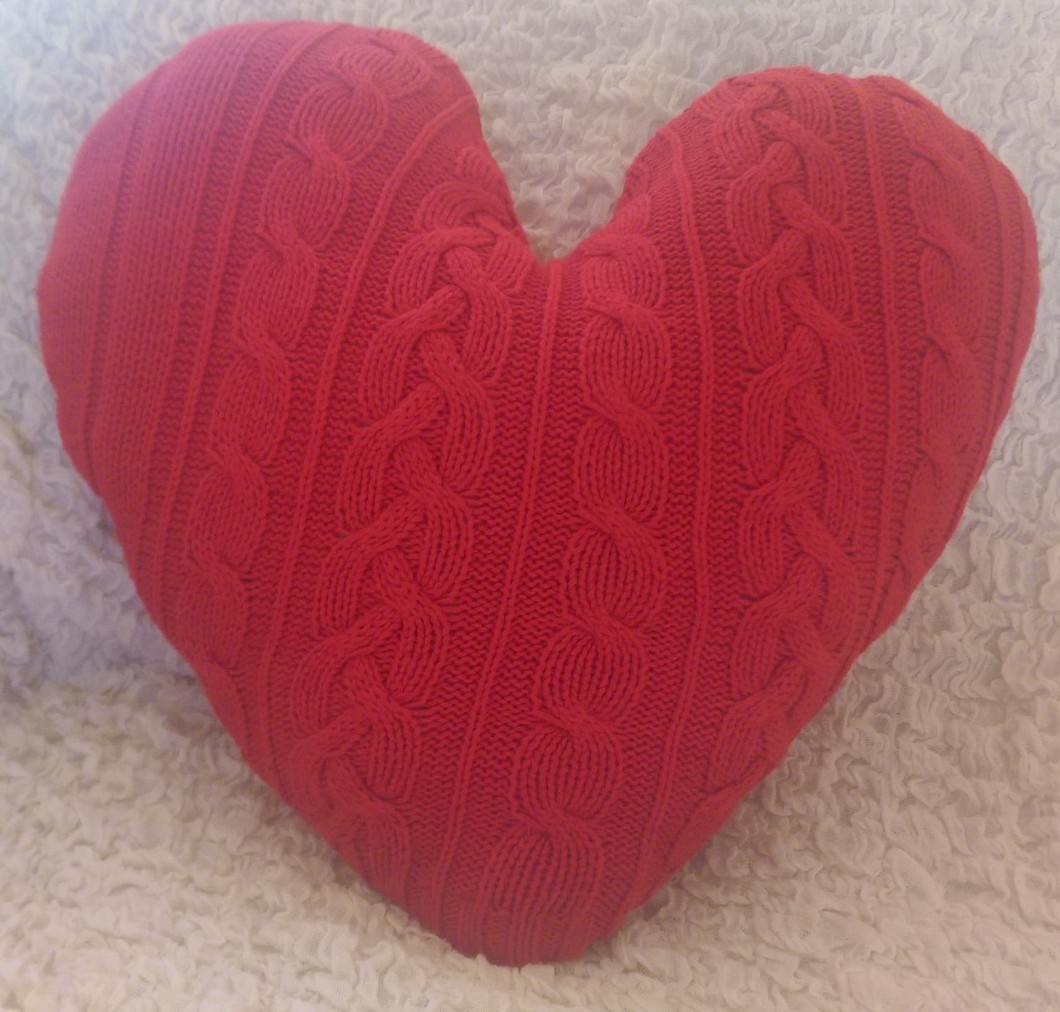
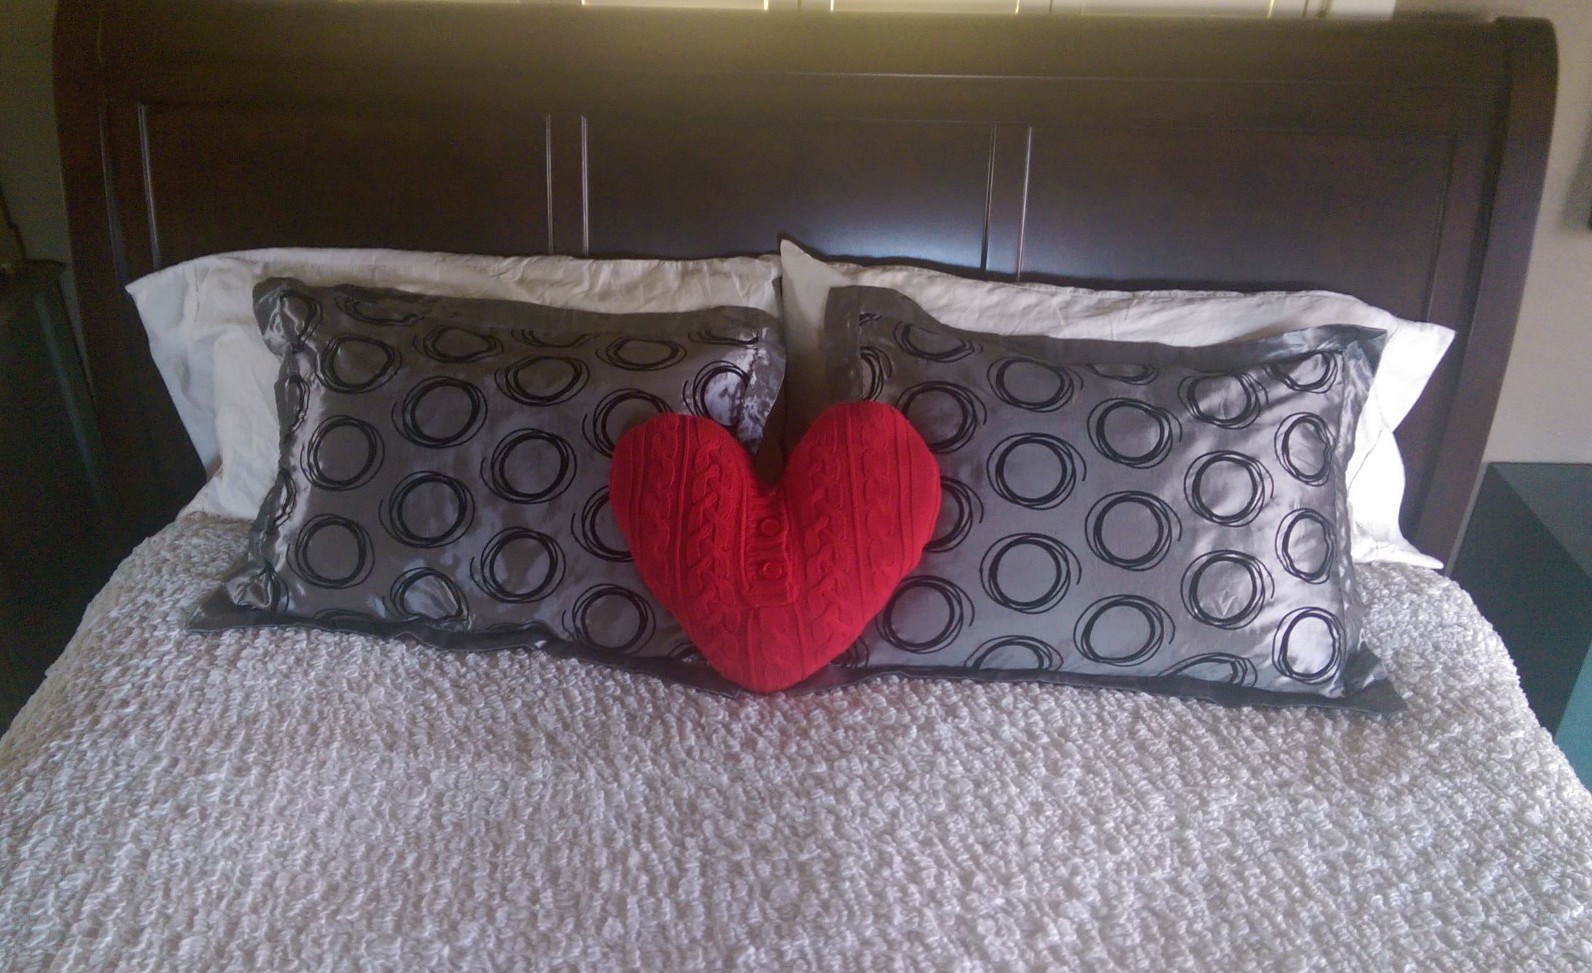
Stay tuned to see how I took this project and amped it up for home décor.  You’re gonna love it!


10 Minute Heart-Shaped Sweater Pillow

HeartPillow2

I love all of the awesome items made out of sweaters that I have been seeing all over Pinterest lately.  So, when I recently found this red, cotton cable knit sweater at a local thrift store for the right price (as many items as you can shove in a bag for $2),  I knew that I had to get it, even though it had a huge hole on the neckline:

IMAG00123

Valentine’s Day is just around the corner, so I figured that this sweater would make a perfect heart shaped pillow.  Since it has buttons down the front, I knew that it would be a super quick, super easy project.  You will see why, in a minute.

First, I made a pattern.  Needing a bigger piece of paper, I just pieced together a couple of pieces of paper.  Remember 1st grade heart-cutting lessons?  Yep, it was that simple.  Next, I pinned the heart pattern on my sweater and cut around it.

IMAG00124IMAG00126

After flipping the right sides together, I quickly pinned them and sewed completely around the heart.  This is where having buttons comes in handy.  No need to leave an opening for stuffing and then hand stitching it closed… just unbutton to stuff and re-button to close it up.

IMAG00127

Once I finished sewing, I just unbuttoned it and turned it right side out.  For stuffing, I cut open an old pillow insert and transferred handfuls of the fluffy white to my heart and buttoned it up when it was full enough.

IMAG00130

Seriously…DONE.  Easy as can be!

IMAG00137

Sweater shopping, anyone?


Make Up Drawer Organizing 101

Make Up Drawer Organizing 101

Do you every get distracted?   Mean to do one thing and then start another totally different thing?  I did that today… and now I have a fully organized hair and make up drawer as a result.  Distraction: not always a bad thing!

This is what I started with:

IMAG00031

Gross, huh?  A mish-mash of lipsticks, eye shadows, combs, make up brushes, hair ties, etc., etc. . There was a drawer organizer down there somewhere, but the junk on top hid it.

First thing, I took everything out and divided it into like piles.  Of great importance was the garbage container that I placed in the sink for easy access.

IMAG00032

Then it was time to put everything (well, not everything) back.  A fair amount of stuff ended up in the garbage and another bit got transferred to my teenaged daughters.  This drawer was housing all of their hair stuff (barrettes, bobby pins, hair ties, mini elastic bands, clips…).  Not any more.  Now that my girls are older, they tend to keep their own hair stuff in their bedrooms.  My hair is now quite short and I rarely use hair stuff (see above) any more. Why in the world was I allowing all of that stuff to clutter up my drawer?  Gone.

To make my eye make up brushes, eye liners and mascaras easily accessible I looked as far as my spice cupboard.

IMAG00039

Tacky?  Maybe. Who knows, maybe I will spray paint the tin and add a decorative paper label some day.  Not today.  Once they were placed in the narrow space left over after the drawer organizer was in place, I didn’t even notice the labels.  Another thing, once I put the brushes in the drawer, there were a couple that were a bit too tall to stand upright.  No problem.  I just used wire cutters to trim a little off of the handle and then sanded them into a rounded end, which I then repainted using dark fingernail polish.  Easy fix.

IMAG00035

The rest of my quickie organizing project consisted of placing like items together, utilizing my drawer organizer and a couple of dollar store containers.  Looks MUCH better, doesn’t it?

IMAG00043

Make Up Drawer Organizing 101 Summary:

* Empty everything out of your drawer

* Toss out/move/give away what you don’t use any more. (I tried on every single lipstick to make sure they were keepers.)

*  If you don’t have a drawer organizer, get a simple silverware drawer organizer (not the kind with the spoon shapes).

* Put like items with like items.

* For heaven’s sake, don’t put anything back in the drawer that you will not use.

* CLASS FINAL:  Jump up right now and organize a drawer.  Any drawer.  Time yourself, start to finish and just for fun, take before and after pictures.  I want to see!

Sometimes we think that a project is too gigantic to do and so we don’t even start it.  I have learned over the years that the only way to get a project done is to dive…right…in.  Plain and simple.  Get started.  The pride of a job well done is well worth the 25 minutes that I spent reorganizing this drawer.  That is why I think it is great to get distracted sometimes… I have an absolutely organized drawer now.

(Don’t have a drawer that can be used solely for make up and hair stuff?  Stay tuned… I can help with that, too!)