DIY Gift Express: Neck Warming Rice Pads

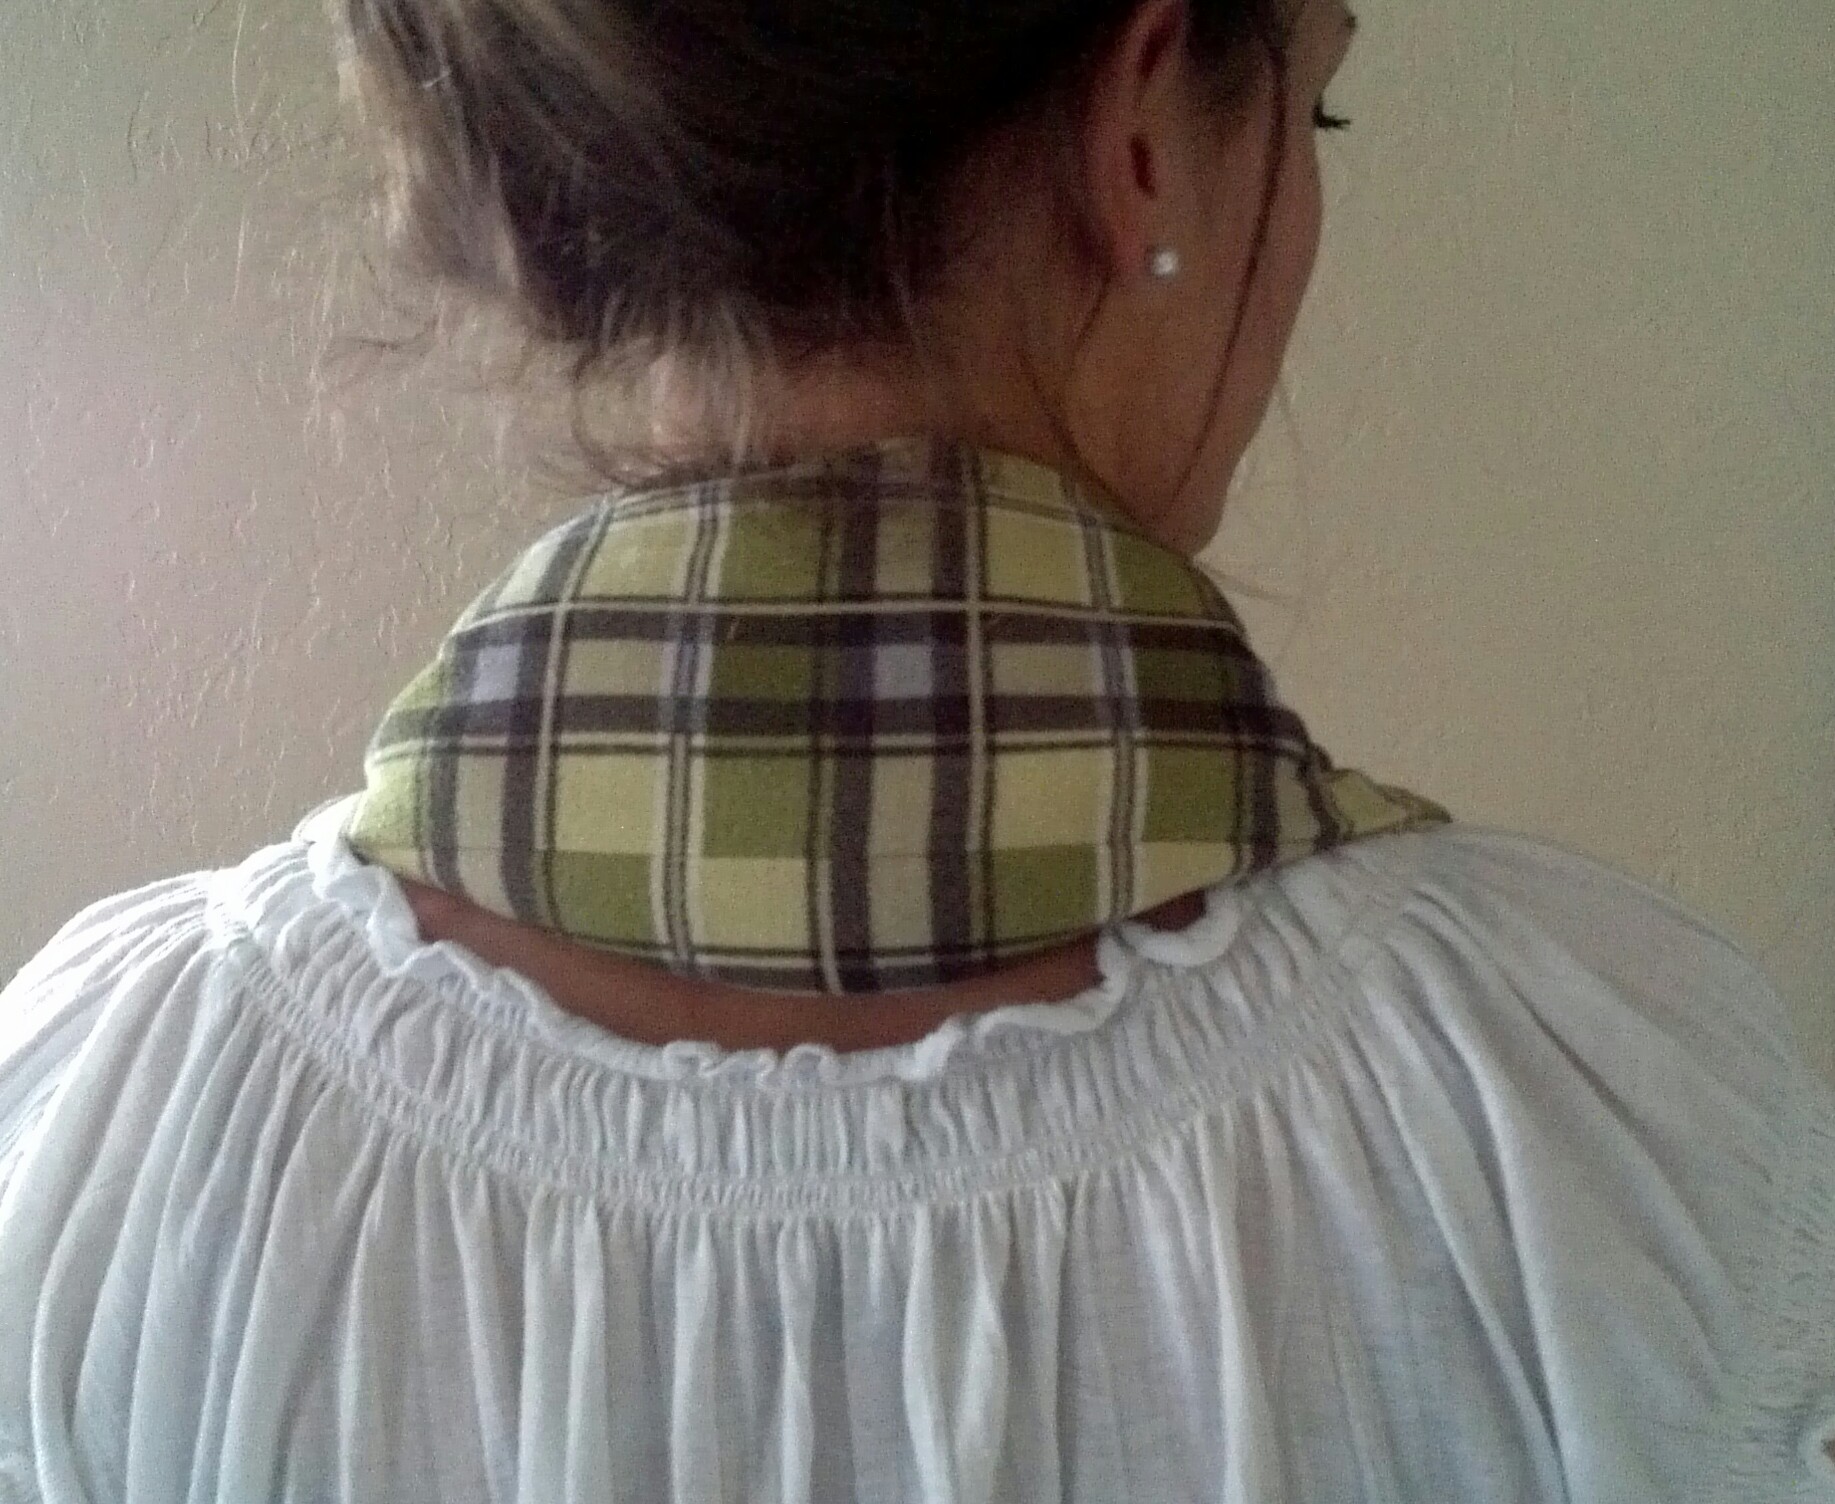
Christmas season is fast approaching.  Yay! I thought that I would share a gift that we love to give that is always a hit, no matter who we give it to… Neck Warming Rice Pads.  Do you have any of these?

IMG_20141030_094407

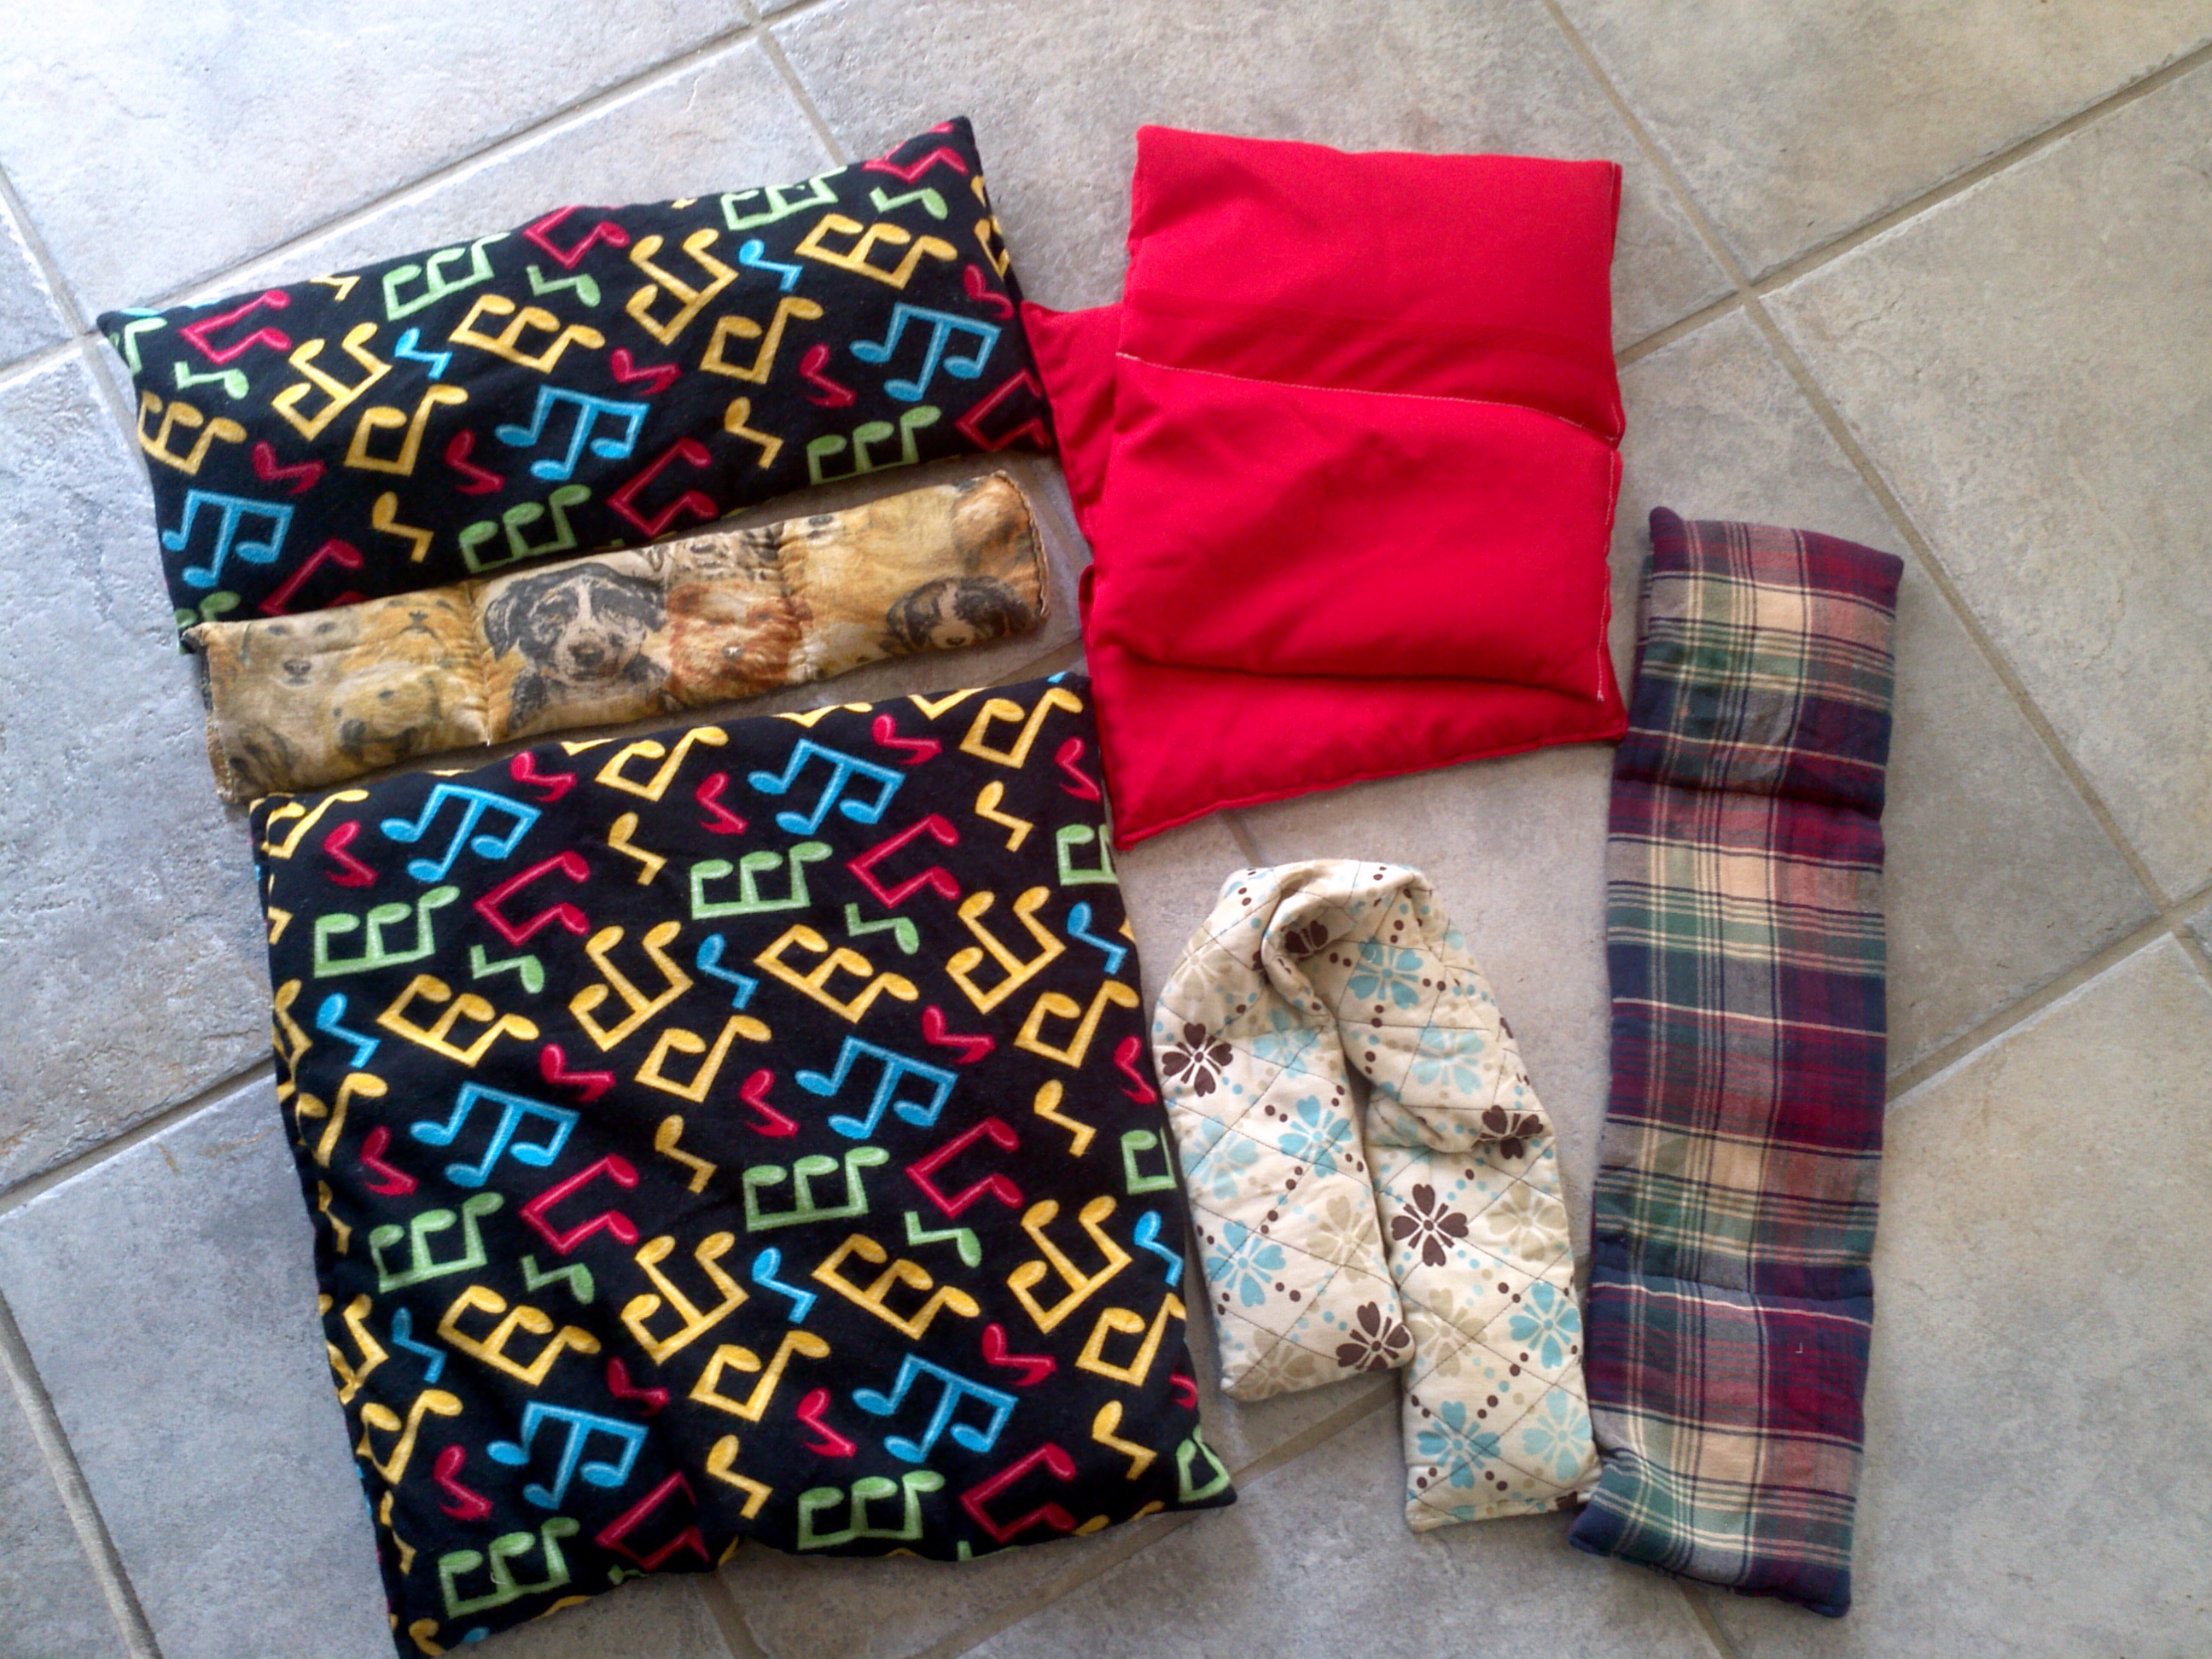
Yeah, we have a lot of them in all shapes and sizes.  I just thought I would grab a few to show you.   Our microwave is kept extra busy all winter long heating these babies up.

Last year I stumbled upon a faster, cheaper way to make the neck warmers using…dun…dun…DUN: Pillow cases!

IMG_20141029_161959

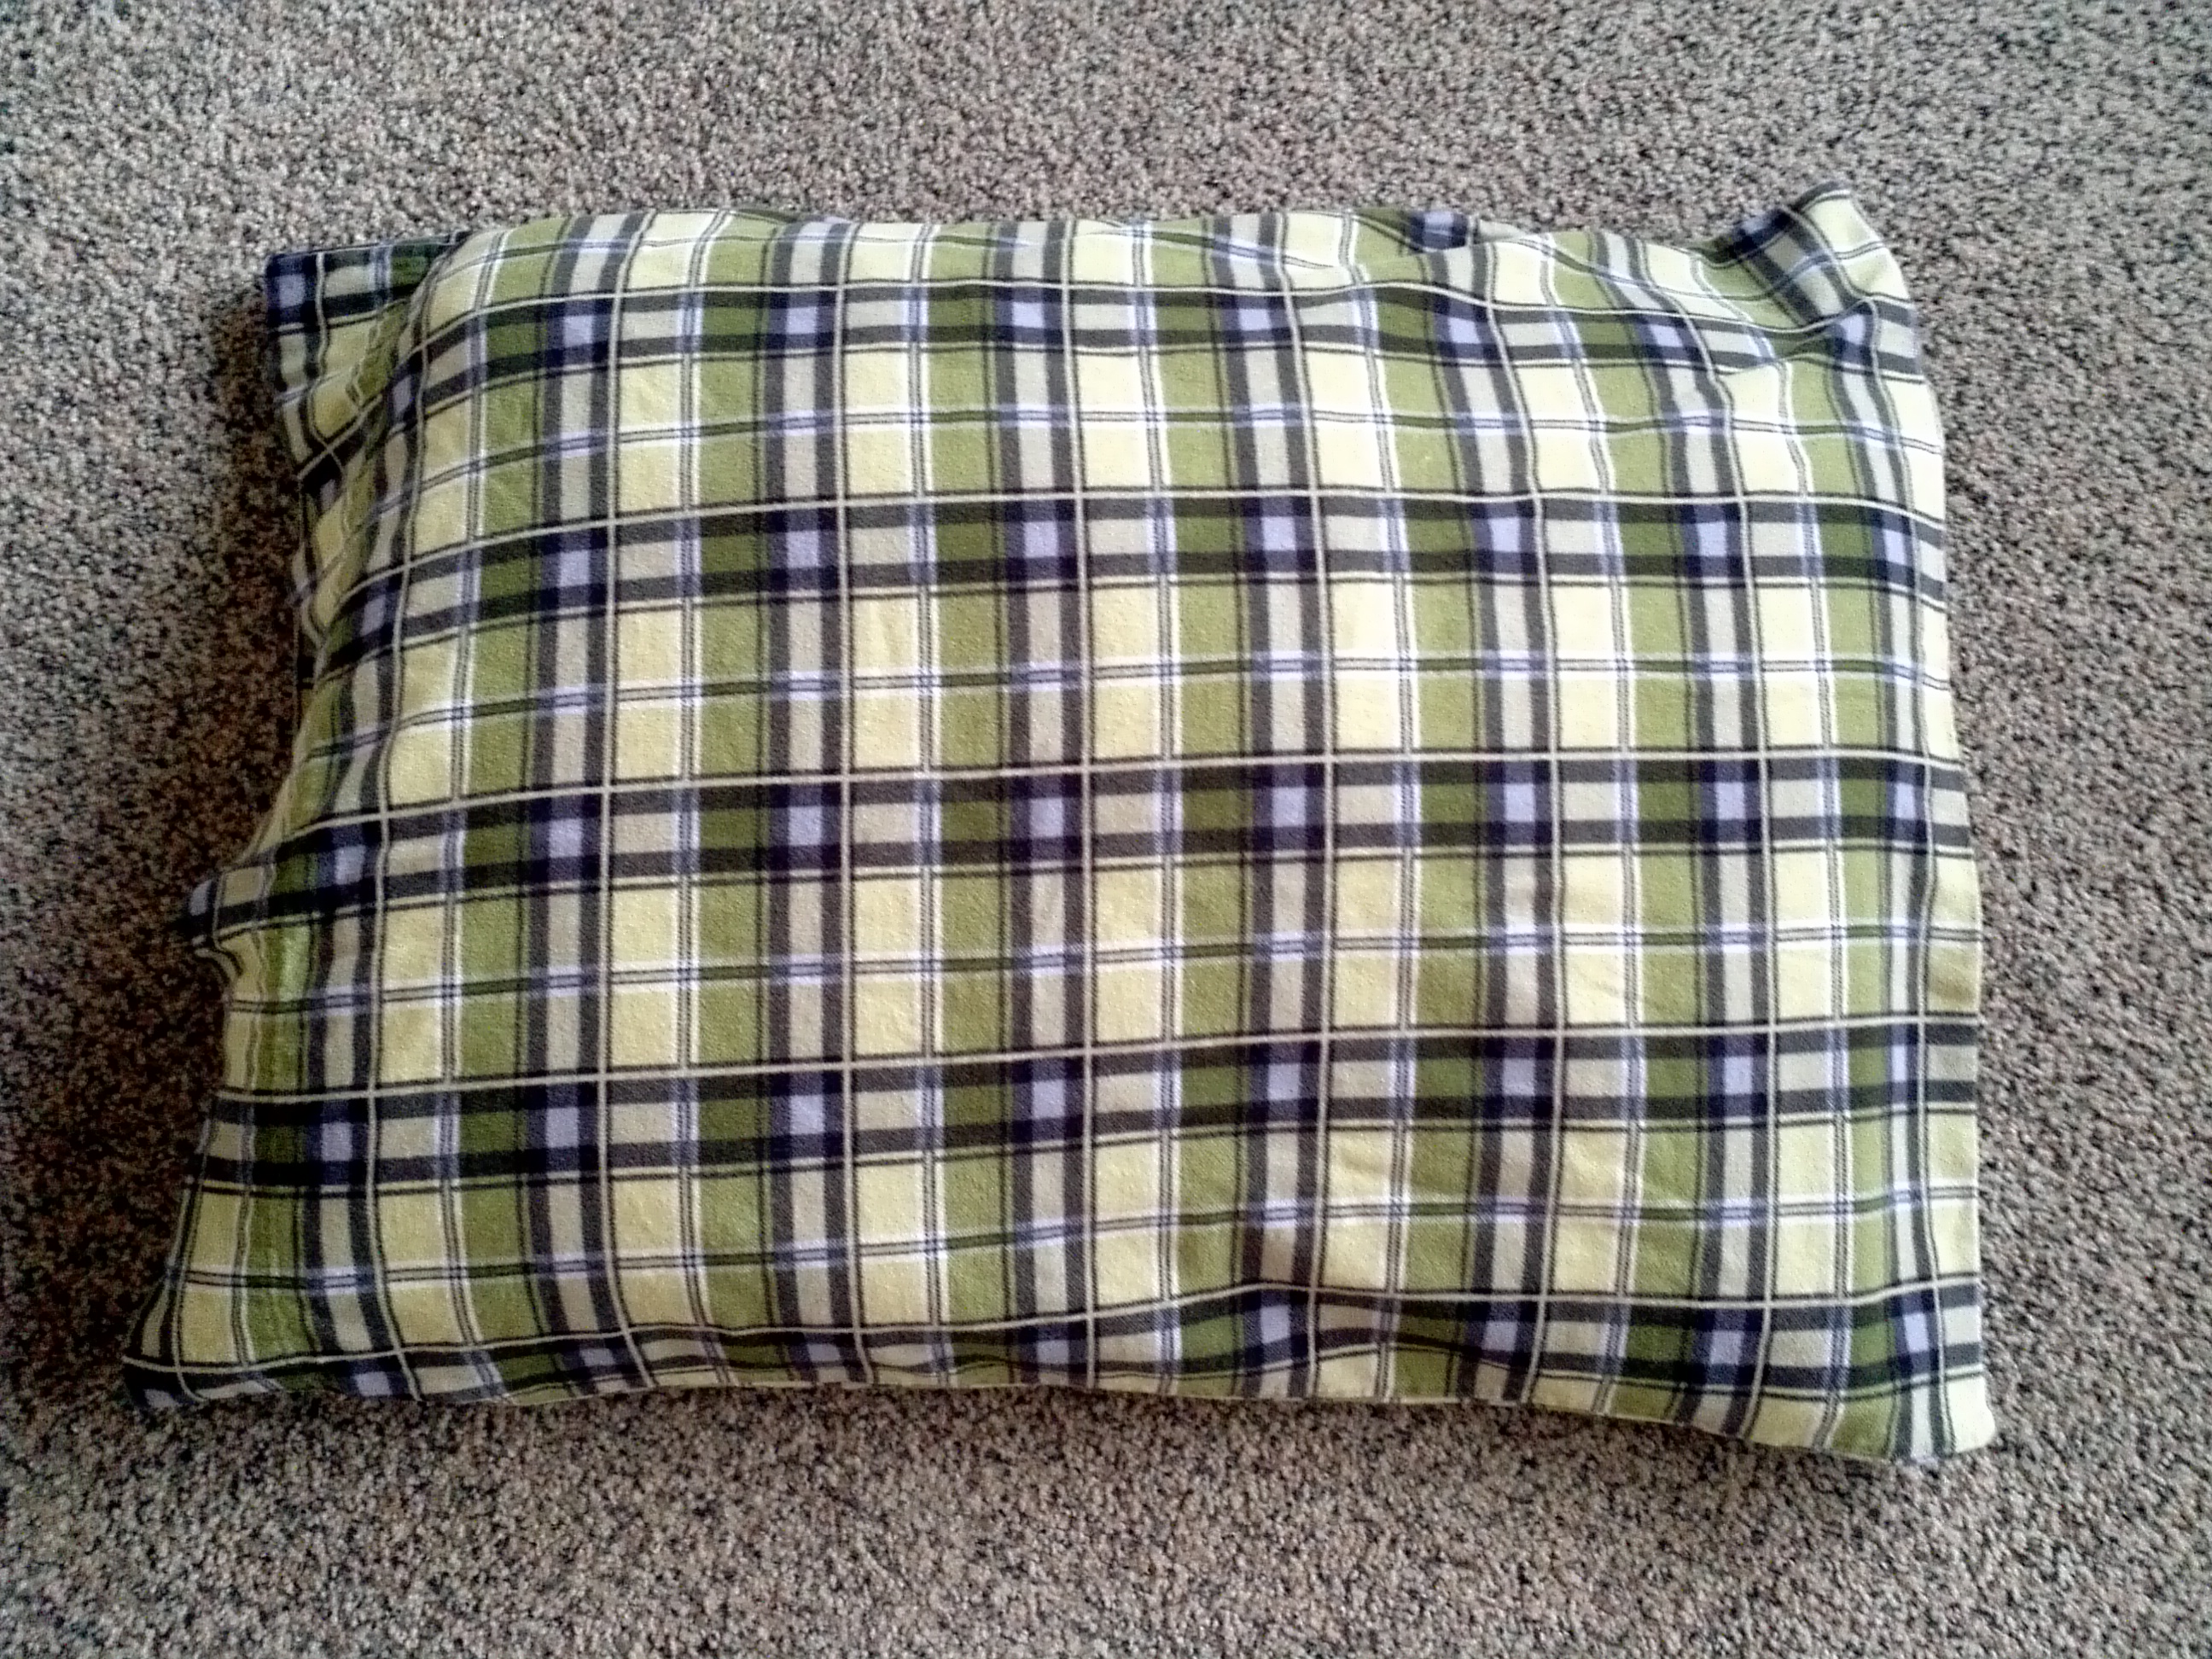
I was in my favorite fabric store, Goodwill, looking for fabric and noticed some really great flannel pillowcases.  I’ve since learned that they always seem to have great pillowcases there and they are always $.99.  You have to be super picky, though.  I don’t buy it unless it looks brand new, and then I go home and wash it twice just because.   Flannel is my favorite, but any sturdy fabric should work just fine.

Look how many neck rice pads I can make with just one pillowcase:

IMG_20141029_162845

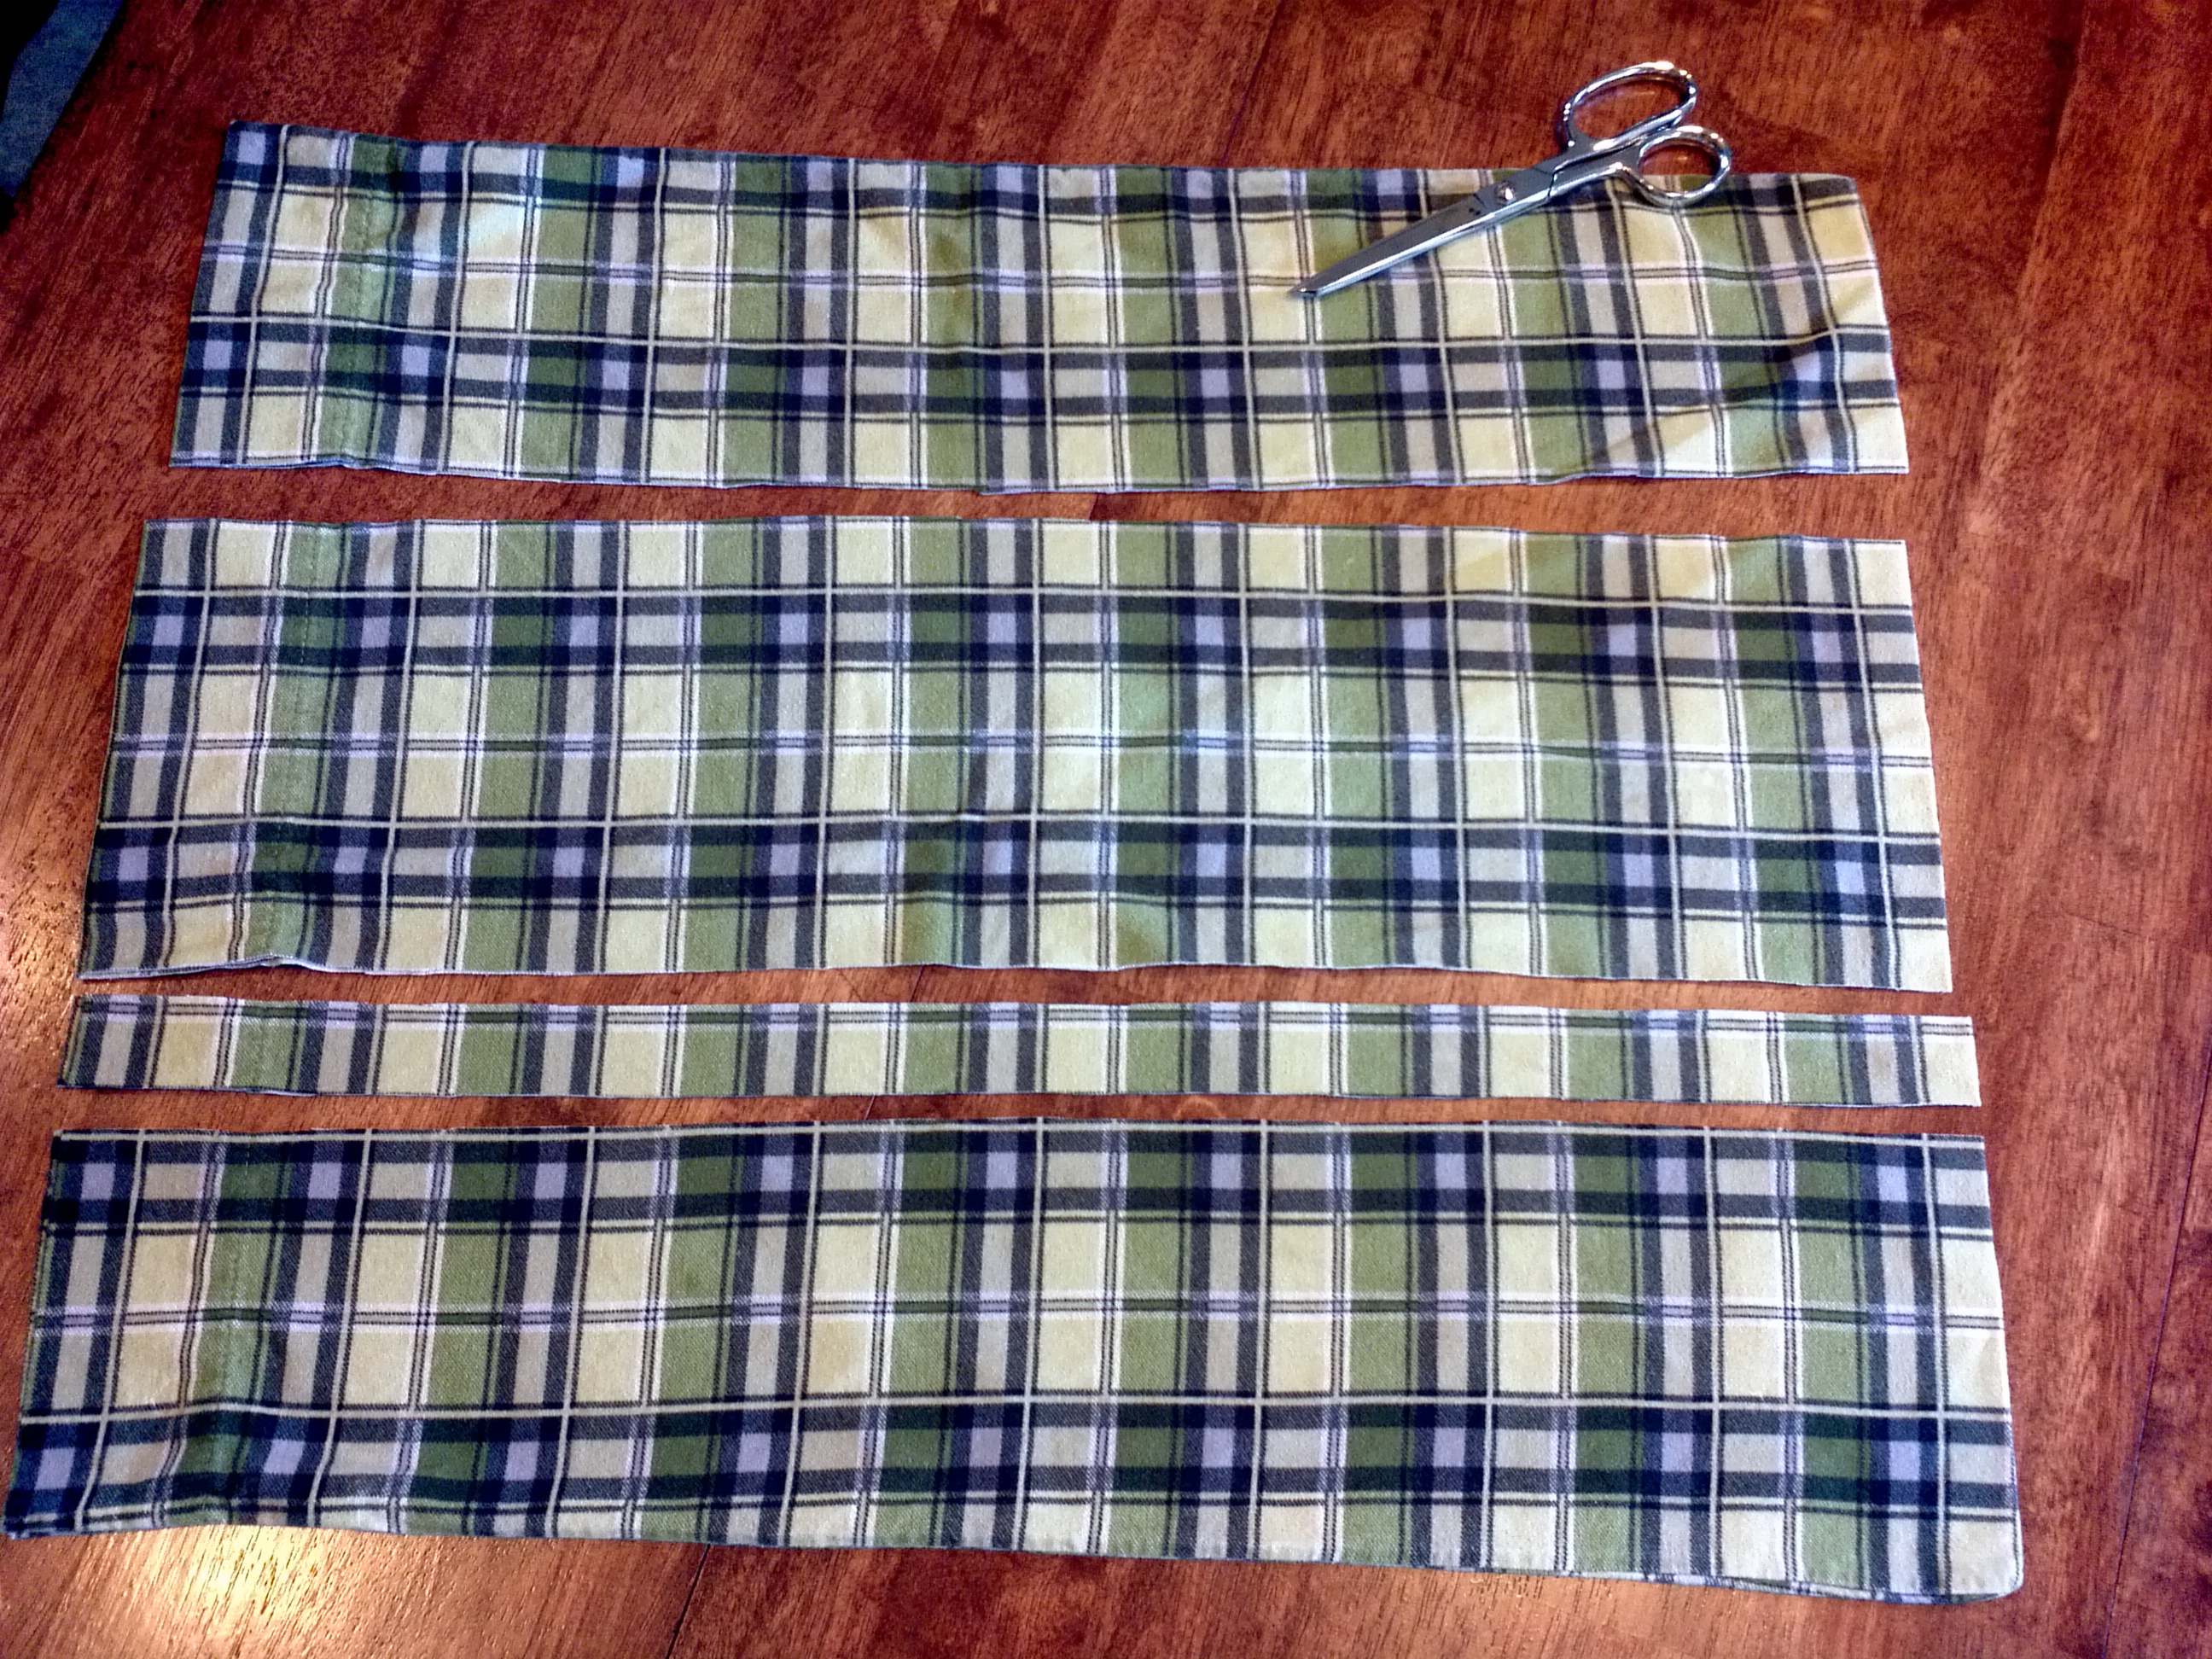
THREE!!!  The thing that I like about plaid is that it already has cutting lines.  Other patterns certainly work, though.  Since the edges of the pillowcase are already sewn, this project is already part done.   Yes!

You may have noticed that the bottom portion of the above pillowcase is way off.  Quality control must have been napping that day, but that’s ok.  It’s just a quick re-cut and re-stitch fix.

Here are the easy steps to making a Neck Warming Rice Pad:

IMG_20141029_163717

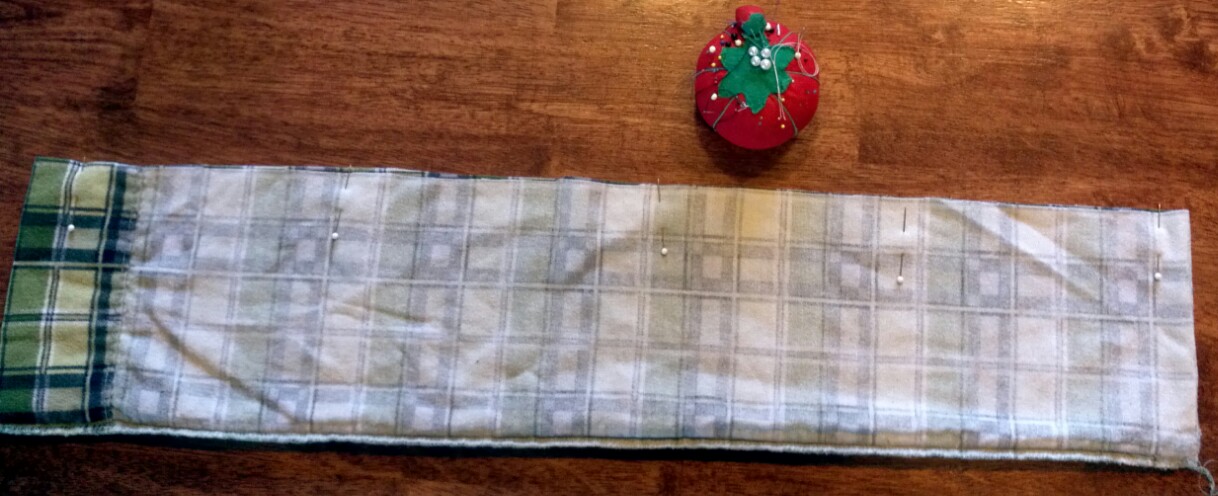
Turn the fabric so right sides are together, then pin.  I’ll admit that I don’t always pin because flannel seems to stay put quite well.  As a side note, that is not a yellow stain just below the pin cushion, just a weird shadow.

Now sew that long edge with a fairly tight straight stitch then turn it right side out.  Also, I cut off the hemmed edge, but that is really optional.

IMG_20141029_164452

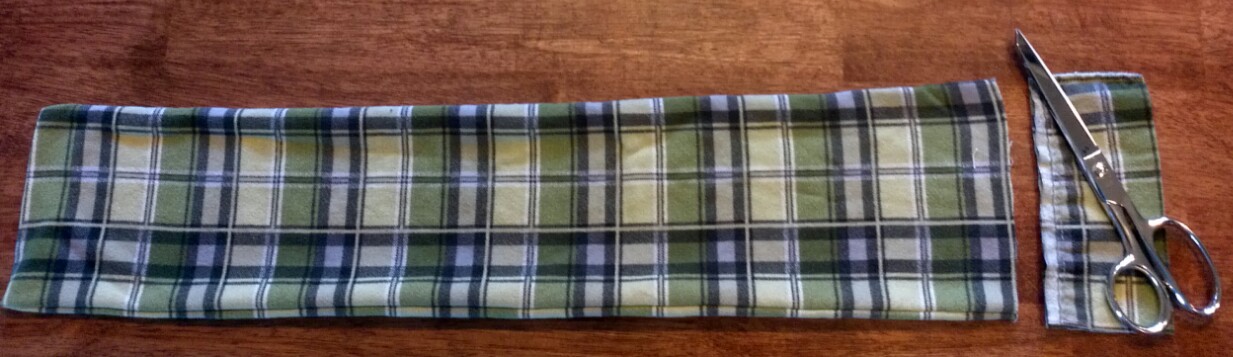
That took, what, maybe 60 seconds? Tops!

Now you need to decide how you want to section out your pad so all the rice doesn’t clump to one spot.  I like to have three sections with the end sections the same size and the center section slightly bigger so it easily fits around the neck.  In this case I made each outward section 6 3/4 inches (don’t forget to allow an extra inch or so on the open end for closing it all up) and the center was whatever was left over.

IMG_20141029_165445

Now’s here’s where the fun begins: add rice.  For this particular neck warmer I added 1 1/2 cups in the smaller outer sections and 2 cups in the larger center section.  You don’t want to completely fill each section or it won’t bend easily and will be too heavy on the neck.

I like to contain the rice by pinning it away from where I am sewing.  The rice adds weight, so I hold it up with my left hand as I sew, so the fabric eases through the machine smoothly.

Now put rice in the center section, stitch as before, then fill the final section.

At this point, fold the open ends of the fabric inward (trying to duplicate the size of the section on the opposite end) and then stitch.  I stitch it twice just because.  I also go back to the opposite end and stitch across it so both ends visually match.  And it is DONE!

IMG_20141029_170931-1

IMG_20141029_170944-1

Last year we made about 25 of these.  My daughters helped me by turning the fabric right side out and adding rice to the sections.  Fun memories!

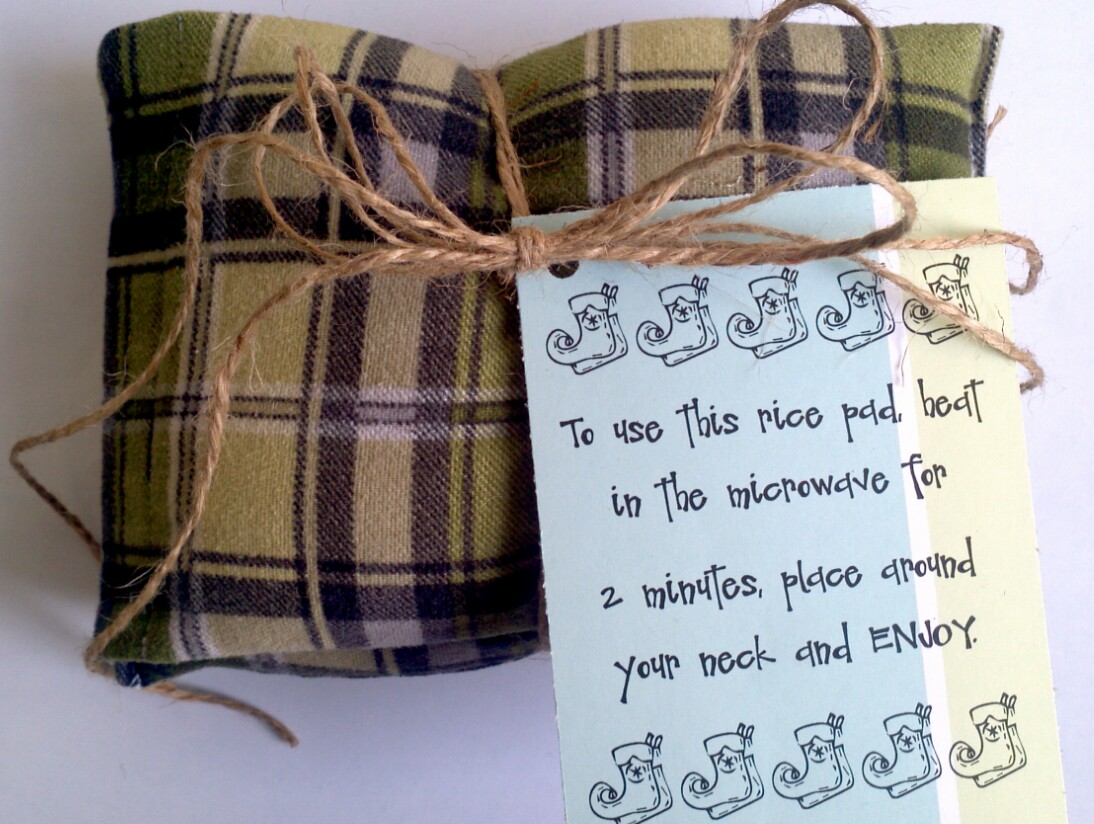
Here’s a pdf Gift Tag with RicePadInstructions that I created to add to each gift.  I don’t like to add giftwrap since the weight would likely tear through.  Just fold end over end, secure with ribbon and add the tag or whatever pretties you might like.

IMG_20141030_114930

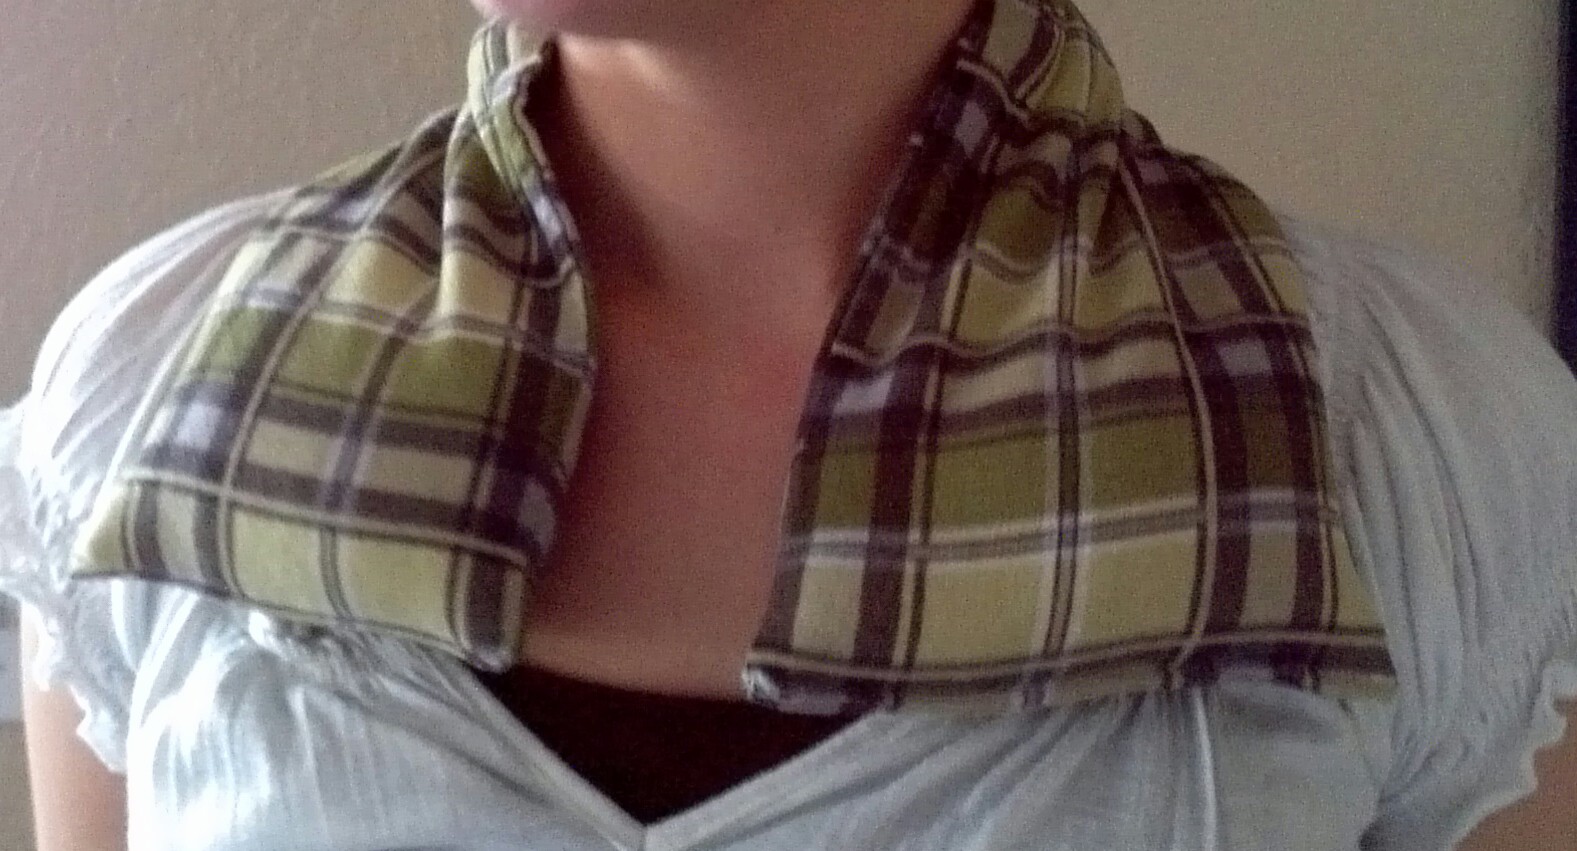
Over the years we have given these rice pads to so many people: to teachers, friends, relatives, neighbors.  Men, women and children all seem to appreciate ’em.  There is nothing like the warmth and comfort they provide.  Yep!  They are a hit, which is exactly why we will make up another batch to hand out this year.  We can’t have our loved ones freezing, can we?


A “New” Wardrobe- Two Times a Year!

new-wardrobe

Doesn’t that sound awesome?  A “new” wardrobe twice a year?  Please note the quotation marks around the word “new”.  Yeah, there is a catch.  Figures, right?  But, in my own little world, that is just what happens.  I don’t have a walk-in closet and, to be honest, I have enough clothes that 3 women could easily share.  My closet, though plenty large, cannot contain all of my clothes at once, so this is what I do:

IMG_20141025_141040

By the way, that is my poor hubby’s small closet.  Mine is about 4 times the size of his, yet he doesn’t complain.  Good man.

Every spring as it starts to get cold I bring these bins out of the garage and pull out all of the clothes that I had packed away the previous fall.  Out come all of my capris, shorts, short-sleeved tops, swimsuits and sandals… you get the idea.  Come cooler weather, the same bins come back in for the great fall switcheroo.  Out come the coats, jackets and sweatshirts,

IMG_20141025_140758

the long-sleeved shirts,

IMG_20141025_140147

the sweaters and long pants

IMG_20141025_140840

and the scarfs, warm socks and boots

IMG_20141025_142729

and I must say, it is just like getting a new wardrobe twice a year!  I think that even if I did have a walk-in closet, I would still pack off-season items away.  I mean, do I really want to see winter coats when the temperatures outside are hitting 115 degrees F?  Emphatic, “No!”.  Although I do keep a handful of short-sleeved tops in my closet to wear under sweaters and jackets, I don’t want to be taunted by a closet full of them all winter long, making me wish for warmer days.

Bottom line:  I just got a “new” wardrobe last weekend and it didn’t cost me a dime!

How about you?  Do you switch out your wardrobe, too?

Chalk Paint Turns Dollar Tree Cheap-O to Chippy Chic

In our little town in Northern CA, Dollar Tree is the most “happening” store around.  Don’t feel too sorry for me,  I can be in Target, Lowes or Michaels or pretty much anything else, in less than 15 minutes.  It’s all good.  Regularly, though, I find myself perusing our local Dollar Tree.   Have you ever noticed that they seem to carry a lot of ceramic figurines?  Lots.  Figurines rarely excite me, but I did find these a while back:

IMG_20120303_141902

Aren’t you just digging the look?  Yeah, me neither!  At the time I had been researching chalk paint and wanted to try to see if it really does stick to everything.  Guess what?  It does!  I purposely didn’t sand or scuff up the super shiny finish and the paint still adhered perfectly.  My chalk paint recipe was pretty basic:

IMG_20141020_201328

I know that you all know how to paint, so I won’t bore you with all of the details, but I will note that instead of using brush strokes I just pounced the brush up and down. I did a couple of heavy coats.  I wanted this pair to look like painted iron that had chipped a bit. Once the paint was dry, I gently sanded them.  Just a buff with a little wax (to be honest, I just used regular Minwax) and these little birdies were done.

IMG_20141020_083222

Yep, you can see a touch of the original colors peeking through if you squint really hard, but I kind of like that.

IMG_20141020_161717

Not bad for a couple of bucks and about 10 minutes of my time, don’t you think?  Hmmm, maybe it’s time to hit up the ceramic figurine section at Goodwill.

Get Organized: Time Out For Shoe Organization

organize-shoes

Wanna see one of my favorite tools in this whole world?

IMG_20141017_105300

My Timex Marathon watch.  I have been wearing this little number for years and years.  Every time one breaks, dies, drowns… I get all panicky until I have a replacement on my wrist.  I haven’t seen them in stores for a while, but Ebay has come through for me with the last two replacements.  (Thank you, Ebay!)  So, why is this little guy so handy?  First of all, I love the timer.  It easily sets the time in 1, 3, 5, 10, (you get the idea) minute increments.  So great for, “You have 5 minutes to get your pj’s on and brush your teeth.” or  “Time for a 10 minute tidy”, or “15 more minutes on the computer, then it is your brother’s turn”… I could go on all day.  My watch becomes the” bad guy” and I’m just the enforcer:  “Sorry, guys.  The watch has spoken.”.

Timex also encourages me to get chores done that I have no desire to start.  I set the timer for 3 minutes to get my dishwasher emptied and try to beat the beep-beep-beep.  Another function that I use regularly is the stopwatch feature.  I  like to time myself doing projects just to prove to myself that many dreaded projects really don’t take as long as we think they will take.   That is is exactly what I did this morning.  See that 13.07.09?  It is significant for a shoe organizing project that I did this morning.

This morning I looked at my shoe storage unit and was quite underwhelmed.

IMG_20141017_101351

Pretty boring, cluttered and the unit is flimsy.  I decided to be on the lookout for shoe organizing ideas.  Then, thought dismissed, I went about my day. Later, I happened upon a small rummage sale and found this little number

IMG_20141017_100146

…for this little price

IMG_20141017_100253

That’s 3 bucks if you can’t read the fine print!

At first I had grand ideas of painting, distressing it a bit, then staining the piece, but then I decided that I really like the color, and it is just going in a closet anyway. Done! Here is where Timex Marathon came in.  I decided to time the whole project with my stopwatch.  In 11 minutes, 28 seconds (11.28) I had cleaned the piece, pulled out my existing shoe organizing unit plus shoes and replaced it with the” new” one, and added the shoes.

IMG_20141017_102711

I rarely wear some of those high-heeled shoes and they topple over so easily, so I decided to grab some Dollar Tree bins (which I already had) to toss them in.  Of course I turned on my stopwatch to continue to keep track of the time.

IMG_20141021_171224

Gorgeous?  Nah.  Magazine worthy?  Heck no!  But, I just close the closet door and walk away, knowing that in just 13 minutes, 7.09 seconds I have finished another project.  Done!   At least until the boots come out of the bin in the garage and the sandals go “bye-bye” for the winter.  That ought to take me, what… about 5 minutes.

What project are YOU going to find time to do today?

Fun With Fonts: I’m Batty For Dingbats

DingbatCheatSheet

If you are a fan of fonts, raise your hand.  I love fonts!  Love, LoVe, LOVE fonts.  There is nothing like the thrill of going online, looking for, and downloading free fonts.  It is like going shopping for stuff that you actually get to keep, and not paying a thing for it.  Nothing.  Nil.  Nada.  Zero.  Zilch.  Have I made my point?

There are lots of sites out there that have free fonts that you can download.  Some that I have used and really like are:

1001 Free Fonts

Dafont

KevinandAmanda.com

Fontspace

There are lots of sites out there that have free fonts that you can download, but let me just add a disclaimer here, I am not a computer expert.  Trust me, I wish I was.  My teenaged boys (aka “computer geniuses”) have all grown up and flown the coop, so I pretty much just “wing it” now.  See what I did there… two bird metaphors in one sentence.   An-y-way, I have heard that not all free font sites out there are reputable so I Googled the subject and found this helpful article,  “The Top 10 Places to Find Free Fonts”.  The article has lots of good information if you are new to the font downloading scene, including how to download them onto your computer.   With all of the thousands of fonts out there, why would anyone settle for Comic Sans, Calibri, or Tehama?

Now to the Dingbats (finally, right?).   What in the world IS a dingbat? According to Merriam-Webster’s online dictionary:

ding·bat

noun \ˈdiŋ-ˌbat\

: a stupid or crazy person

They even give an example of how to use the word in a sentence: ” I told you it wouldn’t work, you dingbat!”

But that is NOT what I am talking about.  Dingbat is also defined as ” a typographical symbol or ornament (as *, ¶, or X)”.  Basically, if you have dingbats, you can type a letter or number and a symbol or picture comes up instead of the letter/number that you typed.  You can go to these same free font sites and find decorative dingbats to download.

The problem is that you never know what symbol/ornament each keyboard key makes until you actually push that key.  It can be pretty frustrating and time consuming.  I finally decided to make a printable list of all of my dingbats and include a key that allows me to see at a glance, first of all what “dings” I have, and secondly, how to get each one.  That mountain of work is now complete and right here, at YOUR fingertips.  Aren’t you lucky to be my friend?

DingBat pdf    Go ahead, click on the DingBat link!  I’ll wait…….

Now YOU can download these dingbats cheat sheets, print out the pages and ding to your heart’s content.

Here are some examples from the pdf:

Screenshot_2014-10-16-14-37-13Screenshot_2014-10-16-14-49-11

Screenshot_2014-10-16-14-52-11Screenshot_2014-10-16-15-01-55


Isn’t that awesome?  Granted, this list only includes the dingbats that I have on my computer right now, but I’m thinking it is time to go “shopping” for some more free dingbats.

Now, it is YOUR turn to go “batty” with dingbats!