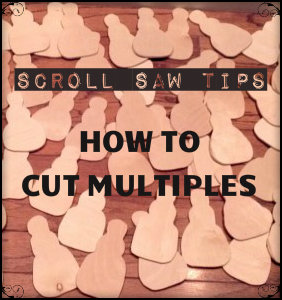
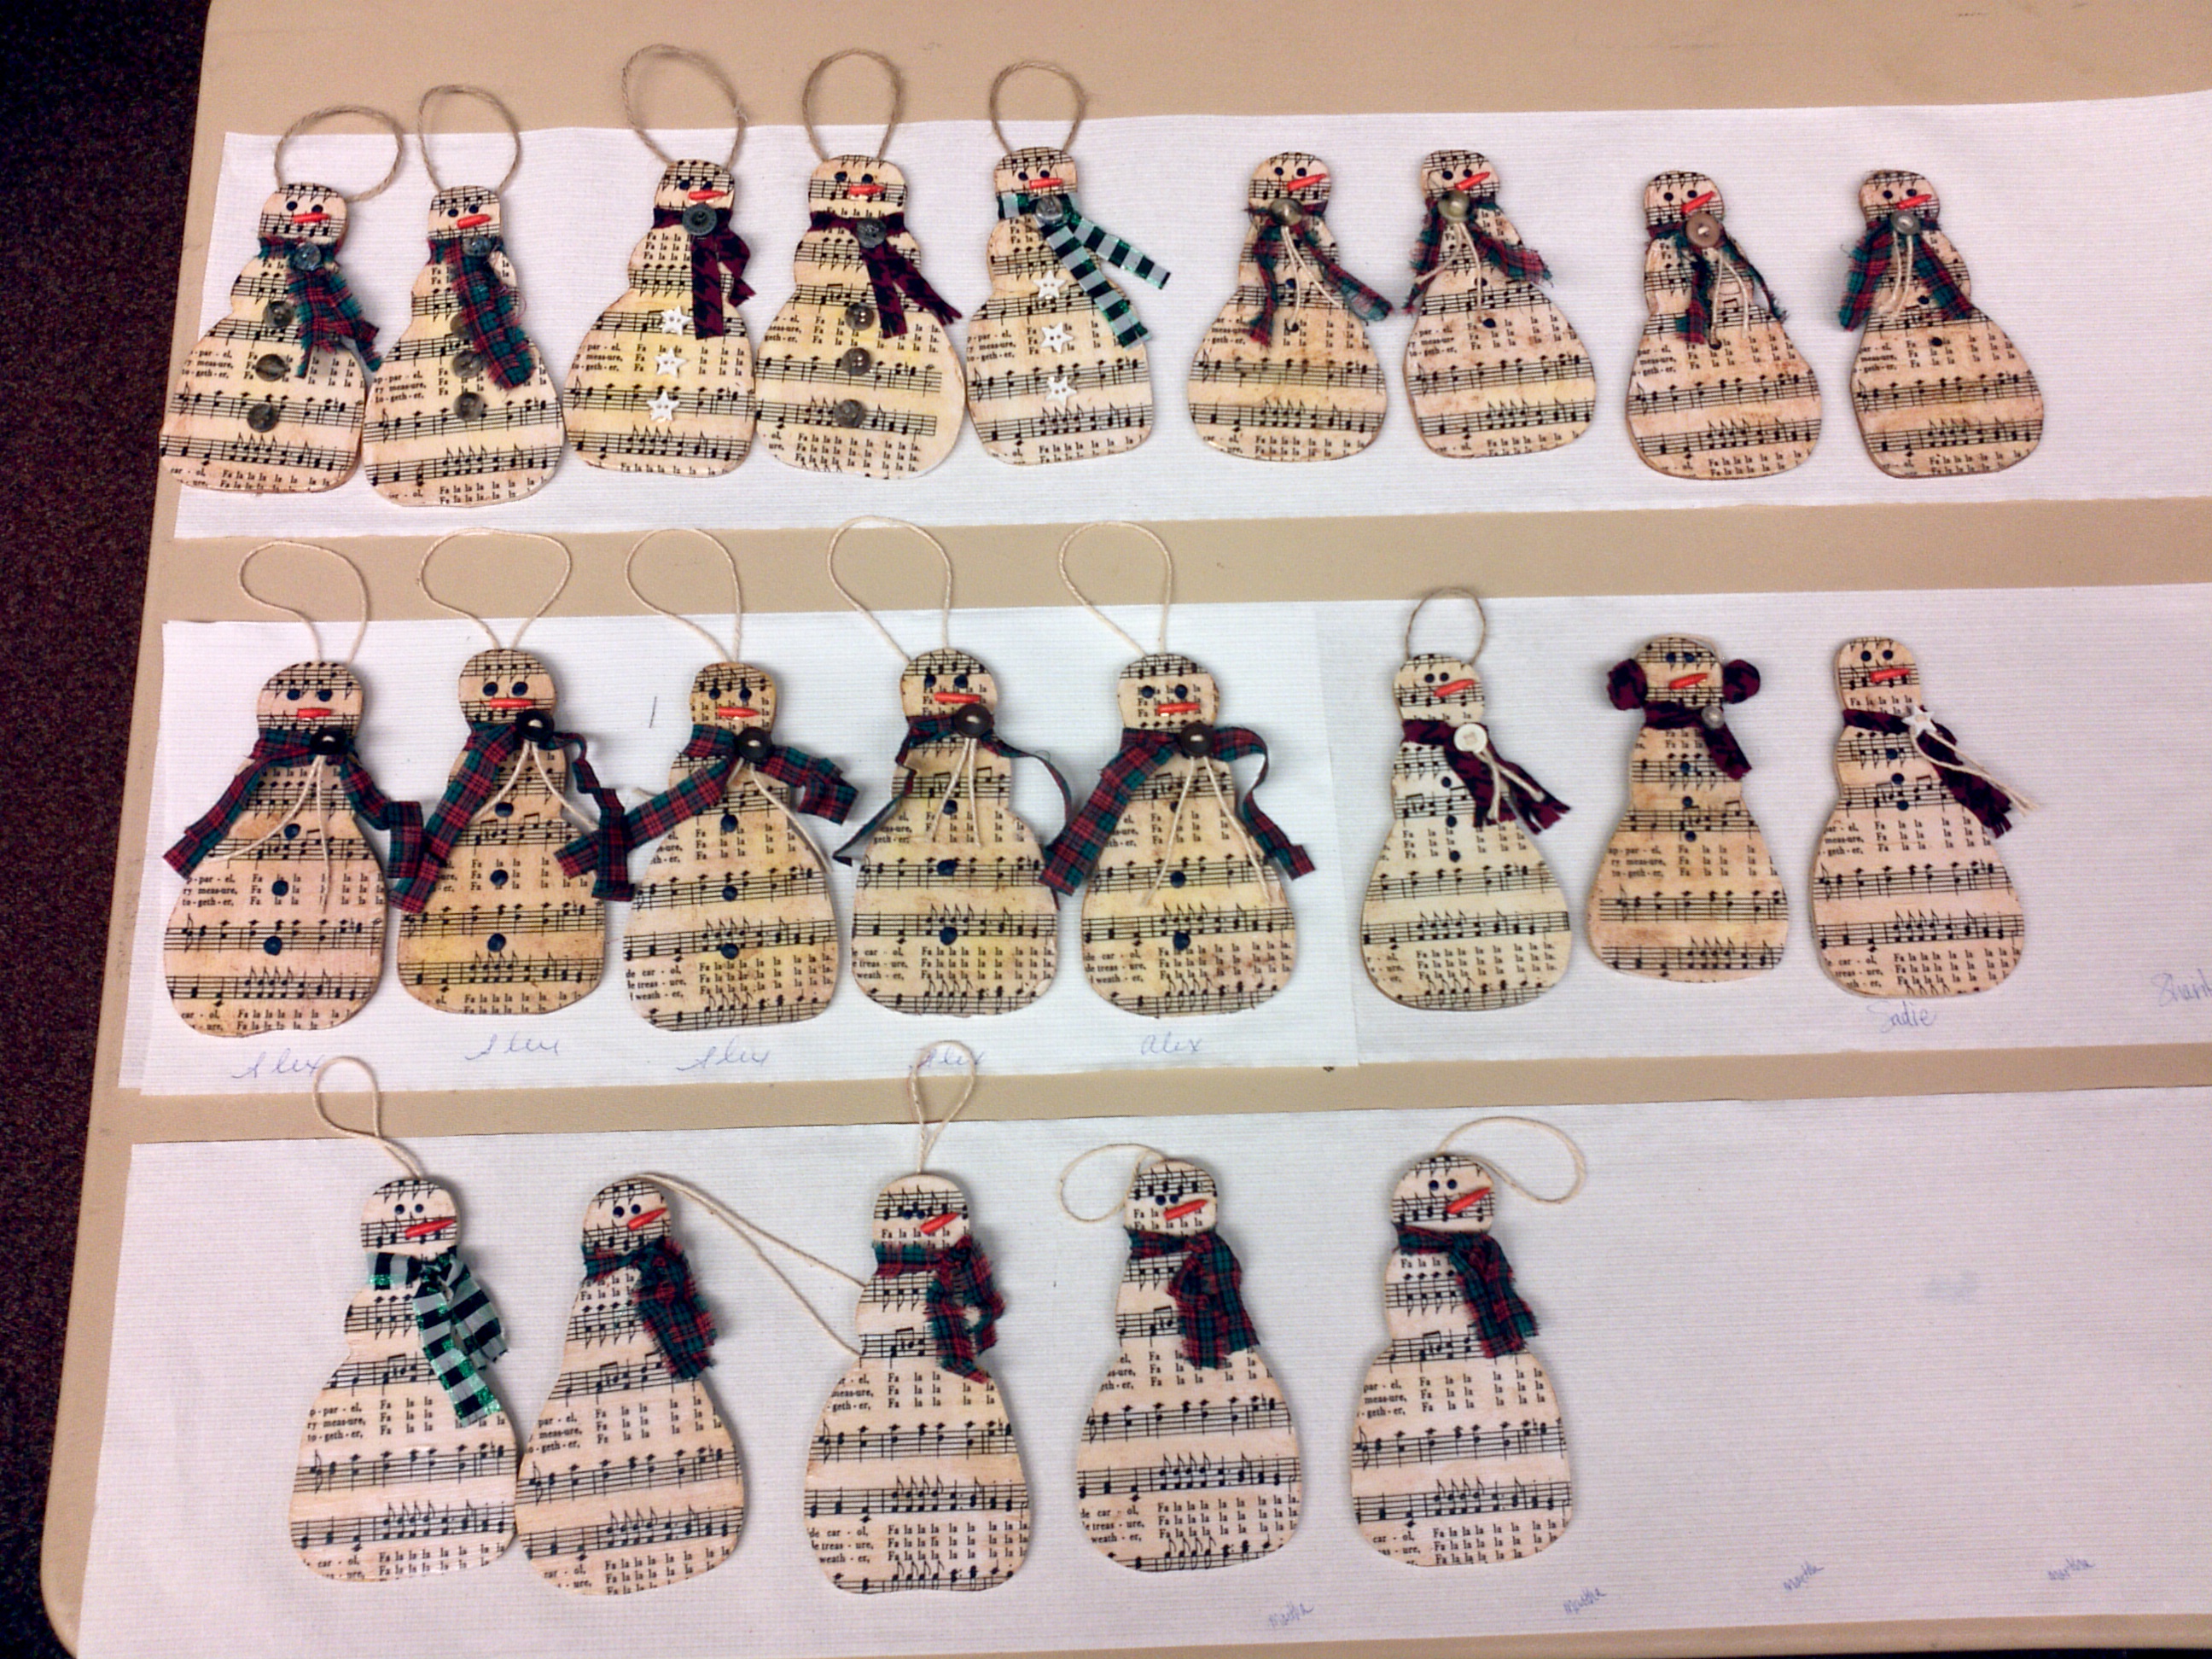
Christmas time is coming (squeal!) and for me, that means it’s time to think of what gifts to make for neighbors, kid’s teachers, friends, etc., etc. “Am I right? Or am I right? Or am I right?” (Groundhog Day movie reference). I tend to volunteer in November each year to be in charge of a few crafts for Super Saturday, which is basically a craft day where women at church come and make crafts to give as gifts/ decorate their homes. It seems like tree ornaments are usually a hit and this year was no different. Yep, we crafted this little guy by the oodles:

Does he look familiar? I would guess that many of you have seen some variation of this ornament all over Pinterest and I would even hazard a guess that you have actually pinned this idea. Cute, right? As I was cutting out all of these snowmen,

I got to thinking that maybe some women out there would like to do similar gifts for Christmas and don’t realize just how simple it is to make a plethora of cutouts. Really it is. Do you think that I would cut out each of these babies, one by one? Ain’t nobody got time for that! (Sorry, I couldn’t resist). Let me show you the easy way to get it done.
First of all, you need to have access to a scroll saw. Do you have one? I’ll give you a minute while you go check. I’m not going to get into the nitty-gritty details of HOW to use a scroll saw. You can ask your hubby, dad, whoever, or just check it out on YouTube. I am going to show how I cut out multiples of small things.
I will say that scroll saws are relatively safe to use… the little blade can’t take off a finger like a table saw or chop saw can. If you can use a sewing machine, (even if you can’t), you can use a scroll saw. I just purchased thin, birch plywood at Lowe’s. You can buy 4’x8′ sheets if you want, but I just bought smaller pre-cut sizes for about $5 each. For about $12 worth of wood, I cut out 76 snowmen. Cheap, cheap, cheap!

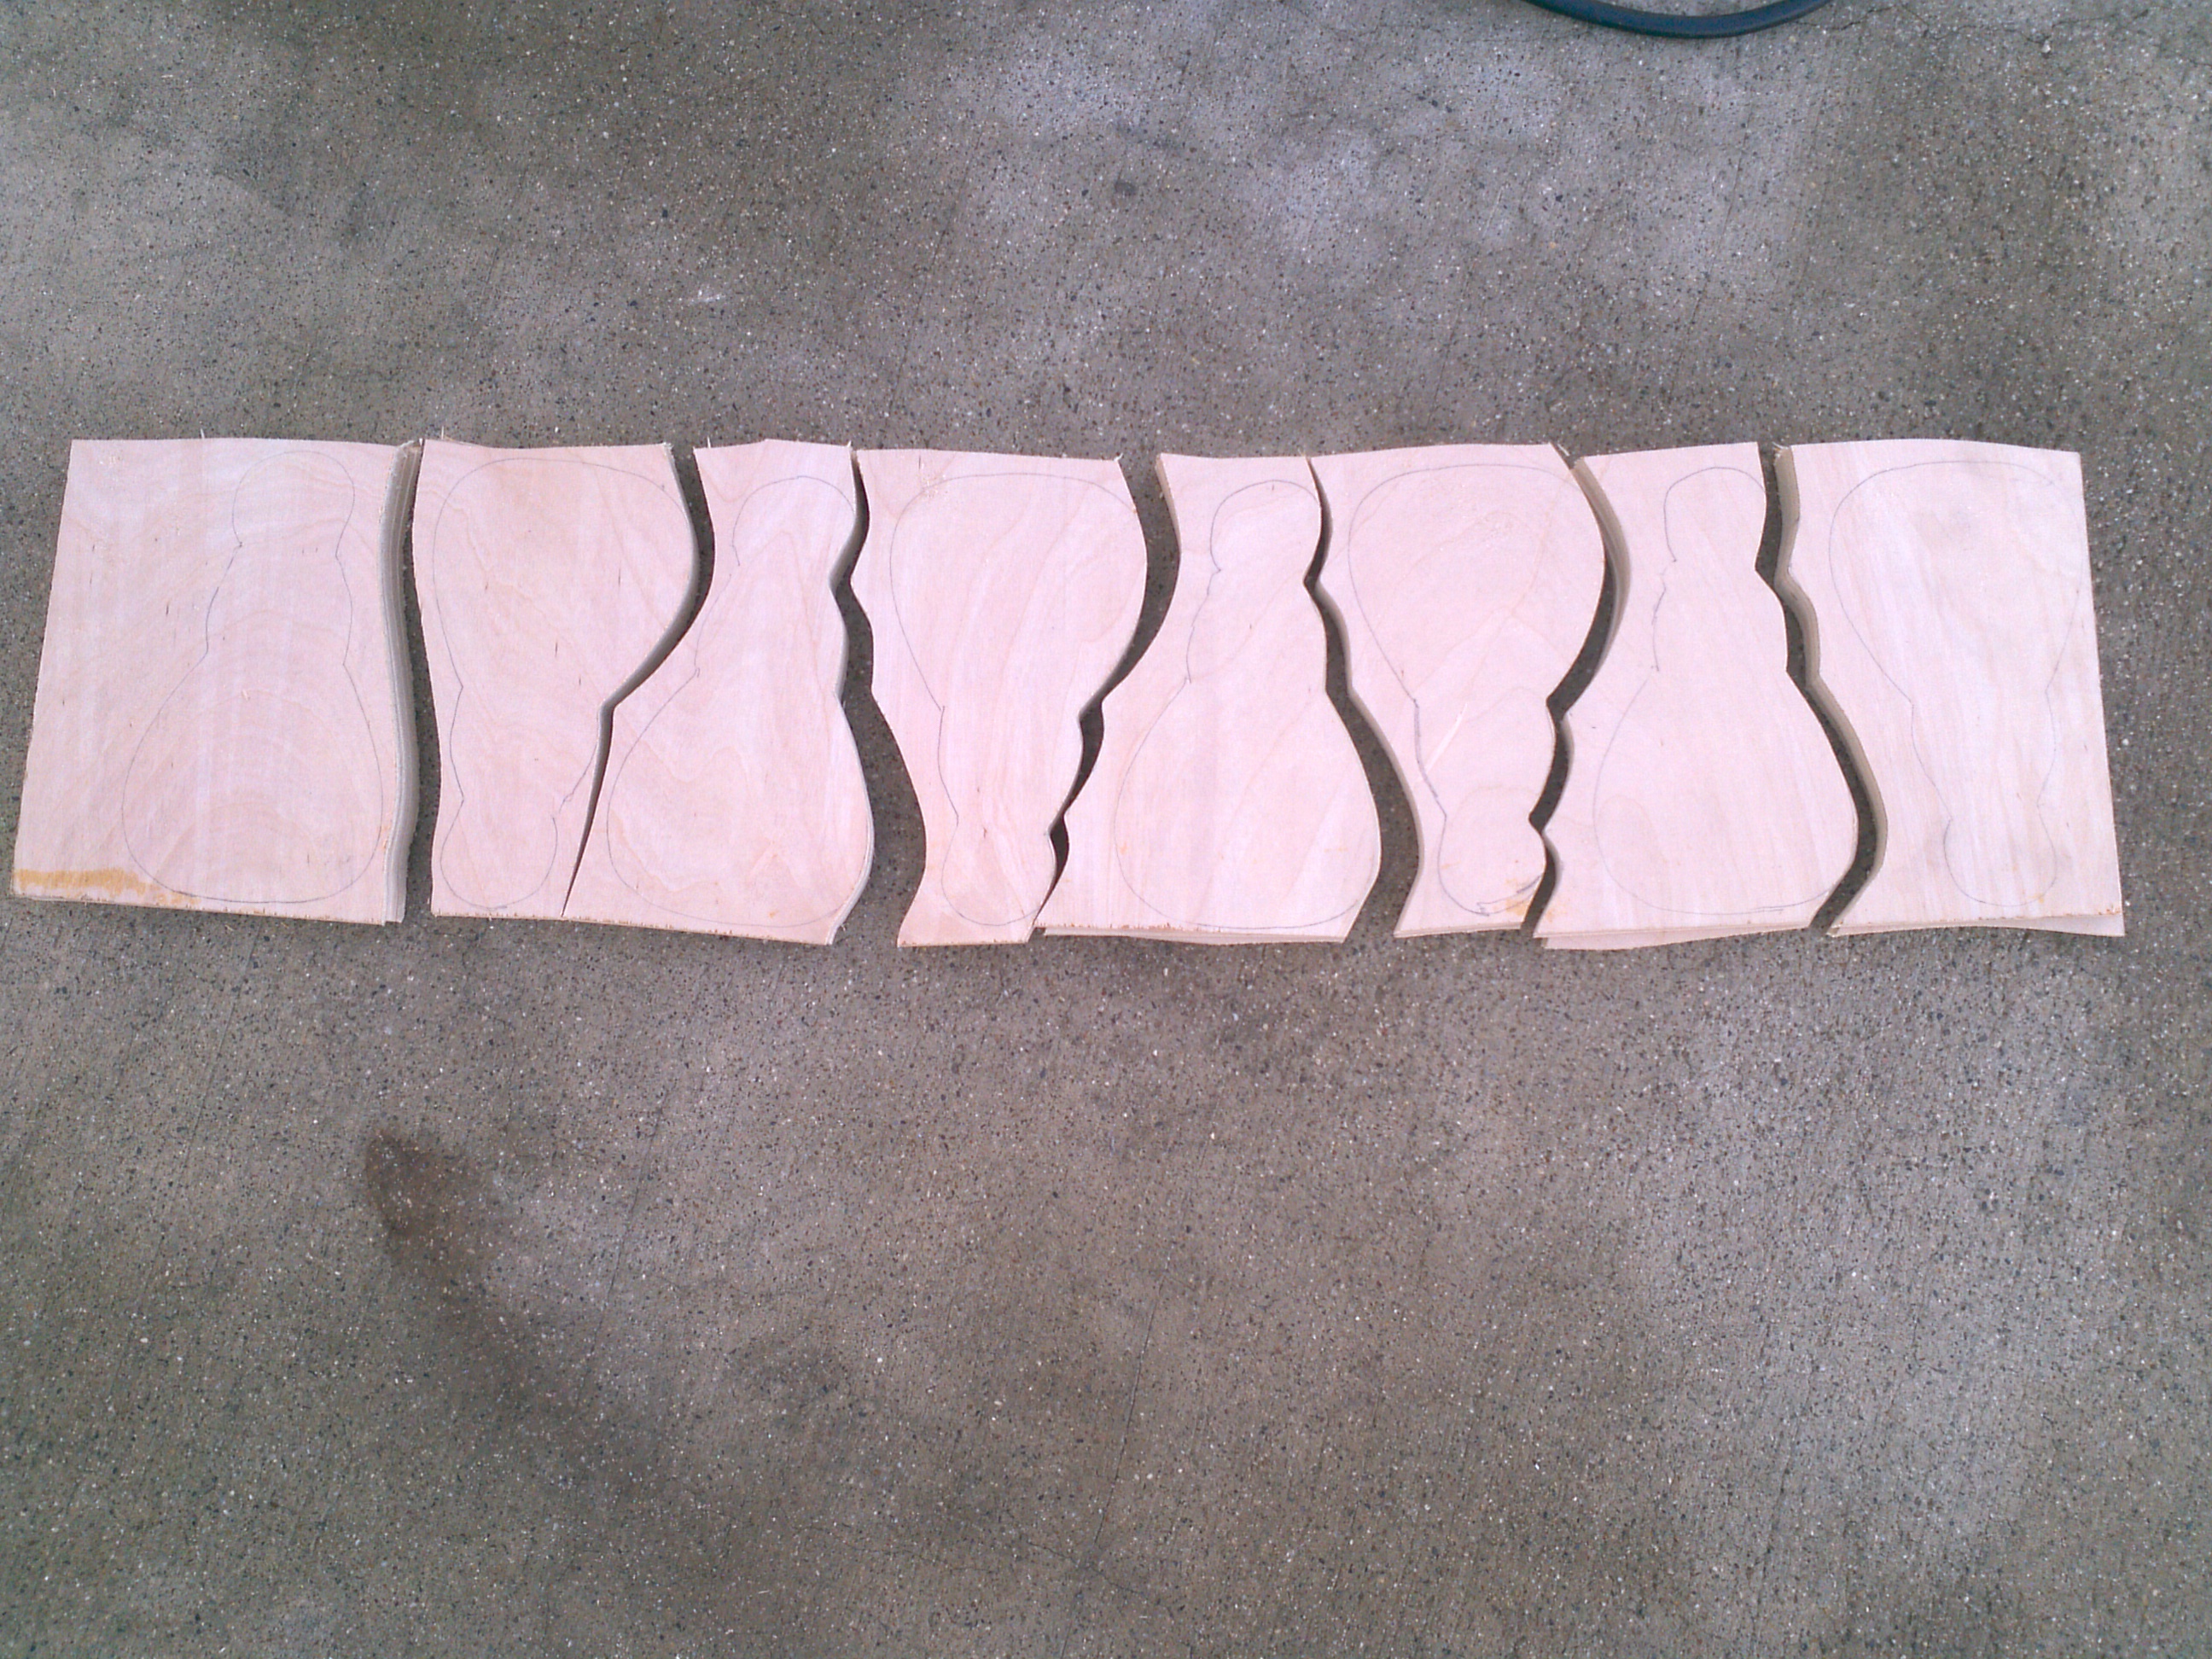
First I made up my pattern and cut it out on thin cardboard (think empty cereal box), then traced around the pattern repeatedly for one row on my board. The process is the same as if you are making shaped sugar cookies: you want to fit as many shapes as you can with as little wasted wood as you can. It may not be too apparent, but I actually have 2 sheets of plywood stacked up.
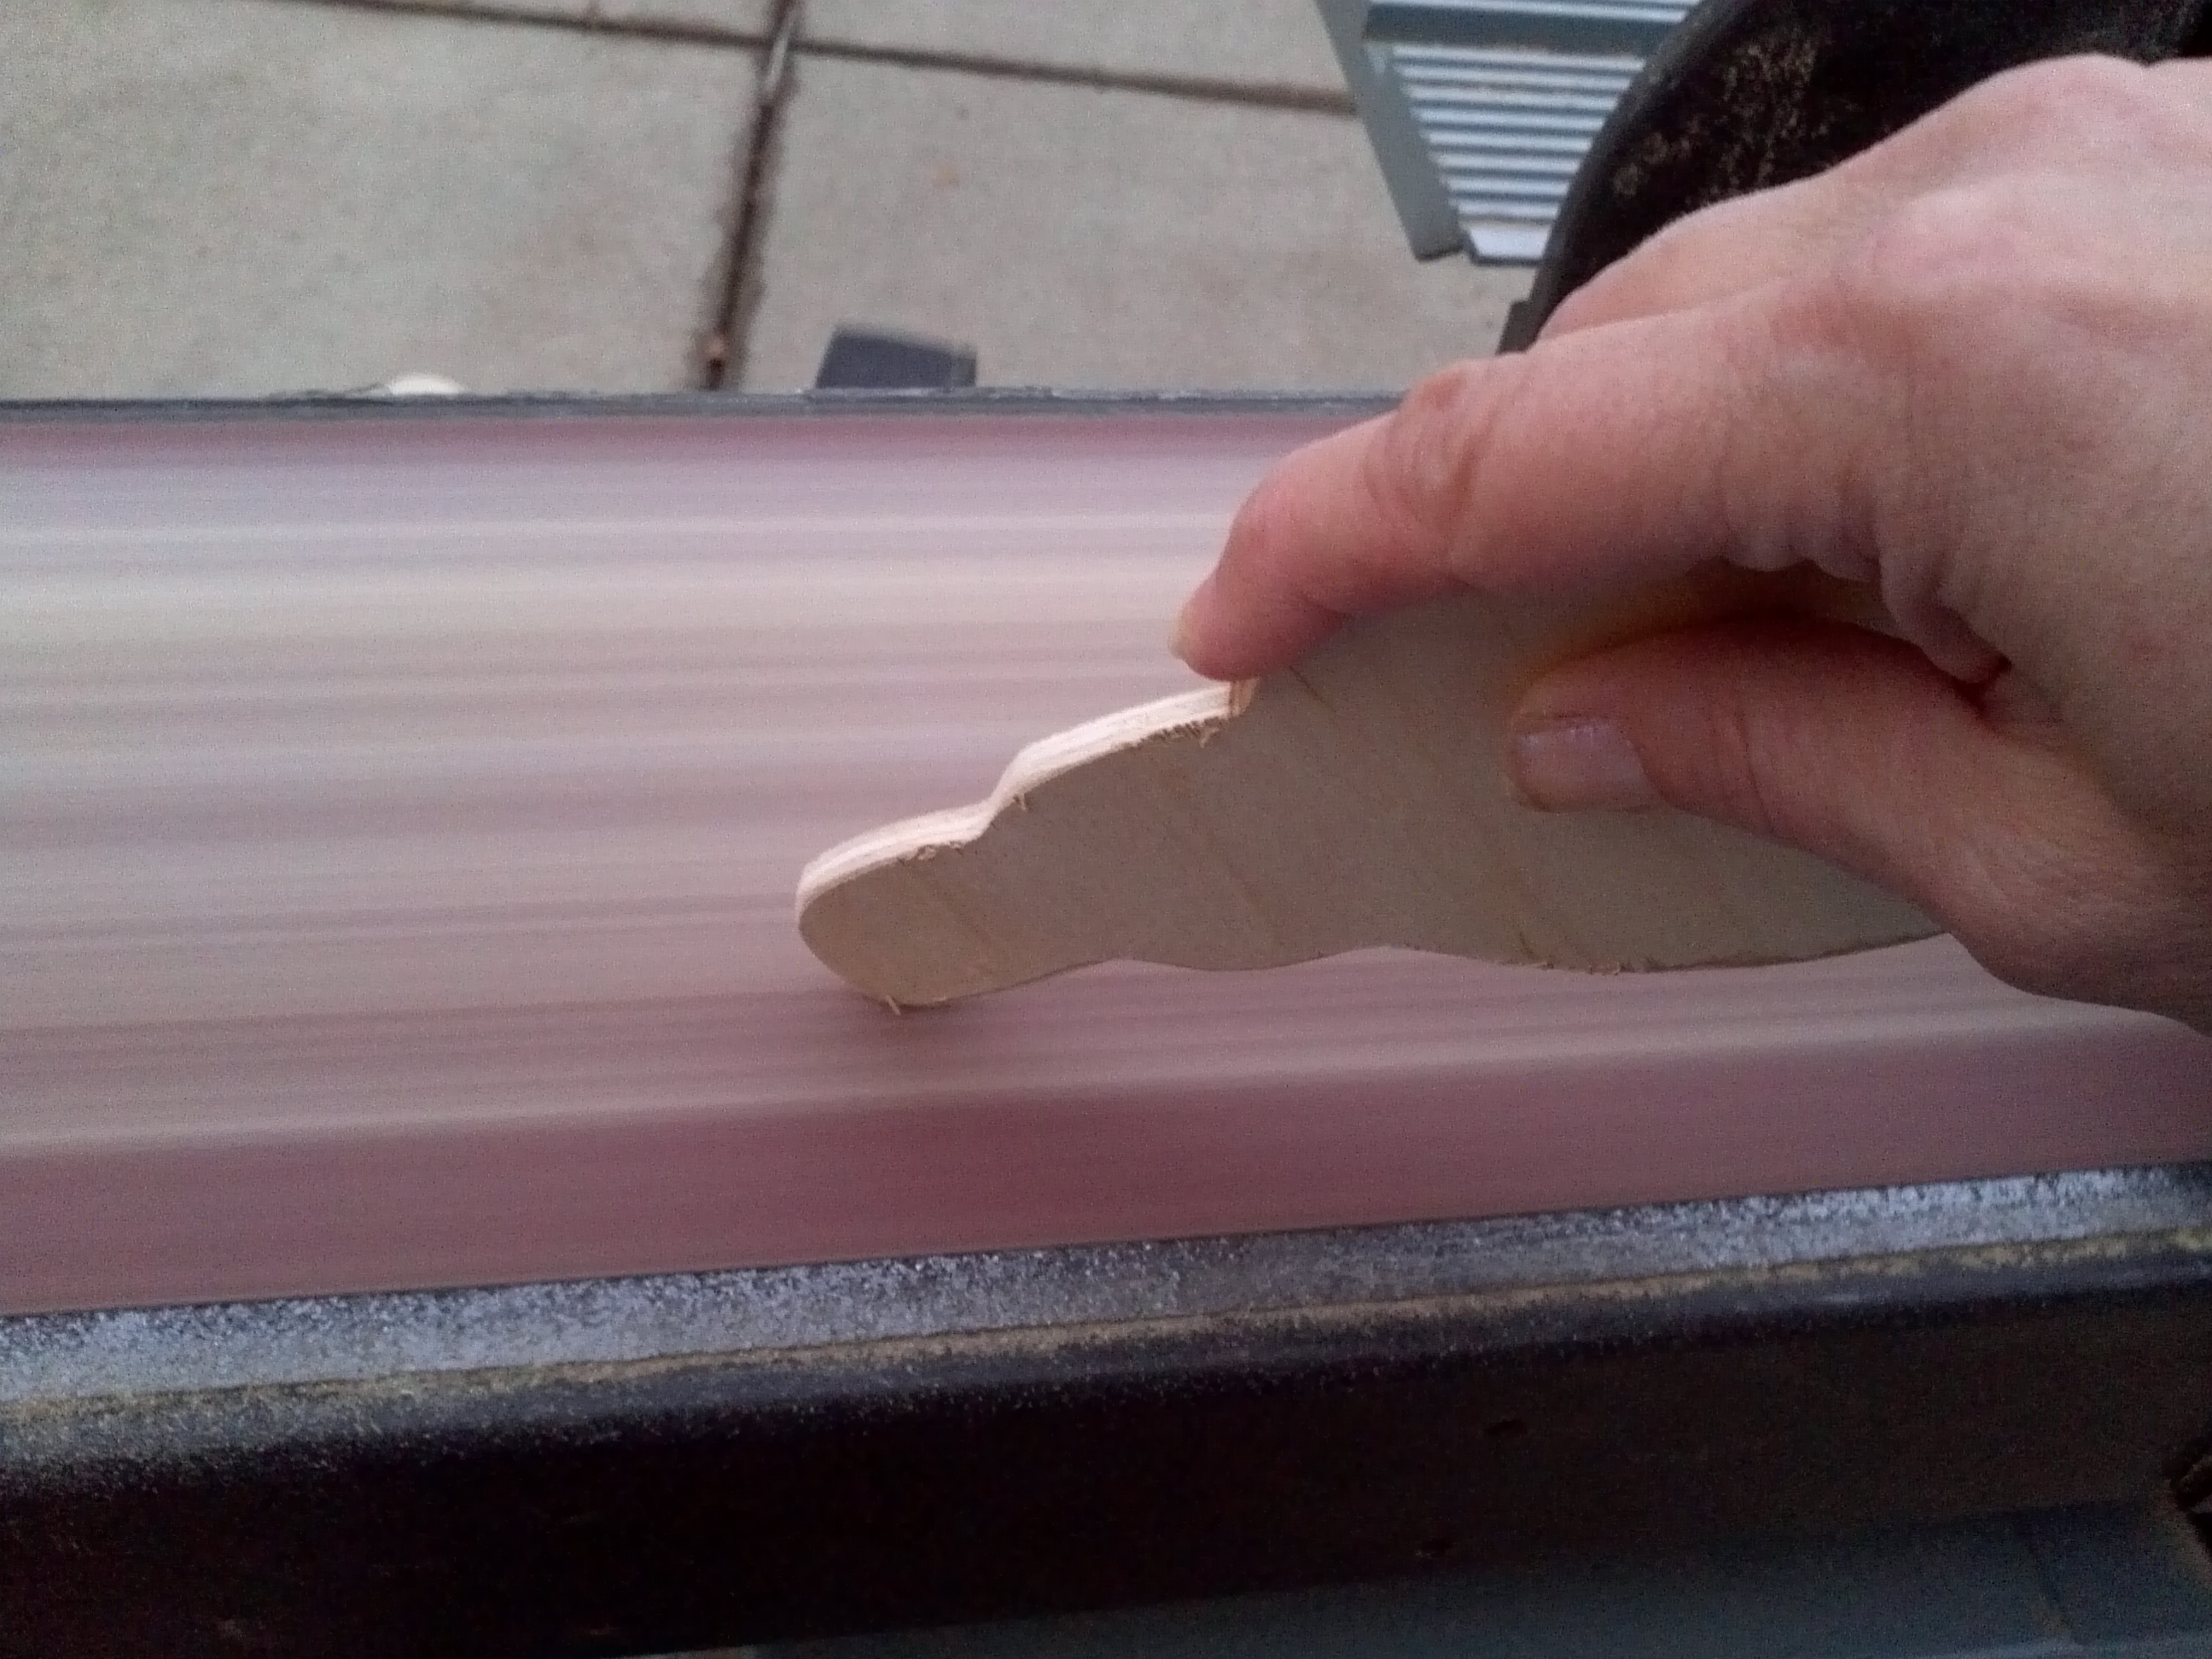
You can see that I traced 8 snowmen here, then using my scroll saw I cut just below the shapes. Since the wood can only go so far (see how the saw itself interferes with cutting any further on the right side of the above pic?), I had to back up (keeping the saw blade moving makes it easy to back up) and then come from the opposite side to meet up in the middle:

You can also use a table saw or circular saw to do this. Side note: scroll saws are not necessarily used for doing long straight lines (thus my hurriedly executed wavy lines).

Here you can see that I traced along the wavy line that I had just cut and then cut along that traced line (again, double stacked plywood).

Remember, the idea here is to cut out as many cutouts at a time as you can. If you are cutting thicker wood, just stack 2 or three layers, instead.
Next, I just cut to separate each snowman to make the size a bit more manageable.
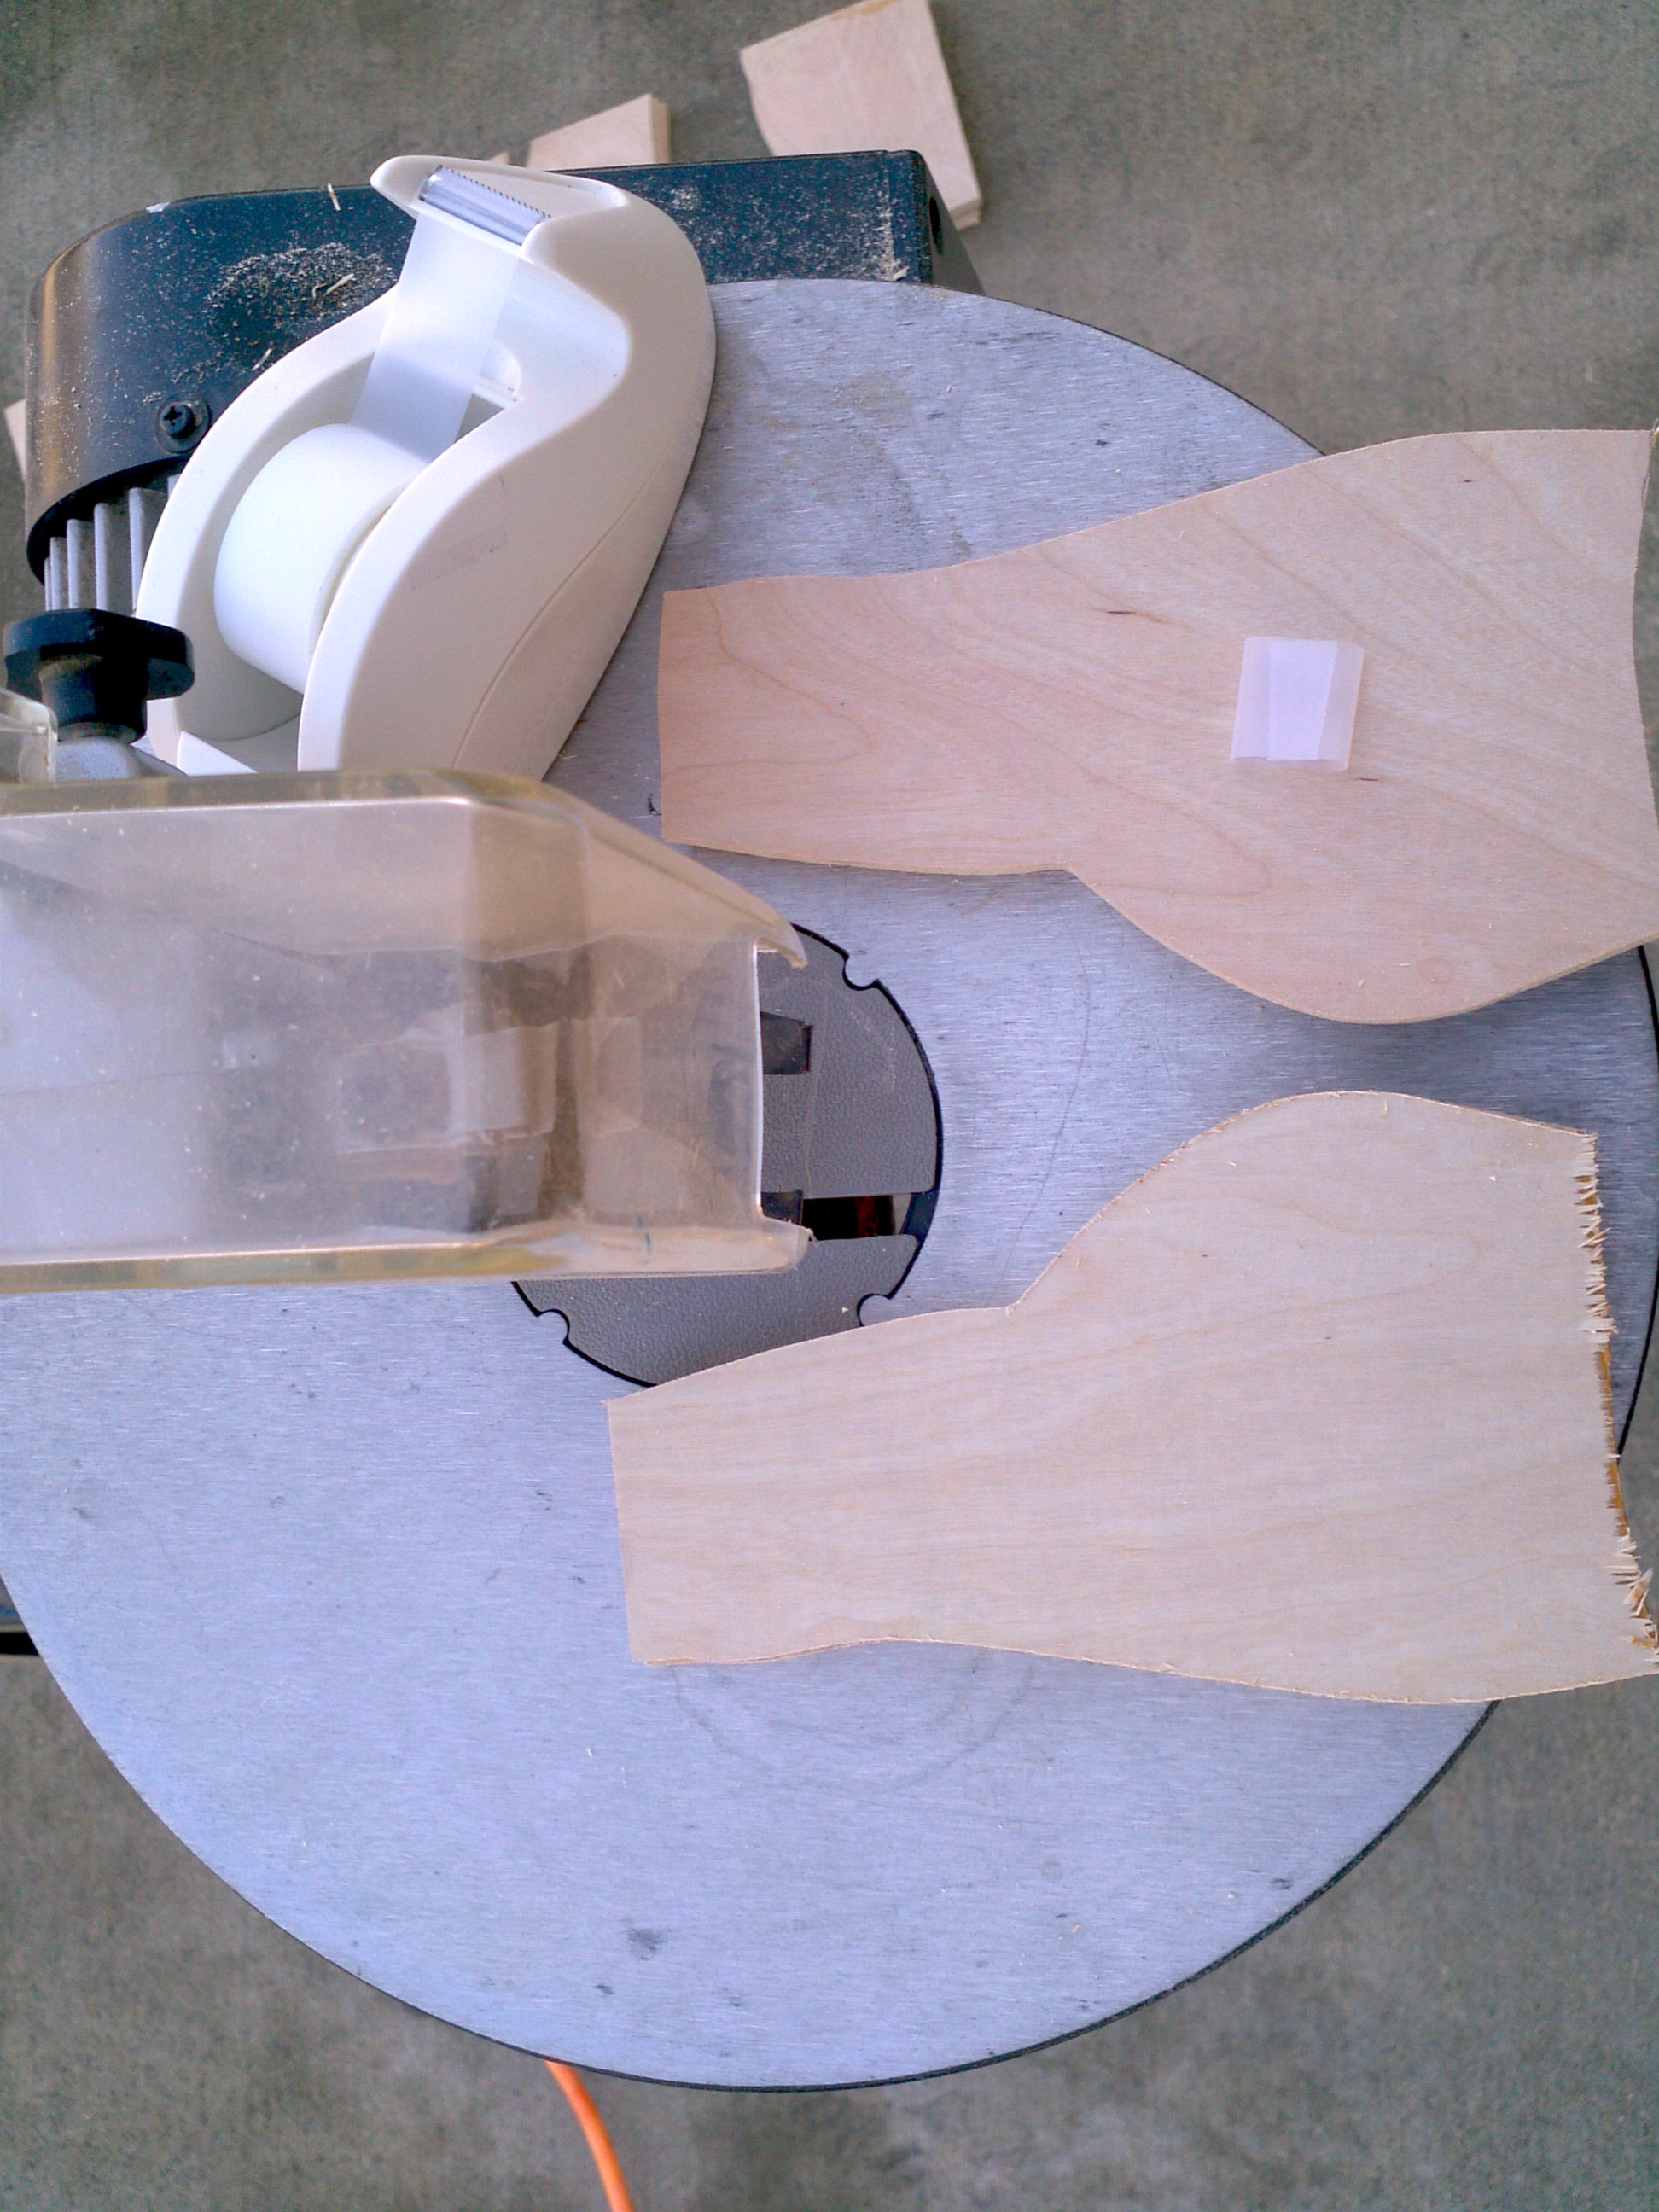
Like I said before, I cut 4 at a time. You can hold on tight and cut with the pieces just stacked up, but I like to tape the pieces together using plain, old scotch tape. It holds the pieces together quite well and then easily peels off afterwards. This eliminates the need to have white knuckled fingers trying to hold all of the 4 layers together. (Just ignore that white knuckle! I was trying to take a picture with my tablet at the same time that I was cutting.)
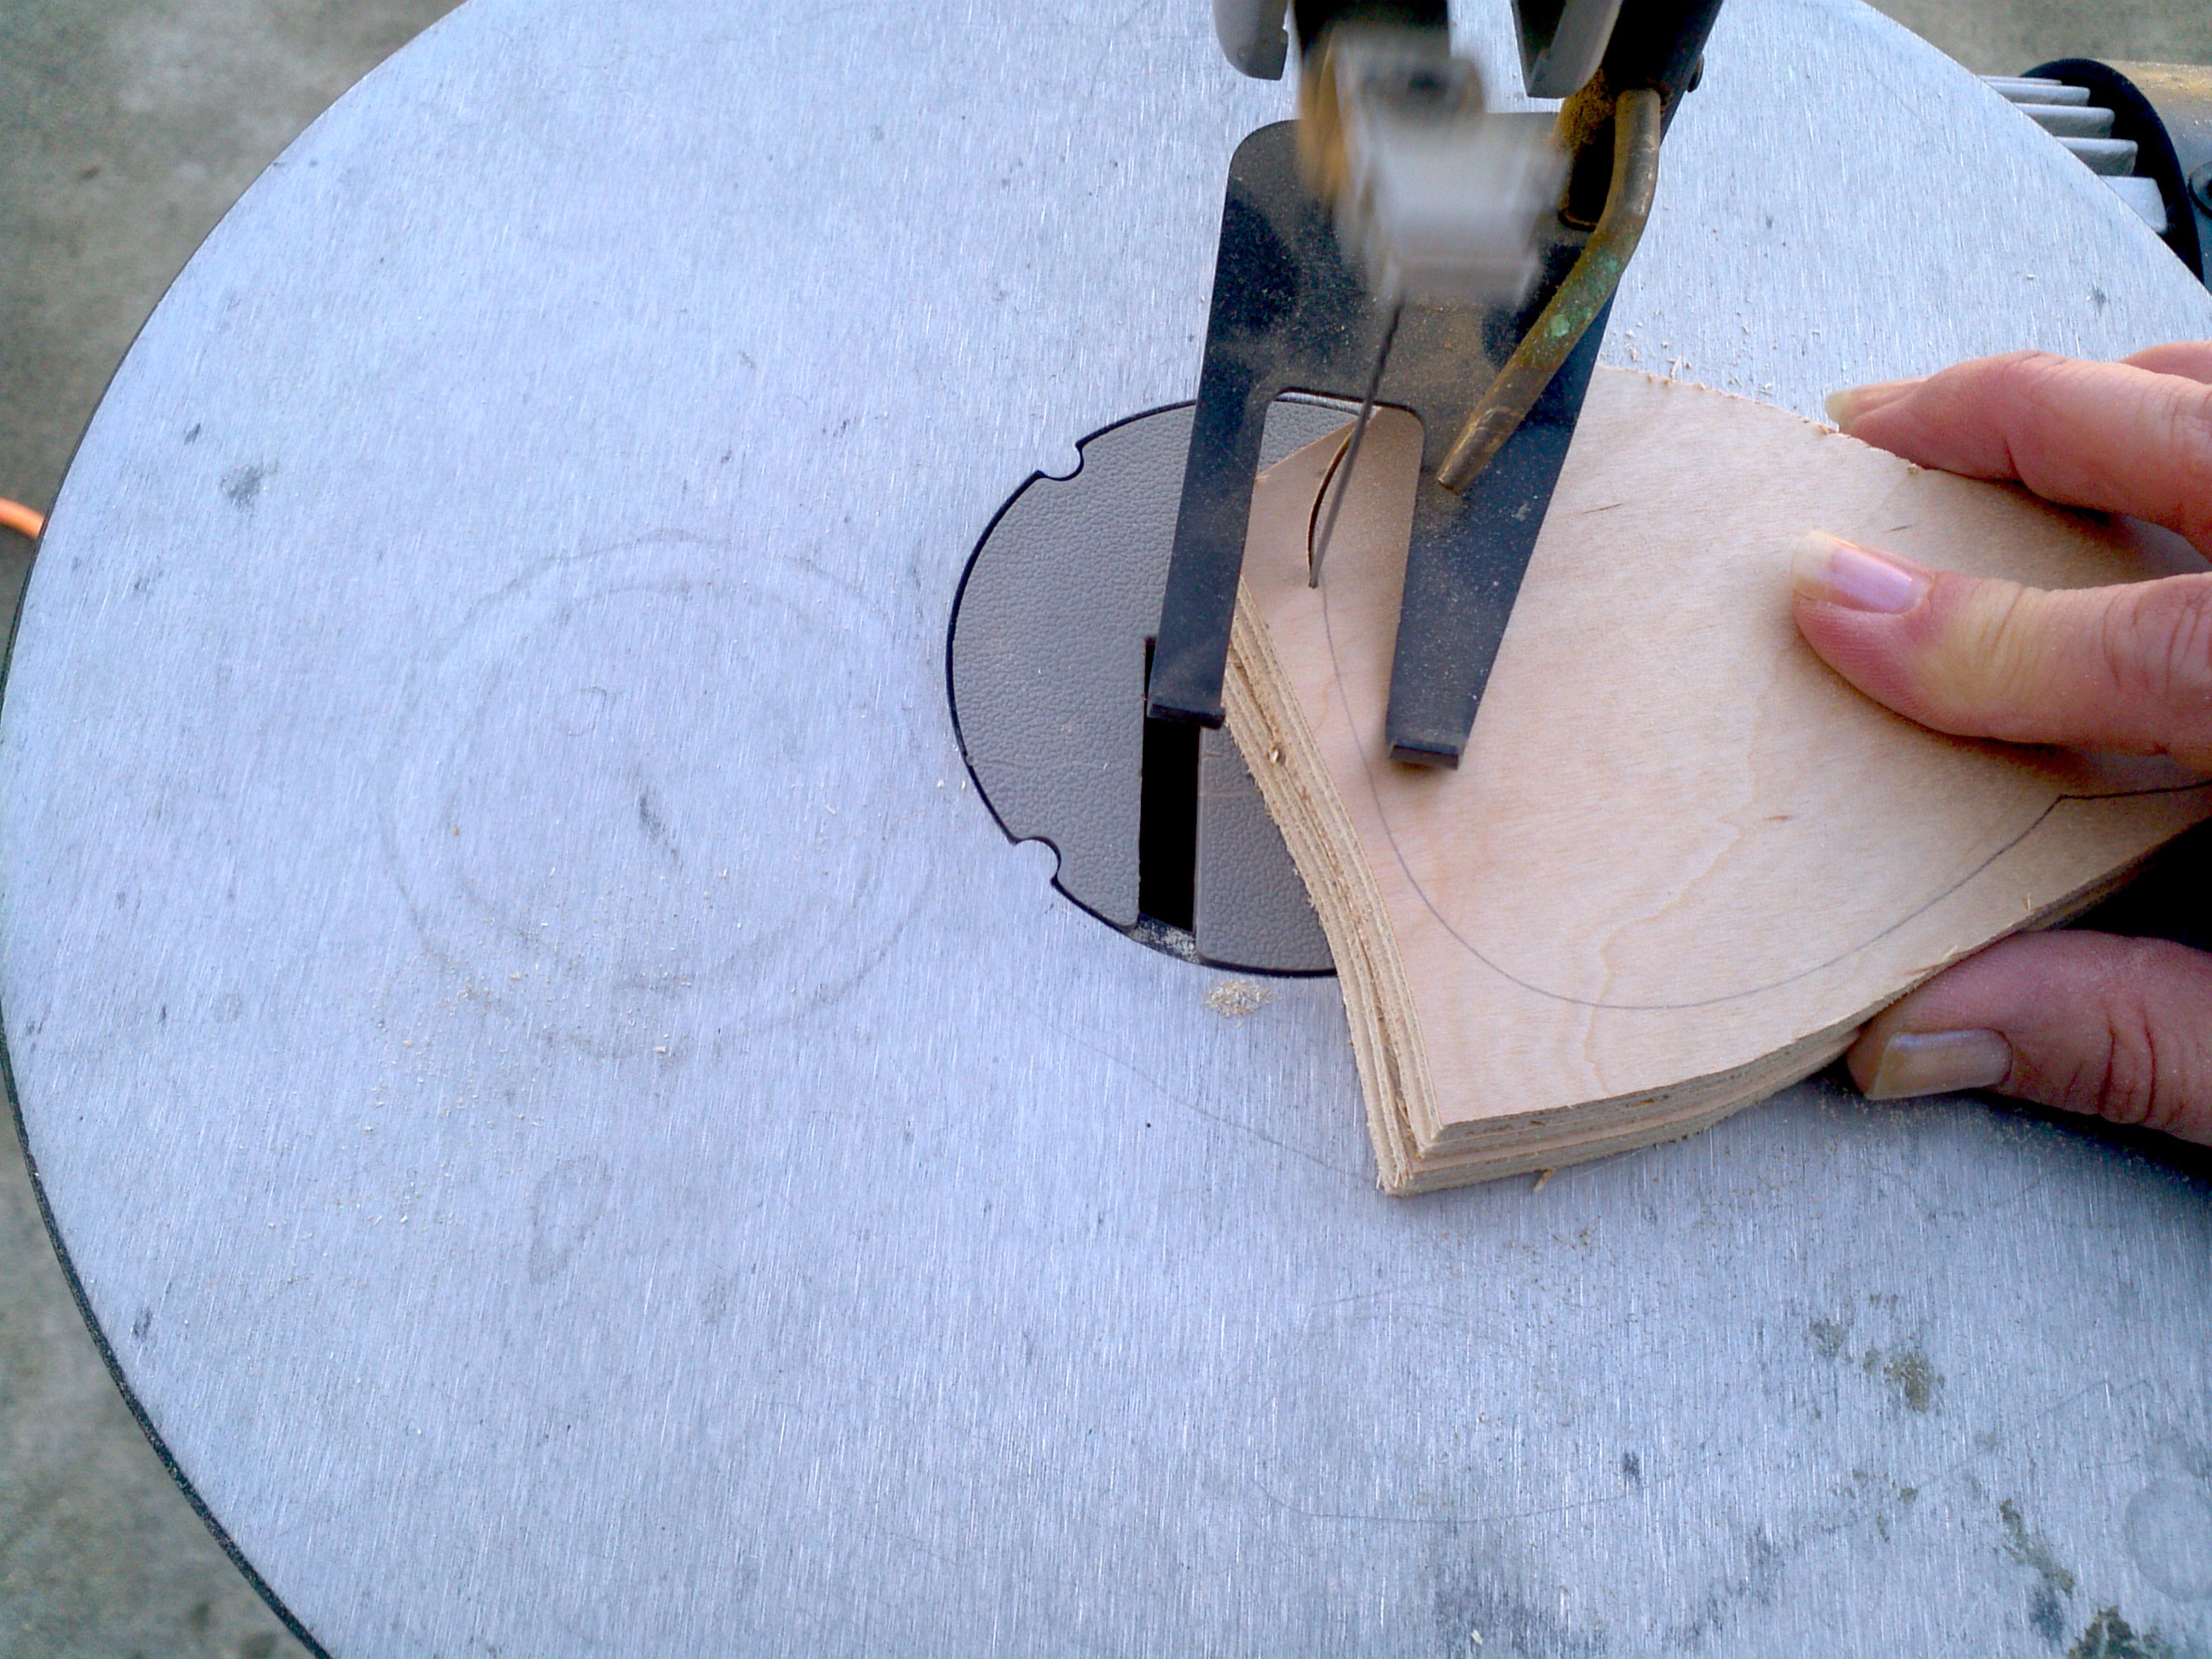
Now cut. See that? One cut=4 snowmen. 8 cuts=32 snowmen! Something that I have learned is that, if you don’t cut exactly on the traced lines… oh well. No biggie! Who is going to know?
Often times sanding is needed to smooth things up a bit. Since some of my snowman looked a bit wonky, I just used my sander to shape them back up. A power sander makes it easier, but a piece of sandpaper and a bit of elbow grease works, too.
Which brings me back to this:
and this:

One smart lady brought her own fun stuff to personalize snowmen for her grandkids.
Of course this stack method isn’t limited to snowmen. If you are new to using a scroll saw, though, I would say that snowmen are a perfect shape to start with.
Click here for a tutorial on how we made these ingenious (if I do say so myself) little carrot noses. I’m not going to detail out how to decorate the snowmen. Basically decoupage (think Mod Podge) the sheet music to the snowman cutout. Be sure to note where you want the eyes to go and cut the sheet music accordingly because you want the black dots (eyes) to stand out from the black print. Use stain, dark furniture polish or brown shoe polish (rubbing shoe polish in too much turns the paper yellow) to antique the sheet music. Add “buttons” and eyes by dotting black paint on (use the end of a skinny paintbrush), then add fabric, buttons and string to dress them up. You can find the sheet music that we used here: DecoupageDeckHalls.
So, get cutting…Christmas is coming!
********* Linking up to these awesome parties!*********
I was featured!


Wow, I find it hard just to cut one!
Thanks for sharing with us at Two Uses Tuesday!
Happy Thanksgiving!
LikeLike
Trust me, I’m no pro. I’m just too impatient to cut just one at a time! Thanks for stopping by, and Happy Thanksgiving to you, as well!
LikeLike
These are fantastic tips! Also, your snowmen are absolutely adorable. I don’t have a scroll saw (yet) but I’m definitely saving this for later. Fingers crossed that Santa brings me one this year! Lol
LikeLike
Well, thank you very much! My scroll saw came as a Christmas present many years ago. Hope Santa comes through for you this year!
LikeLike
These a super cute! Great tip on cutting multiples too. Thanks for sharing on Merry Monday!
LikeLike
Thanks so much, Erlene!
LikeLike
How cute are those! Thanks for sharing at Home Sweet Home!
LikeLike
Thank you!
LikeLike
Your last week post at http://www.fabifabu.com/2016/11/06/inspiration-galore-project-party-11/ will be feature at our next pty tomorrow from Sunday to Wednesday. Hope to see you there again!, Thanks.
LikeLike
[…] Scroll Saw Tips For Cutting Multiples by armchairdecoratorblog […]
LikeLike
Thanks for the tips, I cut out many reindeer pieces (Super Saturday) years ago on a friend’s scroll saw and I coveted one ever since. Two years ago I bought one with my inheritance (in homage to Dad who restored vintage cars for his hobby) and haven’t done much yet. We just got a garage (woodshop) and can now work year round! This year I plan to make abstract Christmas tree ornaments- after I finish Nativity costumes though. With your tip I should be able to get the amount I want to give away much faster. If the trees don’t work it’ll be snowmen! (I’m using cedar for 9 of them so no decoupaging them!. Thanks again & your site is on my ‘watch list’.
LikeLike
How awesome about your new woodshop! I think that creating your own stuff is way more fun than buying something mass produced. Thanks so much for stopping by my little blog. I took a full time job that wears me out and leaves little time for projects and blogging. Maybe this summer I can get back in the game. Best wishes to you!
LikeLike
Do you ever make wooden earrings and if so would you recommend this machine for that specifically?
LikeLike
I have not made wooden earrings, but as long as they are not too tiny (a risk to have your fingers too close to the blade), a scroll saw would work. Just be sure to have a blade meant for thin wood. If the blade is too course, it will make the edges splinter, rather than give a smooth edge. Here’s an article to explain how to choose the correct scroll saw blade: http://scrollsawer.com/2017/09/06/choosing-the-right-blade/
Good luck with your project!
LikeLike